Next Post

This post may contain affiliate links, please see our privacy policy for details.
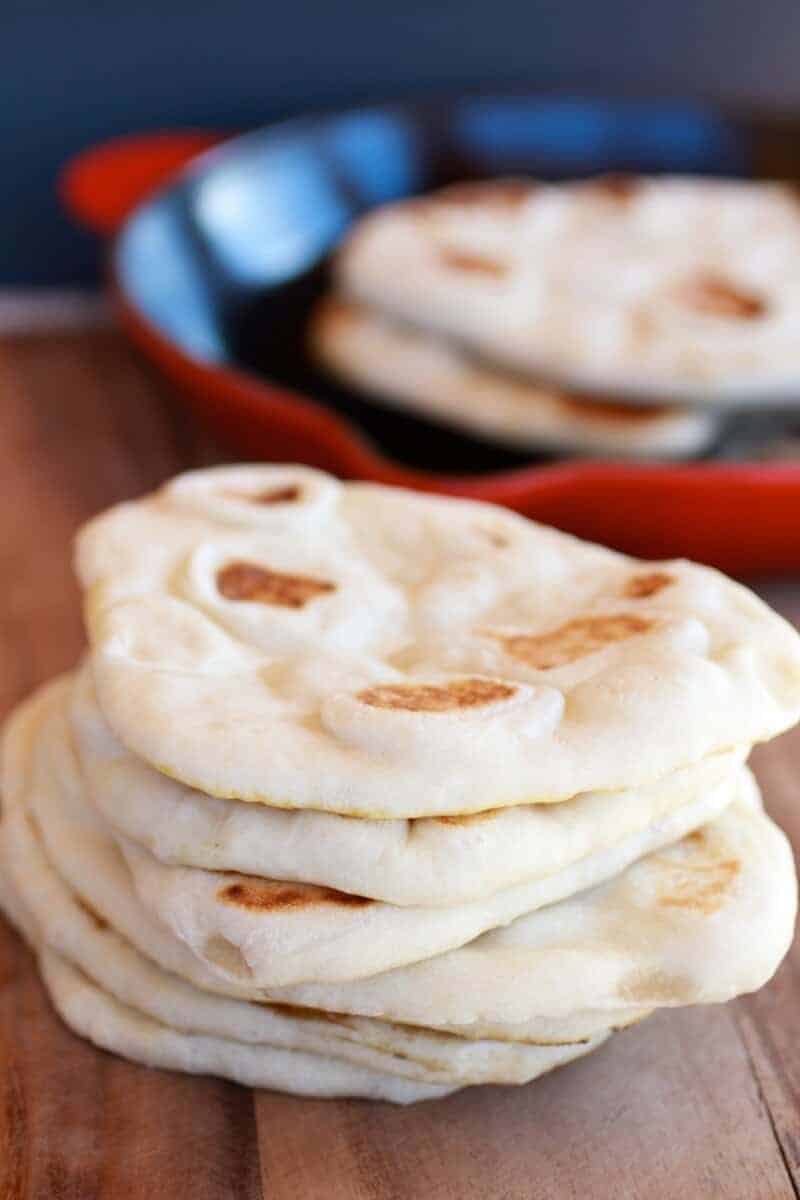
Warm, fresh pita is one of those simple joys—soft, a little chewy, and perfect for scooping up all the sauces. This is my cozy, dependable way to make Greek-style pitas at home.
We’ll use a straightforward dough, a hot pan, and a few easy cues so your pitas puff beautifully—no special gear required. Great for weeknights, meal prep, and any “let’s make gyros” cravings.
These are just that good.
Like it is crazy, just insanely good. You could not get them better unless you flew to Greece.
I can promise you guys, that after you make this easy homemade traditional Greek pita bread you will never want to buy the store-bought version again. Sure, you may have to for convenience and time purposes, but you will probably be wishing you were eating these.
Nah, not probably. You will. Guaranteed.
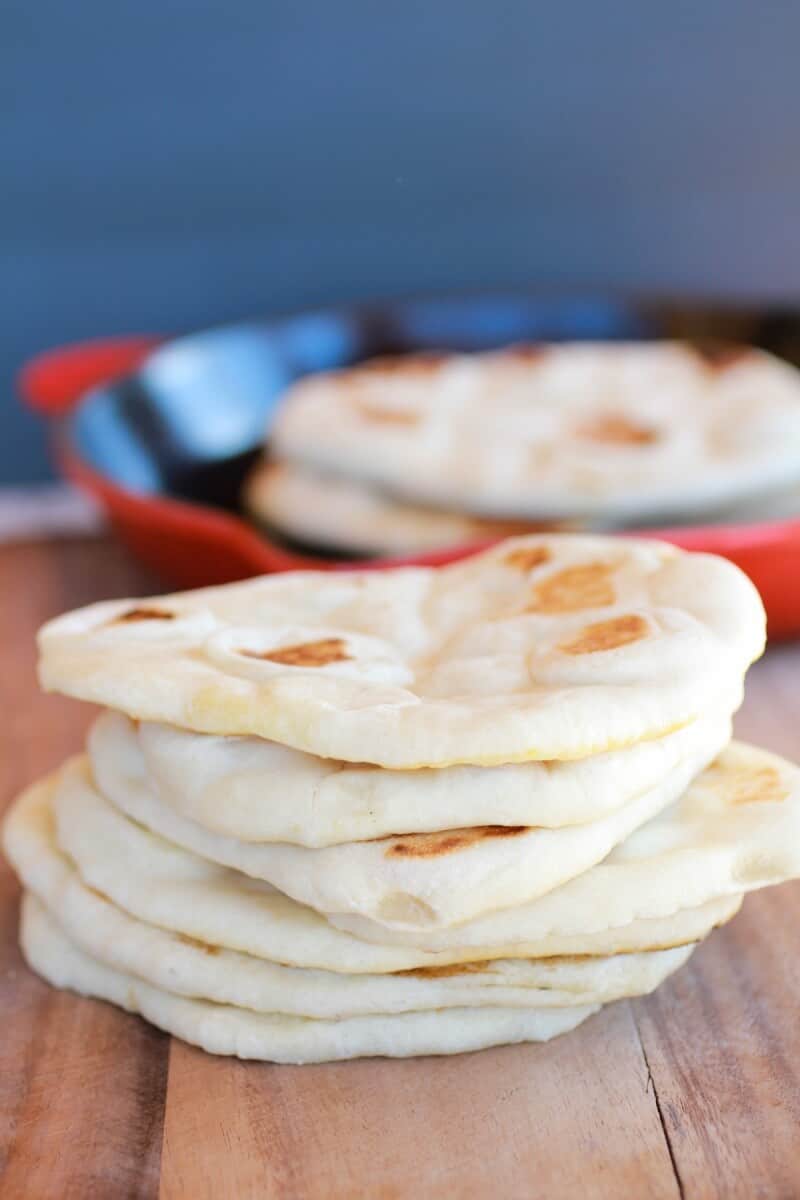
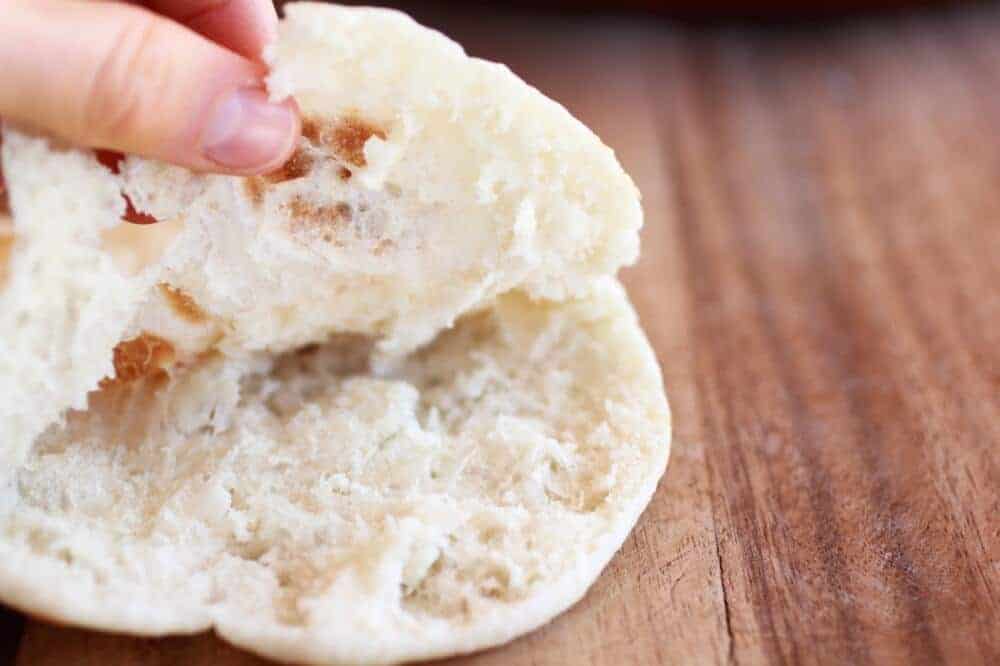
They’re so soft, so chewy and the flavor is just so good. There really are no words to describe just how good these are.
If you can make pizza dough, you can make these. And even if you have never made pizza dough, you can still make these. They are so simple and the dough is really easy to work with. These pitas are going to transform your lunches and even your dinners! Greek pizza? Yes!
Make-Ahead, Storage & Reheat
-
Dough: After the first rise, refrigerate dough (lightly oiled, covered). Use within 1–2 days; let it warm up just until pliable before rolling.
-
Cooked Pitas: Cool completely, then store airtight at room temp for a day or two; refrigerating can toughen—reheat with a quick steam or warm skillet.
-
Freeze: Freeze stacked with parchment between pitas. Reheat straight from frozen in a hot skillet or wrapped in foil in a warm oven until soft and steamy.
FAQ:
Why didn’t my pitas puff?
Usually the pan wasn’t hot enough, the dough was rolled too thick, or the discs dried out. Heat the skillet well, roll evenly, and keep dough covered as you work.
Can I make these without a cast-iron skillet?
Yes—use any heavy-bottomed skillet or a griddle. Just preheat thoroughly; the right surface heat is more important than the pan material.
Can I prep the dough ahead?
Make the dough, let it rise, then refrigerate up to 1–2 days. Bring to a workable, slightly cool room temp so it rolls without springing back.
What’s the best way to reheat pita?
A hot, dry skillet or a quick foil wrap in a warm oven restores softness; a short steam also works. Avoid microwaving too long or they’ll toughen as they cool.
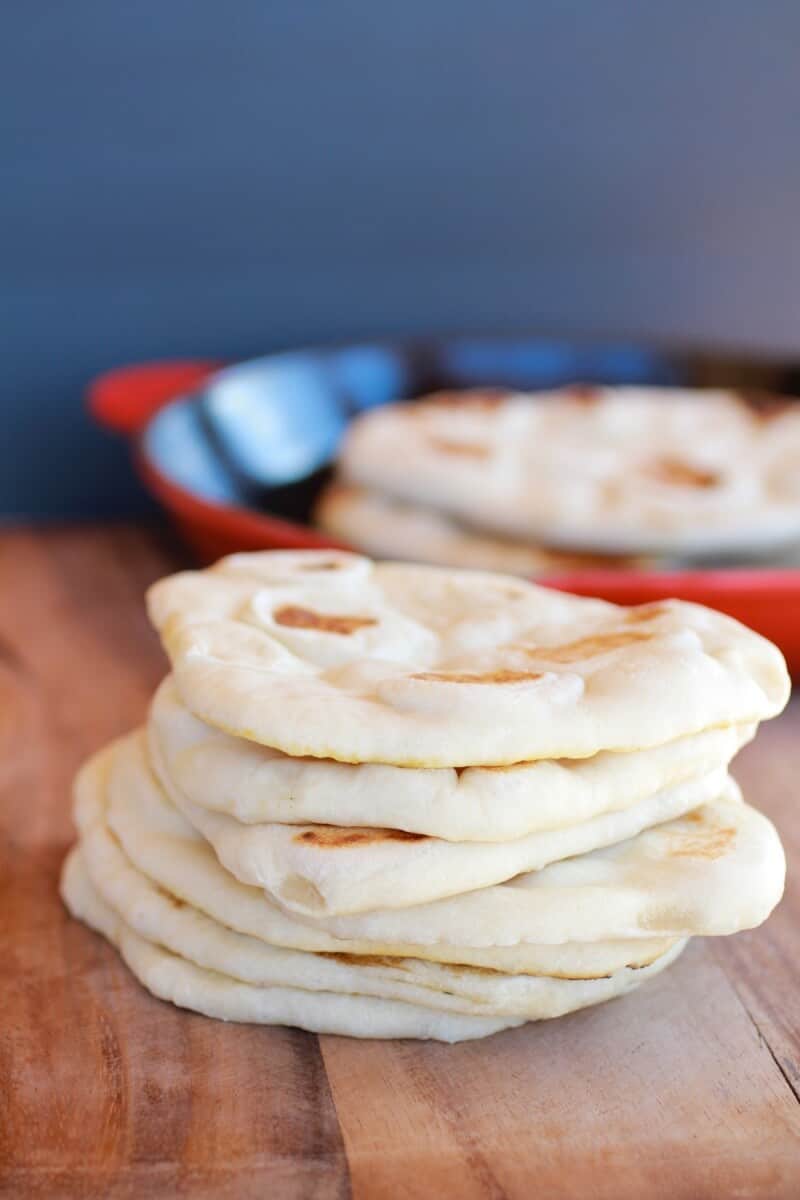
Traditional Greek Pita Bread.
Servings: 8 pita rounds
Calories Per Serving: 193 kcal
Nutritional information is only an estimate. The accuracy of the nutritional information for any recipe on this site is not guaranteed.
Ingredients
- 1 cup hot water but not boiling
- 2 teaspoons active dry or instant yeast
- 2 1/2 - 3 cups all-purpose flour
- 2 teaspoons salt
- 1 tablespoon olive oil
Instructions
- Mix the water and yeast together in the bowl of a stand mixer (a large bowl will also work if you do not have a mixer), and let sit for about five minutes until the yeast is dissolved. Add 2 1/2 cups of the flour (saving the last half cup for kneading), salt, and olive oil. If using a stand mixer attach the dough and need the dough on medium speed for 8 minutes, adding more flour until you have a smooth dough. If using your hands sprinkle a little of the extra flour onto your clean work surface and turn out the dough. Knead the dough for about 5-7 minutes, until the dough is smooth and elastic. Add more flour as needed to keep the dough from sticking to your hands or the work surface, but try to be sparing. It's better to use too little flour than too much. If you get tired, stop and let the dough rest for a few minutes before finishing kneading.
- Clean the bowl you used to mix the dough and run it with a little olive oil. Set the dough in the bowl and turn it until it's coated with oil. Cover with a clean dishcloth or plastic wrap and let the dough rise until it's doubled in bulk, about 1 hour.
- At this point, you can refrigerate the pita dough until it is needed. You can also bake one or two pitas at a time, saving the rest of the dough in the fridge. The dough will keep refrigerated for about a week.
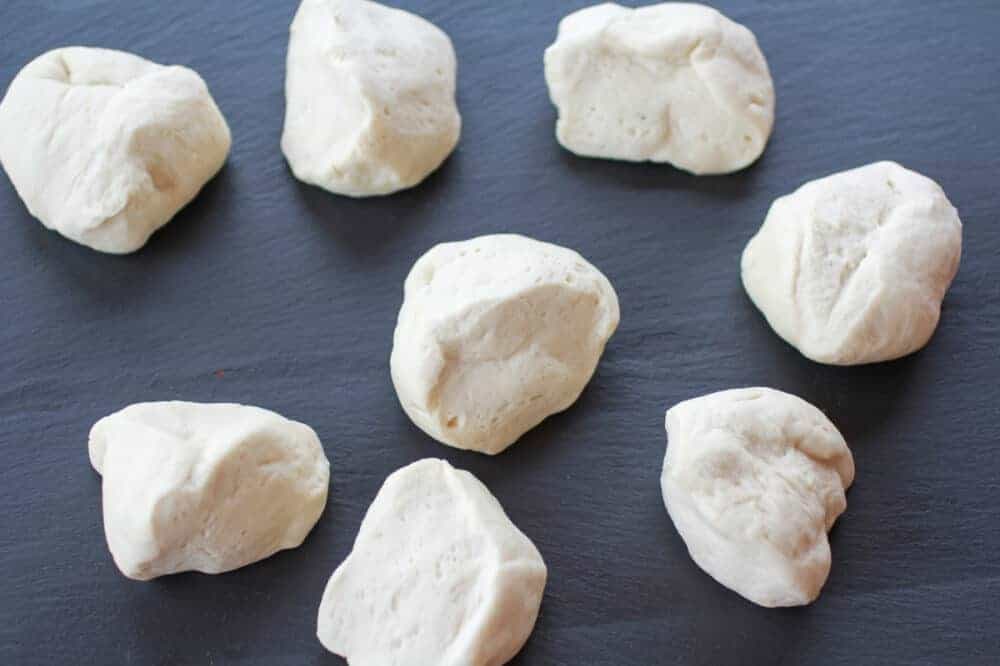
- Gently deflate the dough and turn it out onto a lightly floured work surface. Divide the dough into 8 equal pieces and gently flatten each piece into a thick disk. Using a floured rolling pin, roll one of the pieces into a circle 8-9 inches wide and about a quarter inch thick. Lift and turn the dough frequently as you roll to make sure the dough isn't sticking to your counter. Sprinkle with a little extra flour if it starting to stick. If the dough starts to spring back, set it aside to rest for a few minutes, then continue rolling. Repeat with the other pieces of dough. (Once you get the hang of it you can be cooking one pita while rolling the next one out.)
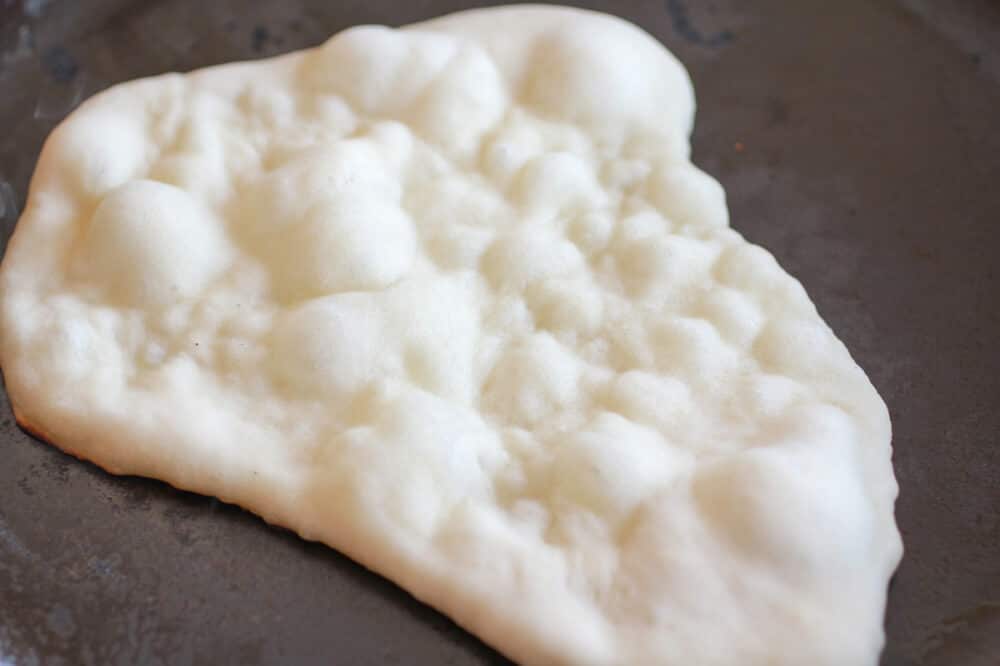
- Warm a cast iron skillet over medium-high heat (you want a hot pan). Drizzle a little oil in the pan and wipe off the excess.Lay a rolled-out pita on the skillet and bake for 30 seconds, until you see bubbles starting to form. Flip and cook for 1-2 minutes on the other side, until large toasted spots appear on the underside. Flip again and cook another 1-2 minutes to toast the other side. The pita should start to puff up during this time; if it doesn't or if only small pockets form, try pressing the surface of the pita gently with a clean towel. Keep cooked pitas covered with a clean dishtowel while cooking any remaining pitas.
- These are best eaten fresh, but will keep in a ziplock bag for a few days or in the freezer.
It is Sunday. The perfect day to make some fresh homemade Greek pitas!
Shared with: Inside BruCru Life, Lil Luna, Chef In Training, Buns In my Oven, Foodie Friday Friends, Tidy Mom, Taste and Tell, Cheerios and Lattes, Somewhat Simple, Mom on Timeout, I Heart Nap Time, Fine Craft Guide, The Country Cook, Whipperberry, Chef In Training
This post was originally published on February 17, 2013


my first attempt at the dough was a bust! It did not risE. My fault, didn’t realize I was using instant yeast and added hot water to it. (At least I think that’s the reason) 2nd try, added The instant yeast directly to the other ingredients and voila! It rose! They were perfect!!!
I loved them! I had made pita bread before with a different recipe that was really fiddly, rolling and then folding the dough and alternating kneading and rising like a hundred times. This one was much easier, much more fun, and the bread tasted great!
I served them with homemade falafel and greek yogurt sauce. Really delicious!
Your recipe is great! I tried 2 different recipes tonight, 1 had milk. The one with milk is way too heavy.
I wish I could post photos of how they turned out. I did 3oz dough pieces and rolled them out to 6ish inch rounds. I got 7 perfect pitas.
My fiance and I have found this great local Greek restaurant that does a chicken souvlaki sandwich and I’m determined to learn and understand how to make it. (We both work in restaurant kitchens) Im really trying to learn foods from different cultures.
So thank you for sharing this!
All the way from Burke Virginia.
I have been experimenting with Greek food lately, and your recipes have been the best. They taste like the Greek food I’ve come to love. Thank you.
Just made these and they are DELICIOUS!!! Amazing soft chewy bread texture, and they even have pockets! I used a stand mixer but I’m always confused about what Low/Medium/High speed is since it’s numbered 1-10. I put mine at about a 3 and it worked perfectly! The dough came out so pillowy and beautiful. The pita even looks like your picture! I just found this blog and am in love; can’t wait to try another recipe!
SO happy you loved these. THANK YOU!
Thanks!! I’m using this for a school project and I needed a simple recipe so this made things a lot easier!! 🙂
Awesome! Hope it goes well!
Just found your blog and I really want to try these. Just wanted to ask – Are you baking these is the oven? Some comments suggest stove top or electric skillet – have you tried these cooking methods or should I just stick with baking them?
Hey Jiny!
These actual are cooking on the stovetop preferably on a cast iron skillet. Does that make sense? THANKS!
Hey Tieghan! We decided to do a greek nigh with chicken souvlaki and greek salad and figured it wouldn’t have been the same without a warm pita to dip in tzatziki. This is a great and super easy recipe. Thank you so much for sharing!
Thanks Kelly!! So excited you loved the pitas!
Tried it, nailed it. IT WAS SO GOOD! Never shop-pita’s again..
In the recipe it says to bake them in a cast iron skillet but over medium to high heat leads me to believe they are cooked on the stove top. Which is it?
Over the stove top. Enjoy!
I made these last night and they were fantastic! I love that they didn’t take 3+ hours to make and I still have half a chunk of dough in the fridge. I can’t wait for leftovers w/fresh pita tonight. Thanks for the great recipe!
IT WORKED!!! thank you so much, delicious!
Awesome!
I made these last night. So incredibly easy, and super soft and tasty, with a tiny bit of chew. A perfect accompaniment to my tzatziki. Thank you
Hi there!
This pita looks delicious! I tried making it today, but after following the intruscrions, my dough has not doubled in size. Is there anything I can do to fix this?
Thanks! 🙂
What kind of yeast did you use? Was it fresh?
Hey I’m in the middle of trying these and after an hour my dough most defintiely hasn’t doubled in size! i’ll plough on and see how it goes. Any thoughts? I love cooking but baking and bread have NEVER been my thing, too precise and scientific for me maybe, i’m more of a “use whatever you have and it’ll be grand” kind of a cook! 🙂 Loving your blog though! Nx
I used fast-acting or instant yeast, maybe i didn’t need to “activate” it first in warm water? would this make a difference, and have you ever used fast acting yeast? Maybe I needed different quantities? I made the pittas anyway, they were not pitta and not fluffy and light like the ones in your pictures, but they were reasonably ok flat breads and everyone ate them! 🙂
HI! Are you sure your yeast fresh? Did it foam in the beginning?
Hope I can help and thank you so much for the kind words!! 🙂
Does the recipe only work with fresh yeast?
“Fresh” in the age sense, not as fresh versus dried yeast. If your yeast is old, it may take a larger quantity than the recipe calls for, or a significantly longer rise time.