Next Post

This post may contain affiliate links, please see our privacy policy for details.
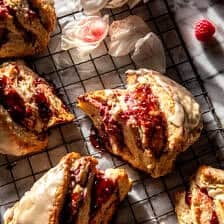
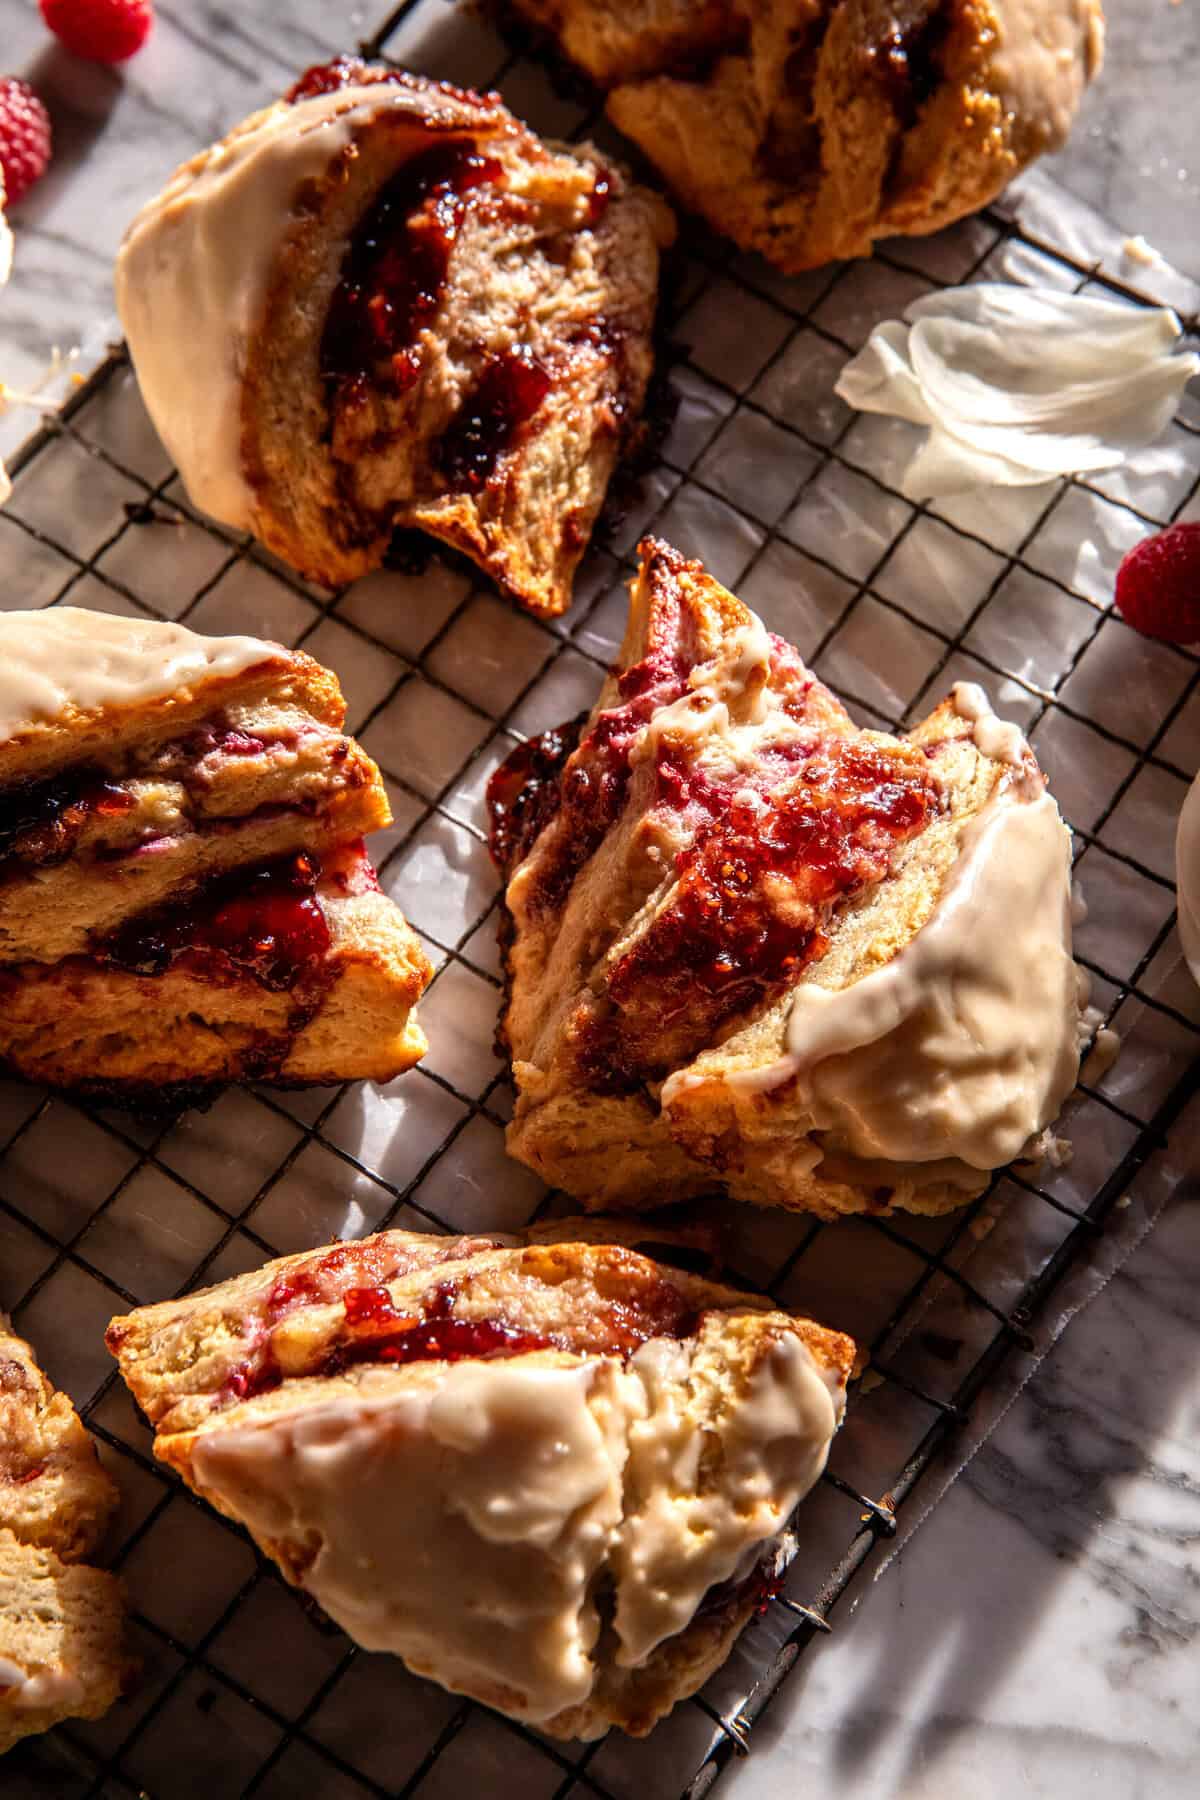
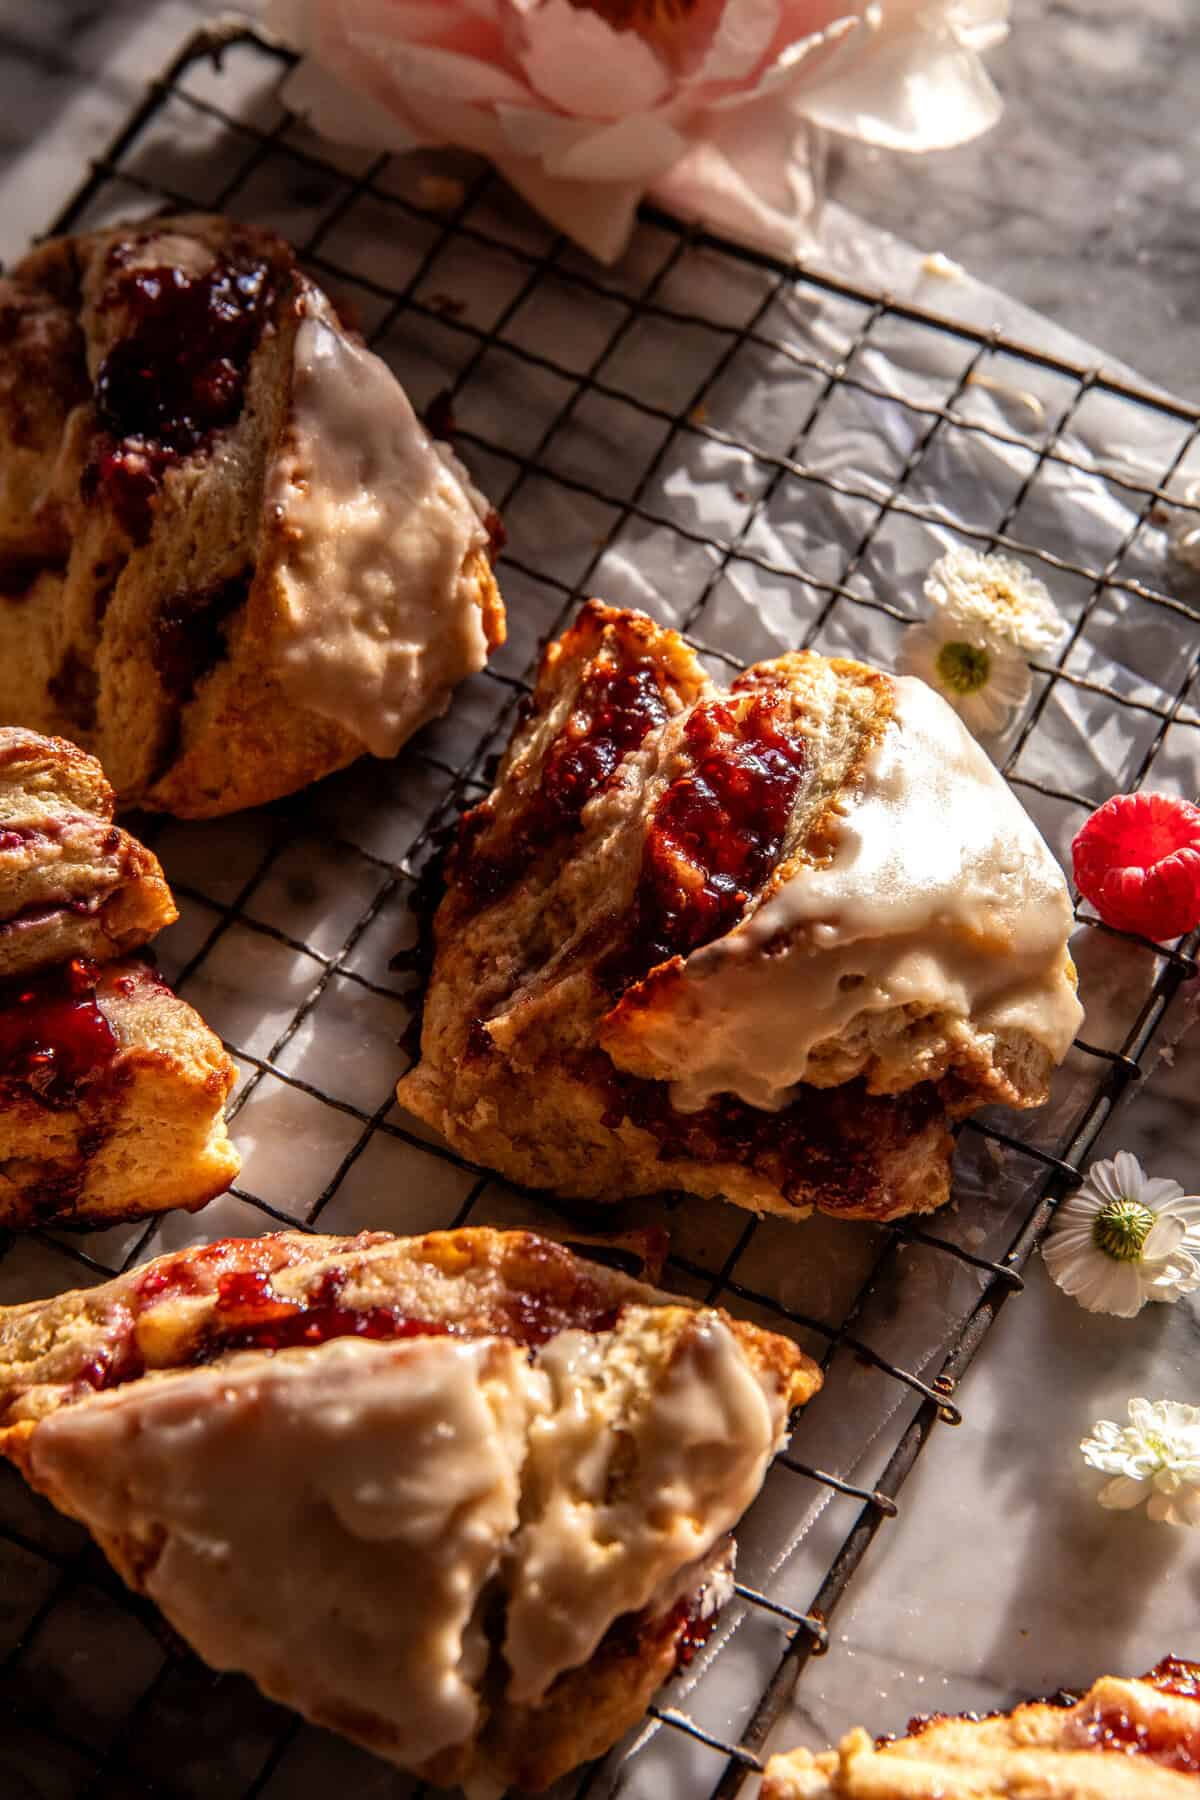
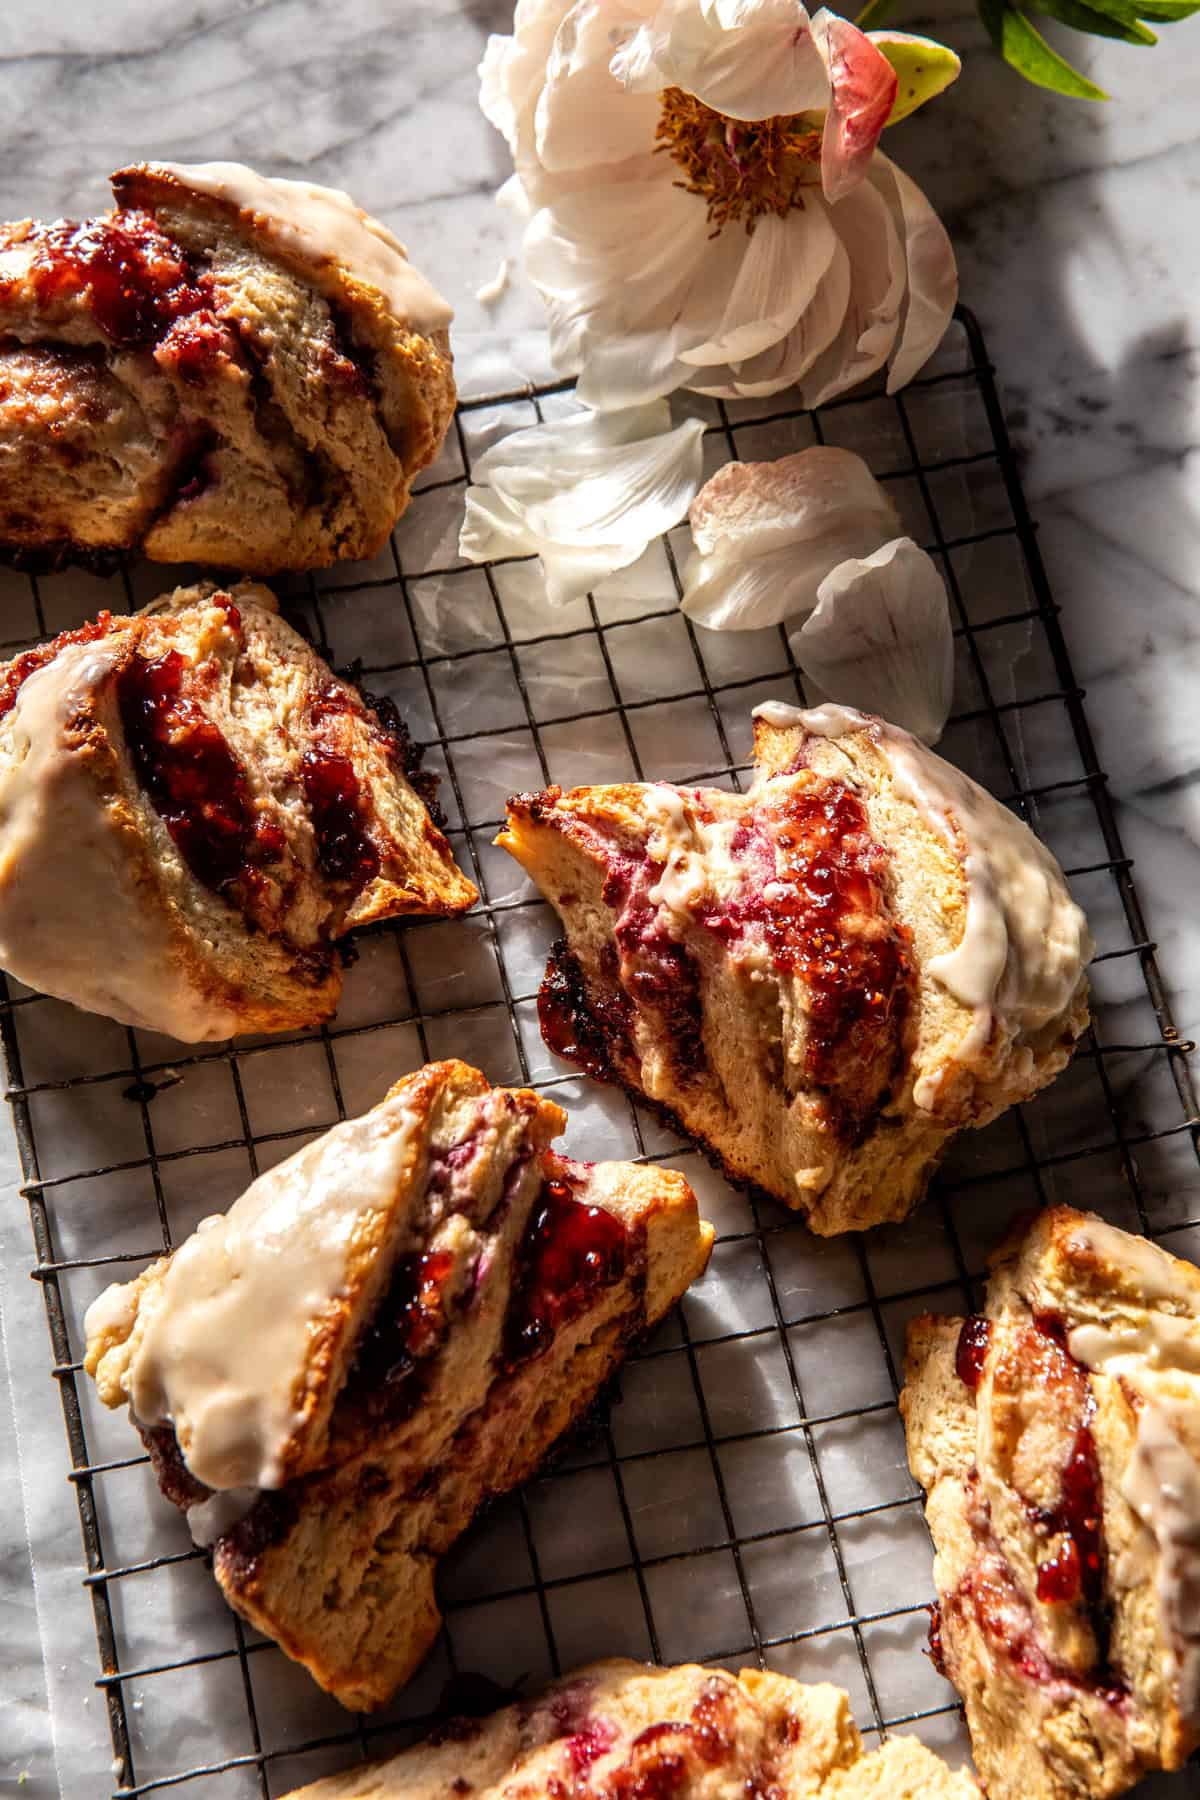
Layered Raspberry Scones – When you’re craving something sweet, buttery, flaky, and full of berries, these raspberry scones are the answer. They’re made with plenty of salted butter, tangy buttermilk, and layered with cream cheese, raspberry jam, and fresh raspberries. They’ve got double the berries, a little cream, and a flaky, golden finish. Serve them warm from the oven with a drizzle of sweet vanilla glaze and a smear of salted butter—perfect for spring and summer baking!

Scones, scones, scones! I’m definitely feeling the French countryside vibes with this recipe. It’s fun, right? I don’t make scones often, but lately I’ve been getting so excited for summer. My Pinterest boards are filled with French country tables and endless lavender fields—so inspiring!
With that in mind, I set out to perfect this recipe—and I really worked on it. After a few trial runs, I finally got the scones just right, and they’re so good!
I wanted the scones to be flaky with buttery layers, but also full of juicy berries. In my early tests, I went overboard with the berries (I got a little too excited). The trick is balance: a combo of raspberry jam and fresh raspberries, with multiple rounds of chilling to create perfect layers.
Finish with a light vanilla glaze and a pinch of flaky sea salt…and wow! These scones are a must for weekend baking.
These are the details
Ingredients – for the scones
- flour
- baking powder
- granulated sugar – this is optional and should only be used if you enjoy a sweeter scone
- salted butter – make sure this is COLD
- buttermilk, heavy cream or whole milk – when I have it, I like buttermilk best, but both cream and milk work well
- an egg
- cream cheese
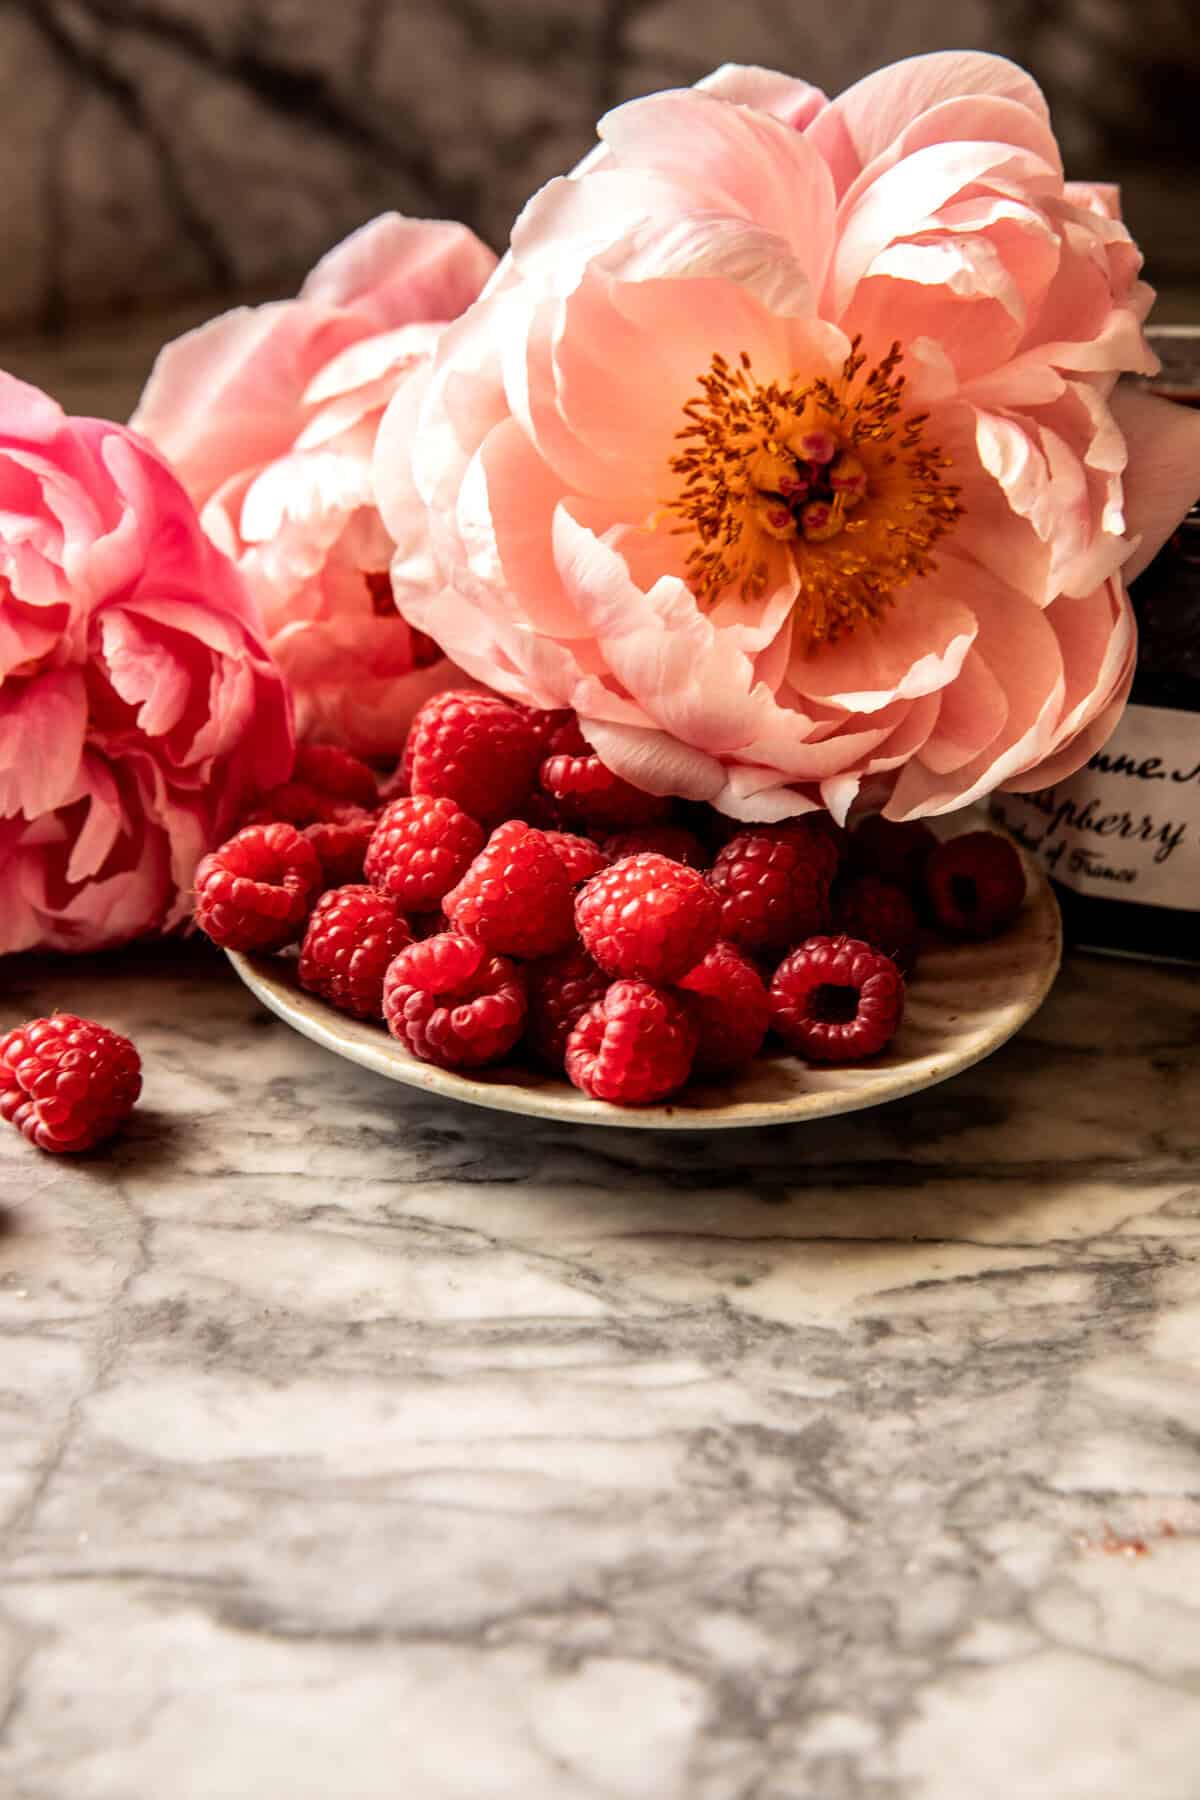
- raspberry jam – fun fact, I brought mine home with me from France!
- fresh or frozen raspberries
Ingredients – for the glaze
- salted butter
- vanilla extract
- powdered sugar
- sea salt
Tools
For this recipe, I recommend a box grater for grating the butter, a couple of mixing bowls and a sheet pan. That is about it!

Steps:
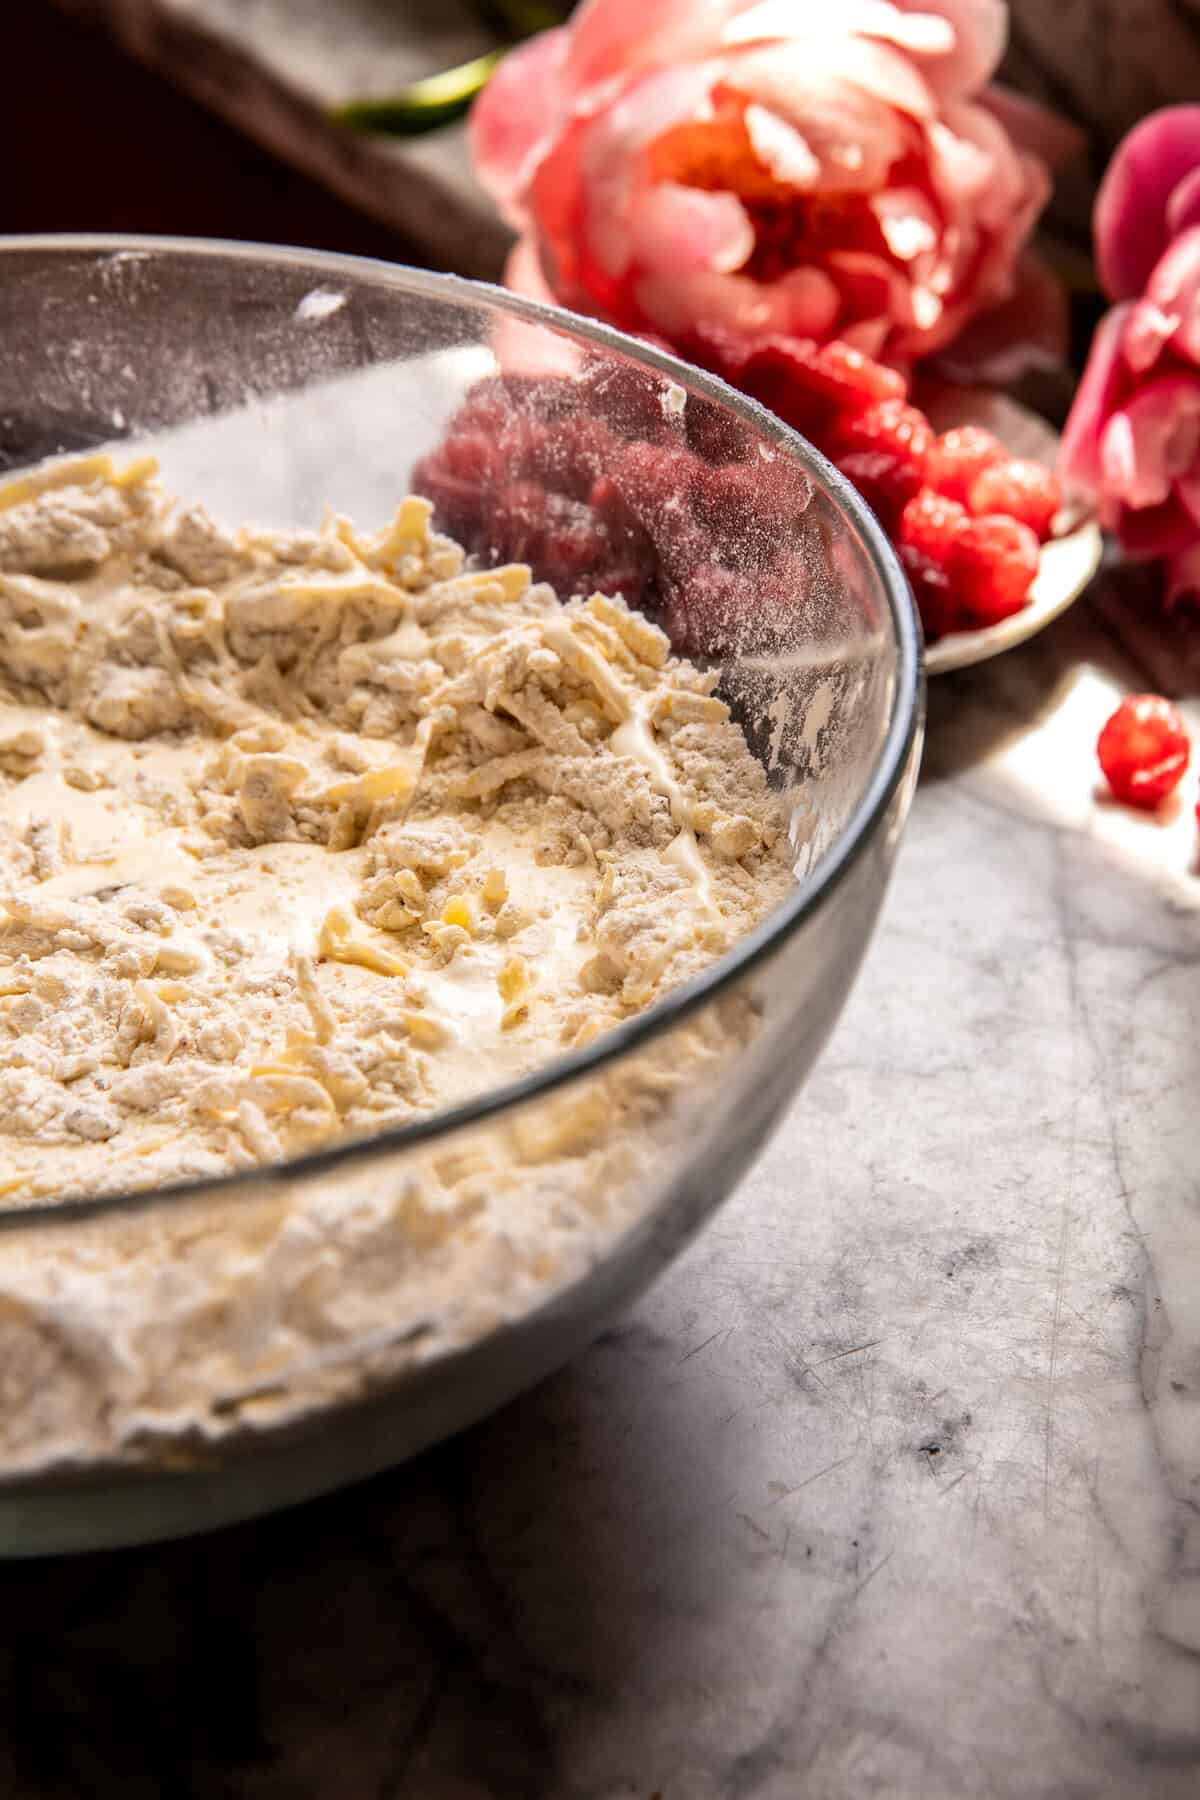
Step 1: make the dough
This is pretty straightforward: mix the flour with the baking powder, sugar (if using), and the salted, shredded butter.
Stream in the buttermilk, add the egg, then mix the dough until it becomes shaggy and holds together when you squeeze it with your fist.
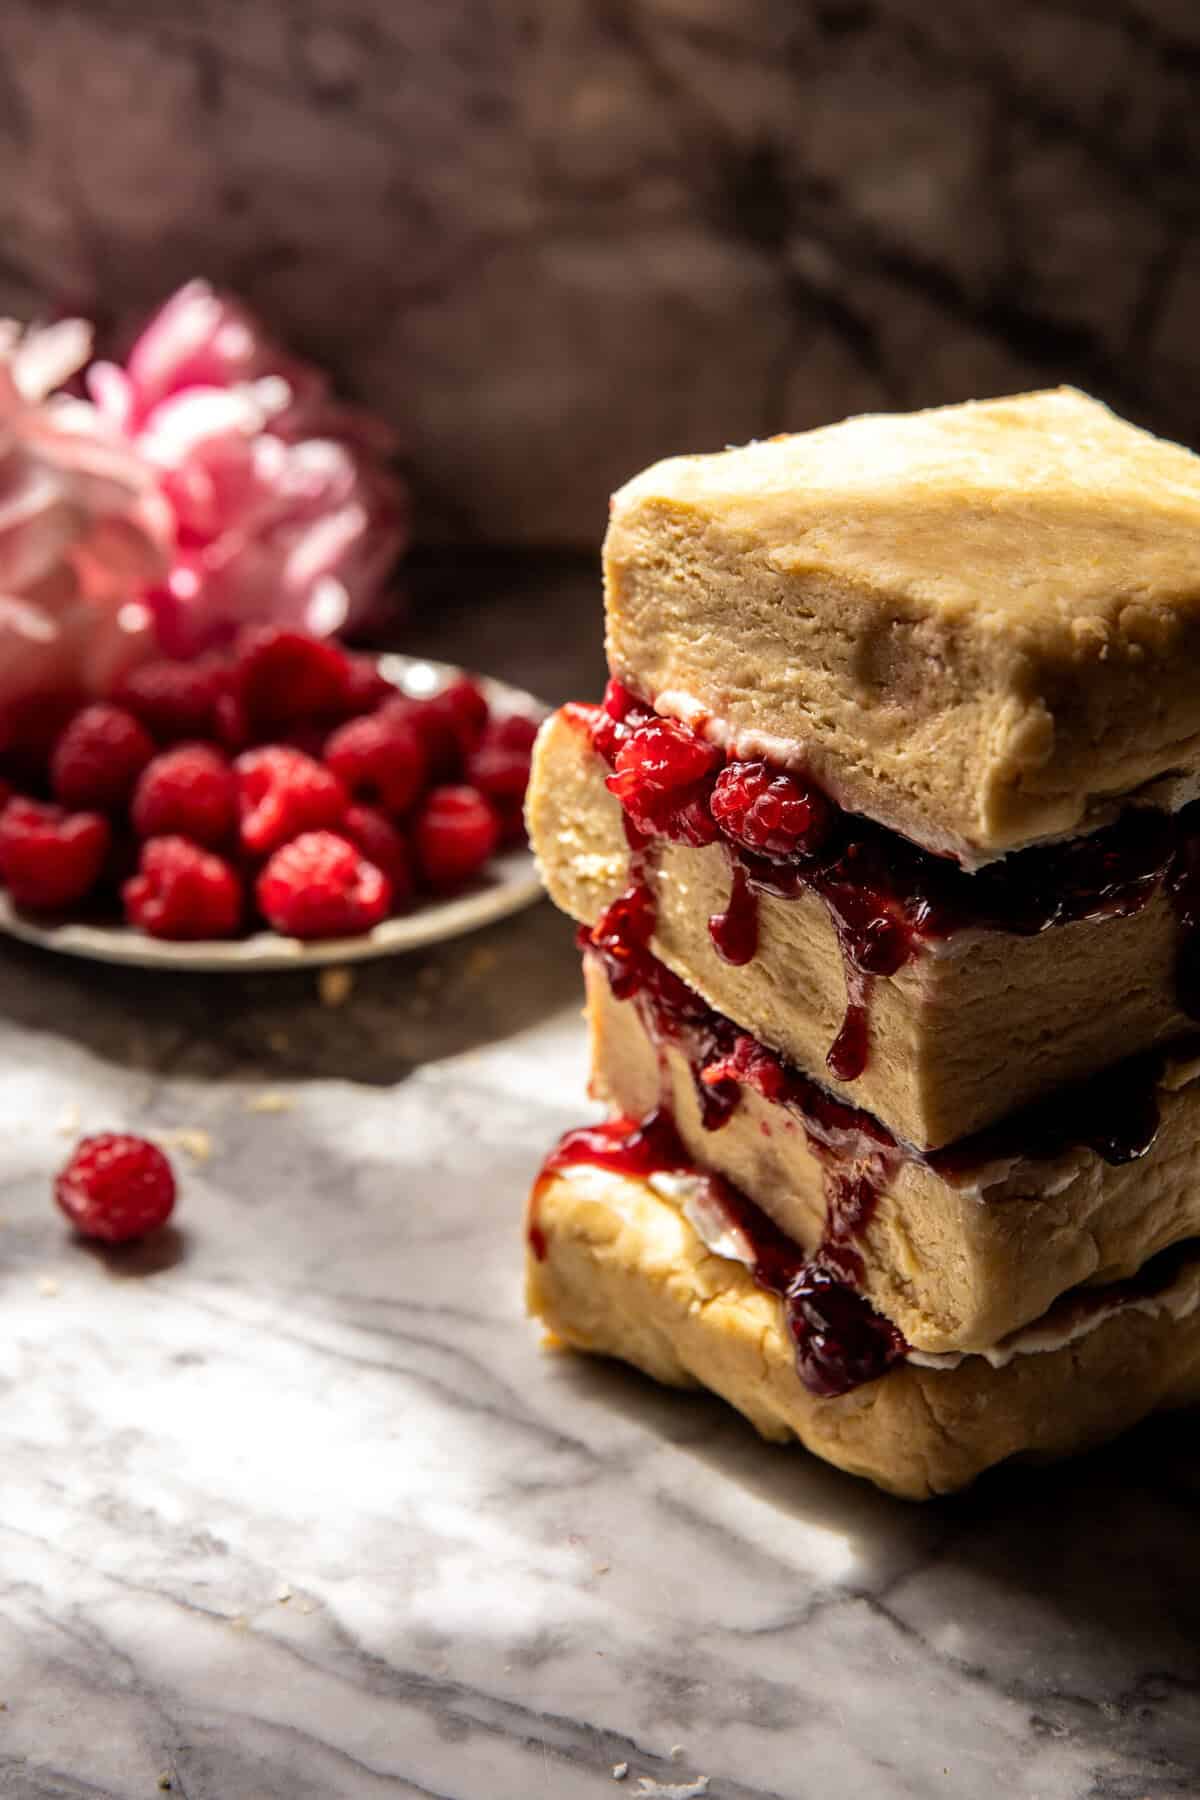
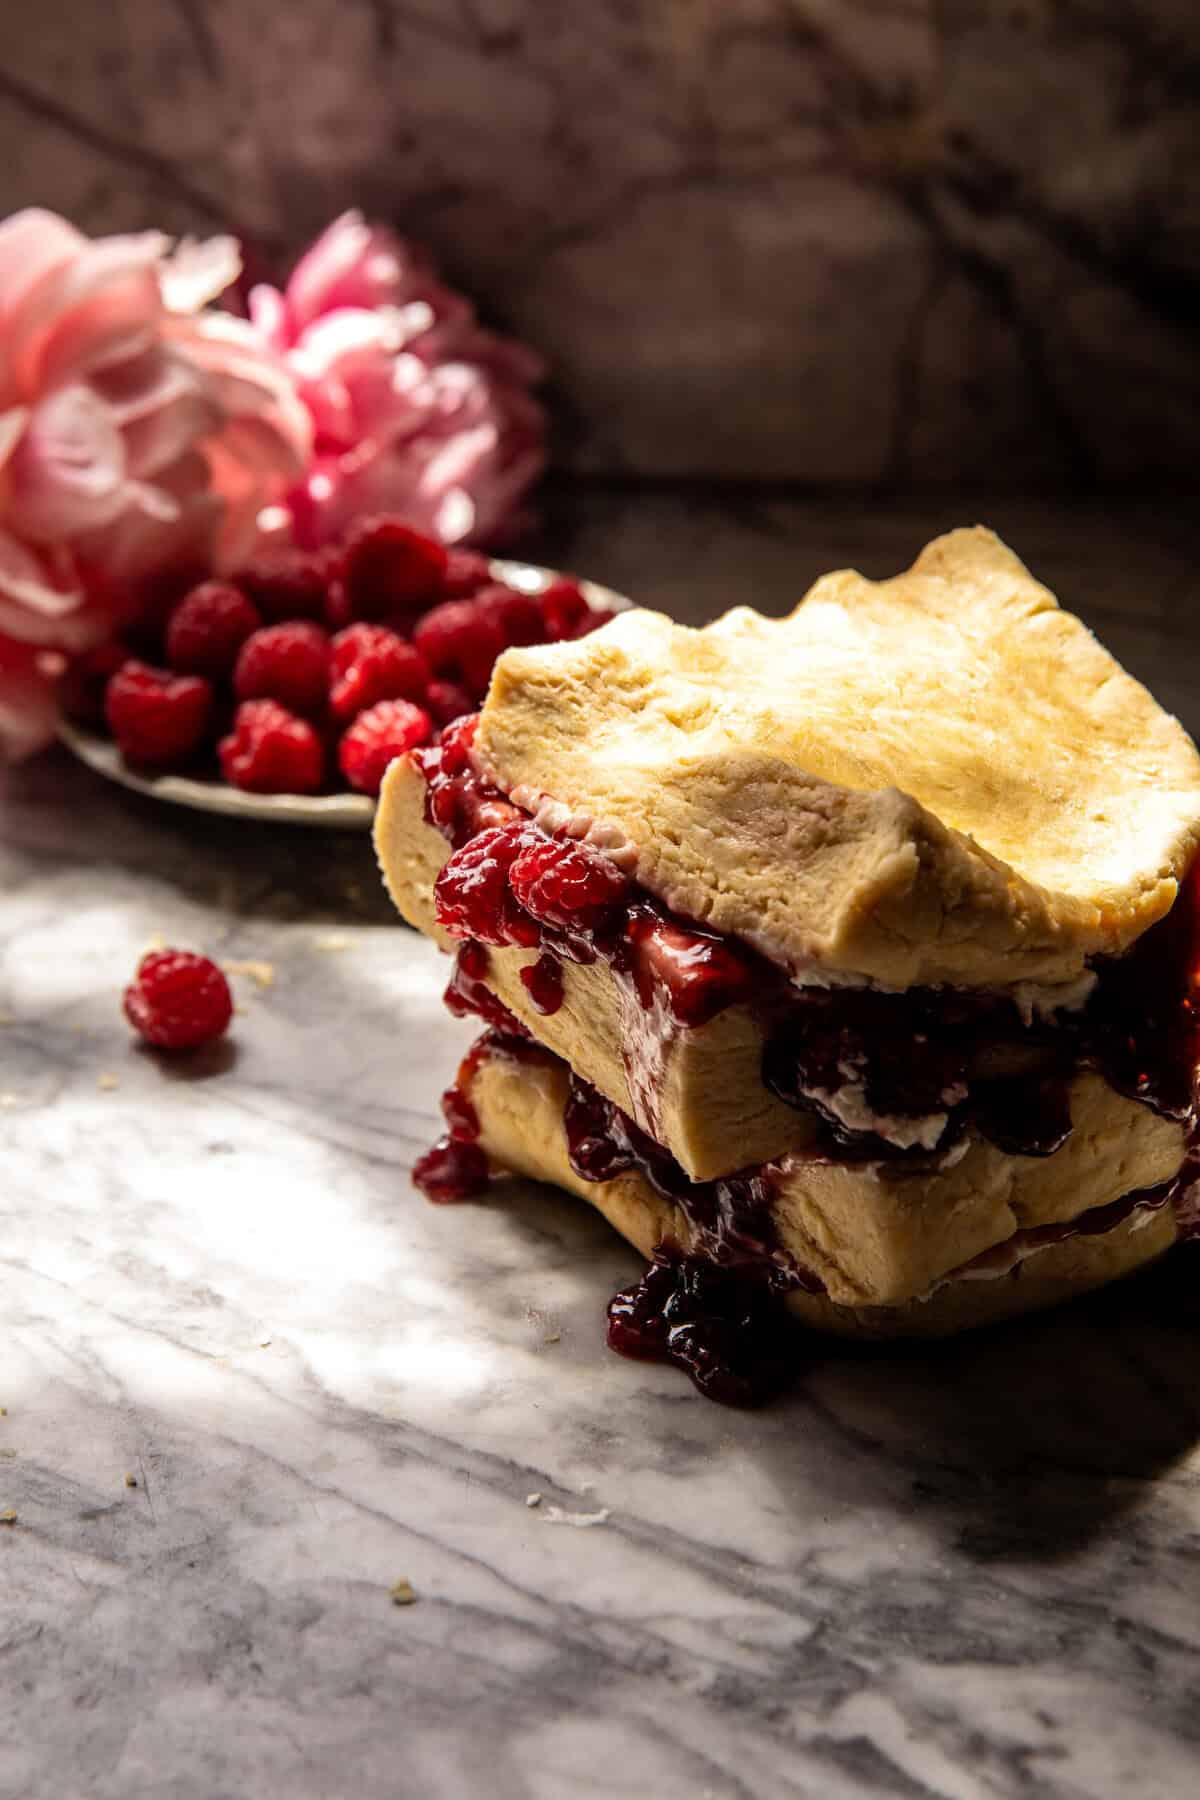
Step 2: shape the dough
Next, shape the dough into a square and cut the square into 4 pieces.
Now spread the tops of 3 of the squares with cream cheese, then jam, then berries. Stack the squares and press down to create the layers of berries!
Just a heads up, it’s going to be messy. Try to avoid adding too much jam/berries. You just want a light spread.
Add the 4th square and press together once more.
Step 3: freeze
Before you cut the scones, let the dough hang out in the freezer. This will re-chill the butter and make cutting the scones easier.
Chill about 20 minutes.
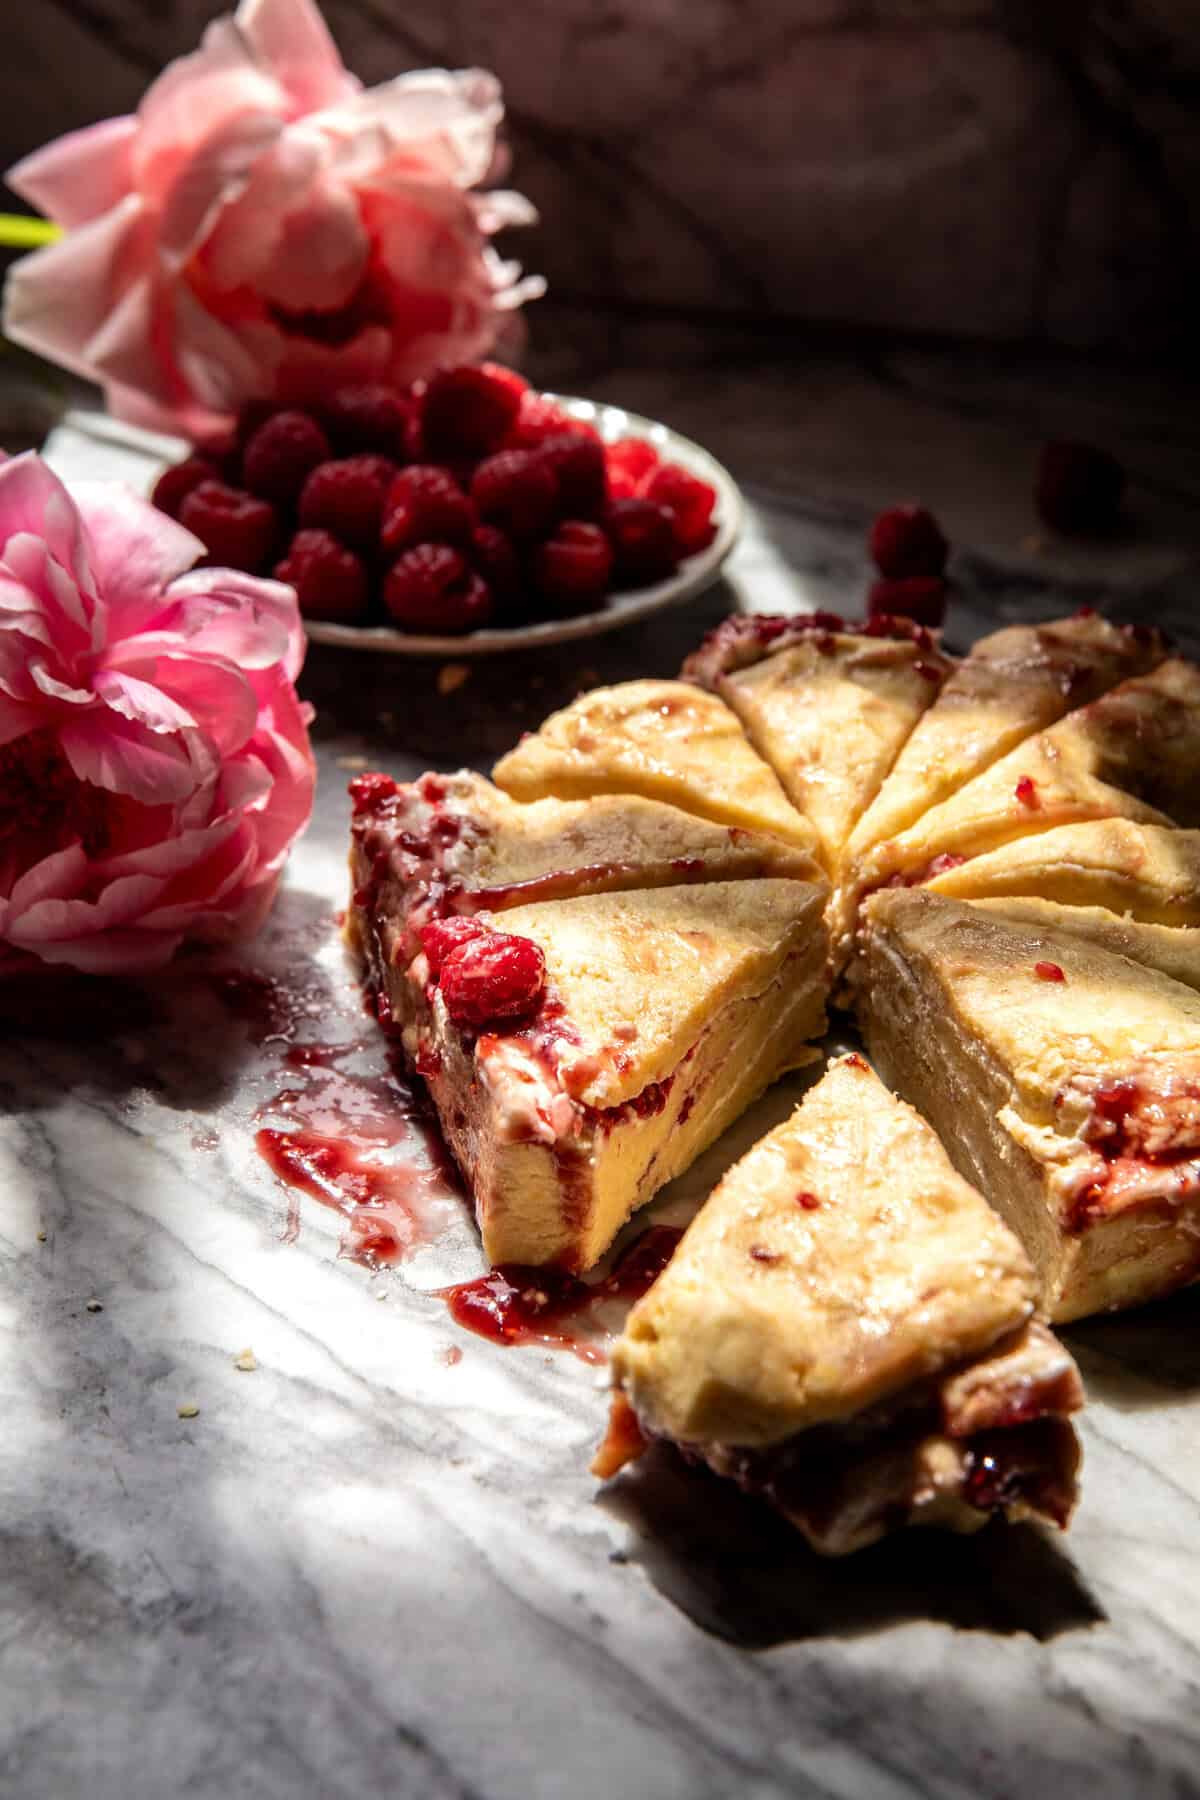
Step 4: cut scones and bake
You can cut the scones into squares or triangles. Freeze one more time, then brush the tops with buttermilk and bake.
Step 5: mix the glaze
Brown the butter, then add vanilla extract and powdered sugar. Mix with water to create a thin glaze.
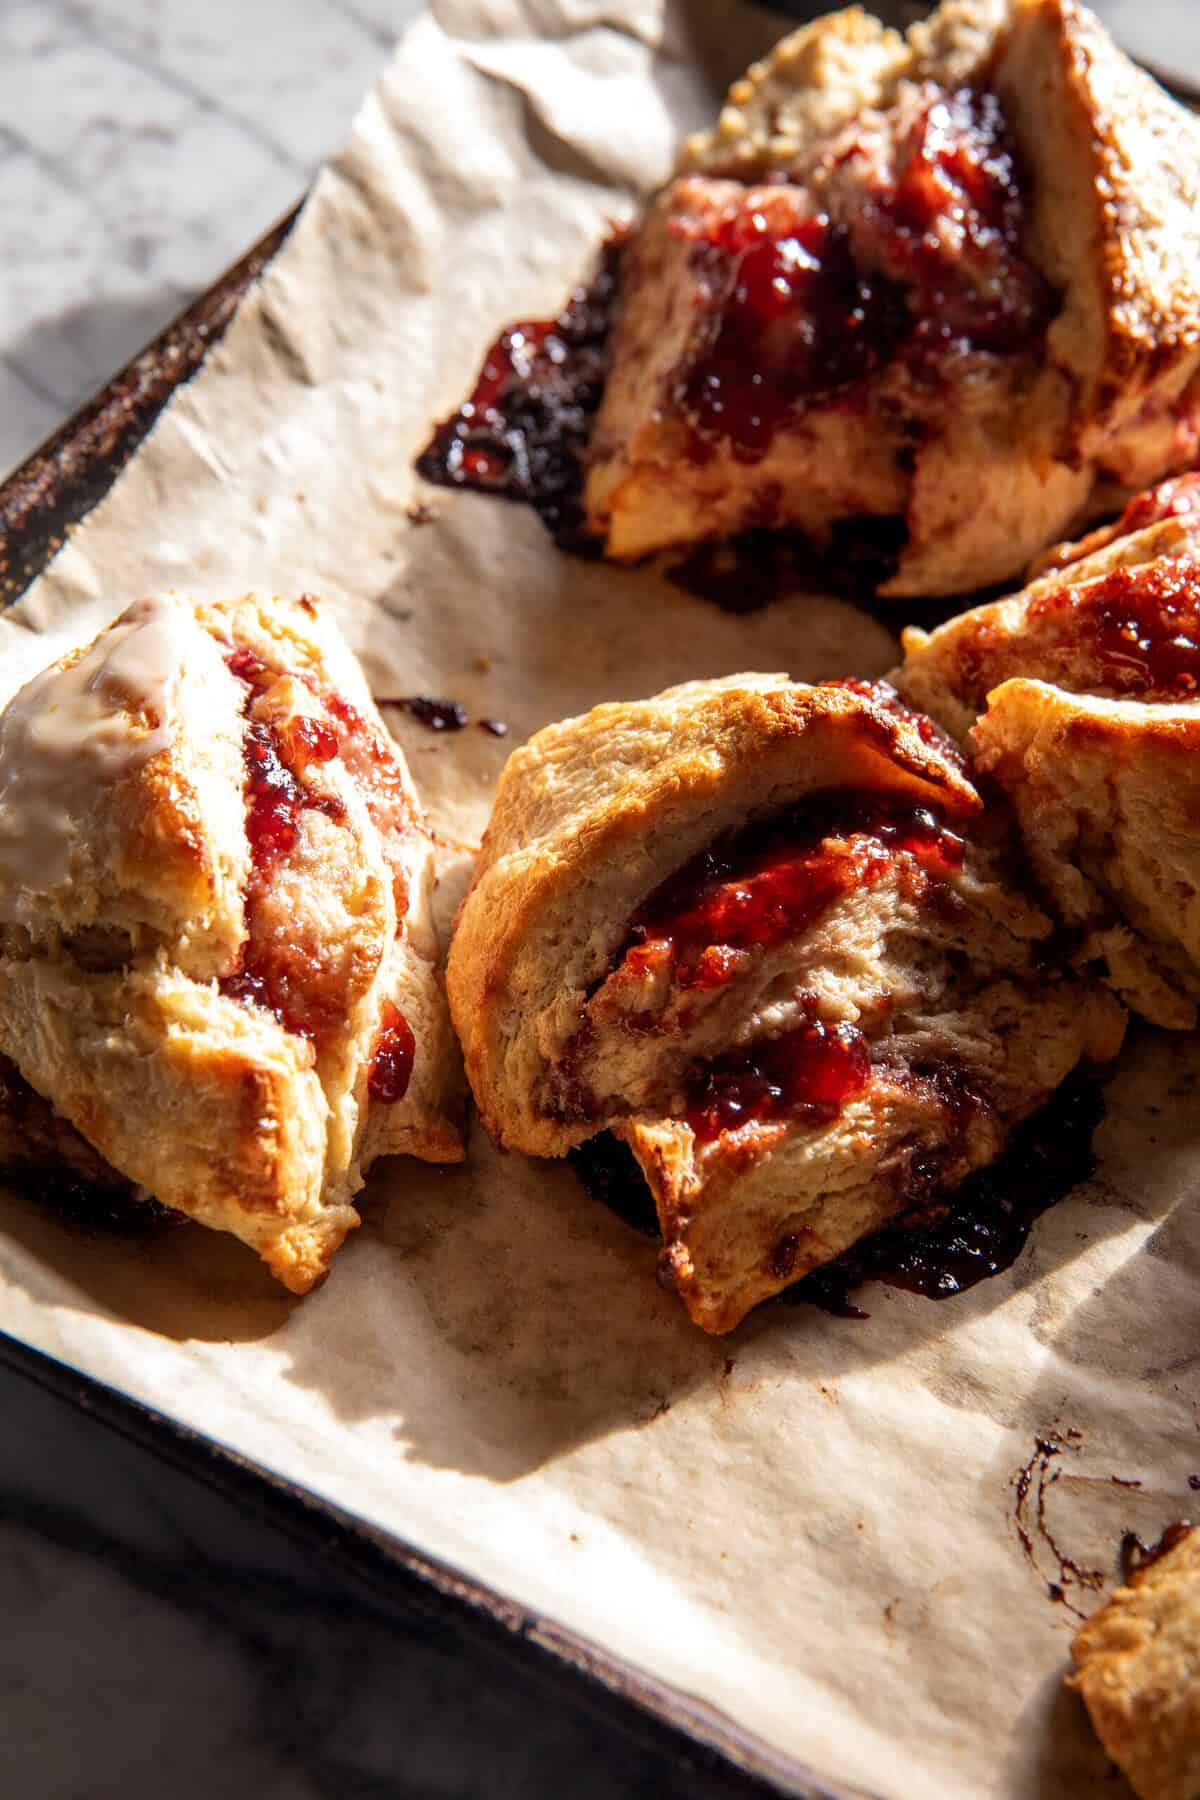
Step 6: serve
I recommend glazing the scones while warm and enjoying them with fresh salted butter, berries, and maybe even a dollop of whipped cream. That would be yummy!
The layers of flaky scones, cream, and berries really make these layered raspberry scones so special! I just love them!
Looking for other homemade recipes? Here are a few ideas:
Homemade Strawberry Shortcake Ice Cream Bars
Healthier Homemade Nutter Butter Cookies
Frosted Brown Sugar Cinnamon Pop Tarts
Lastly, if you make these Layered Raspberry Scones, be sure to leave a comment and/or give this recipe a rating! Above all, I love to hear from you guys and always do my best to respond to each and every comment. And, of course, if you do make this recipe, don’t forget to tag me on Instagram! Looking through the photos of recipes you all have made is my favorite!
Layered Raspberry Scones
Servings: 12 scones
Calories Per Serving: 281 kcal
Nutritional information is only an estimate. The accuracy of the nutritional information for any recipe on this site is not guaranteed.
Ingredients
- 3 cups all-purpose flour
- 1 tablespoon baking powder
- 1 tablespoon granulated sugar (optional)
- 1/2 teaspoon kosher salt
- 2 sticks (16 tablespoons) cold salted butter, shredded (just like cheese)
- 1 cup cold buttermilk, heavy cream, or milk
- 1 large egg
- 3 ounces cream cheese
- 1/4 cup raspberry jam
- 1/4 cup fresh or frozen raspberries
Vanilla Glaze
- 2 tablespoons salted butter
- 1 tablespoon vanilla extract
- 2 cups powdered sugar
Instructions
- 1. Preheat the oven to 425°F.2. In a large bowl, combine the flour, sugar (if using), baking powder, salt, and butter. Using a spatula, mix until the dough clumps together to form larger pea-size balls. Drizzle in the buttermilk (cream or milk). Add the egg. Mix until the dough is shaggy looking and holds together when squeezed in your hand. 3. Turn the dough out onto a clean surface and pat into a 1-inch-thick square. Cut the dough into 4 pieces. Spread the cream cheese over 3 of the squares, top the cream cheese with jam and raspberries. Stack the berry-topped pieces on top of each other. Add the final piece (with no cream cheese) on top of the stack (see above photos). Press down to flatten. It will be messy.4. Dust the counter with flour and roll the dough into a 1-inch-thick rectangle. Again, it will be messy. Wrap the dough up, place in the freezer to chill, 20 minutes. Cut into 12 scones. Transfer to a parchment-lined baking sheet and freeze another 10-15 minutes.5. Brush the scones with buttermilk. Bake 20-25 minutes, until golden on top. They will likely fall to the side while baking. 6. Meanwhile, make the glaze. Lightly brown the butter in a small skillet, then add to a bowl. Add 2 tablespoons of water, the vanilla, and sugar, whisk until smooth, adding more water as needed to thin. 7. Serve the scones warm, drizzled with the glaze and smeared with butter. Enjoy!
This post was originally published on May 16, 2025


These were so good! We made these scones for a party we went to, and they got rave reviews. People loved the texture and icing, lots of requests to share the recipe. We followed directions pretty carefully, I don’t normally bake so I needed all the guidance I could get! Highly recommended.
Thank you SO much Kelli! I am so glad you are enjoying these scones, and love to hear they got rave reviews at your party! xT
I’m not disappointed but mine turned out the same as the lady below me lol
I must be missing something. I have never made scones in my life so my first mistake was not making the dough an inch thick.
Any idea what could have gone wrong? I did put the dough in the freezer the 2 times I was supposed to.
Hey Tara! Thanks so much for trying the recipe! No worries at all, scones can be a little tricky the first time. Not getting the dough to a full inch thick could definitely affect the rise and getting the flaky layers. Also, be sure to handle the dough gently and avoid overworking it, which can make them dense. It sounds like you did the freezing steps right, which really helps! If you try again with a thicker dough, I think you’ll see a big difference. Let me know how they turn out next time! xT
Very disappointing. I followed directions exactly and am an experienced baker. Butter oozed from the scones as they baked so that they were sitting in melted butter when I took them out. Very dense. Texture was all wrong
Hi Betsey,
Sorry to hear these scones were not enjoyed. Thanks for giving them a try! xx