Next Post
Crispy Gnocchi with Pistachio Pesto.
This post may contain affiliate links, please see our privacy policy for details.
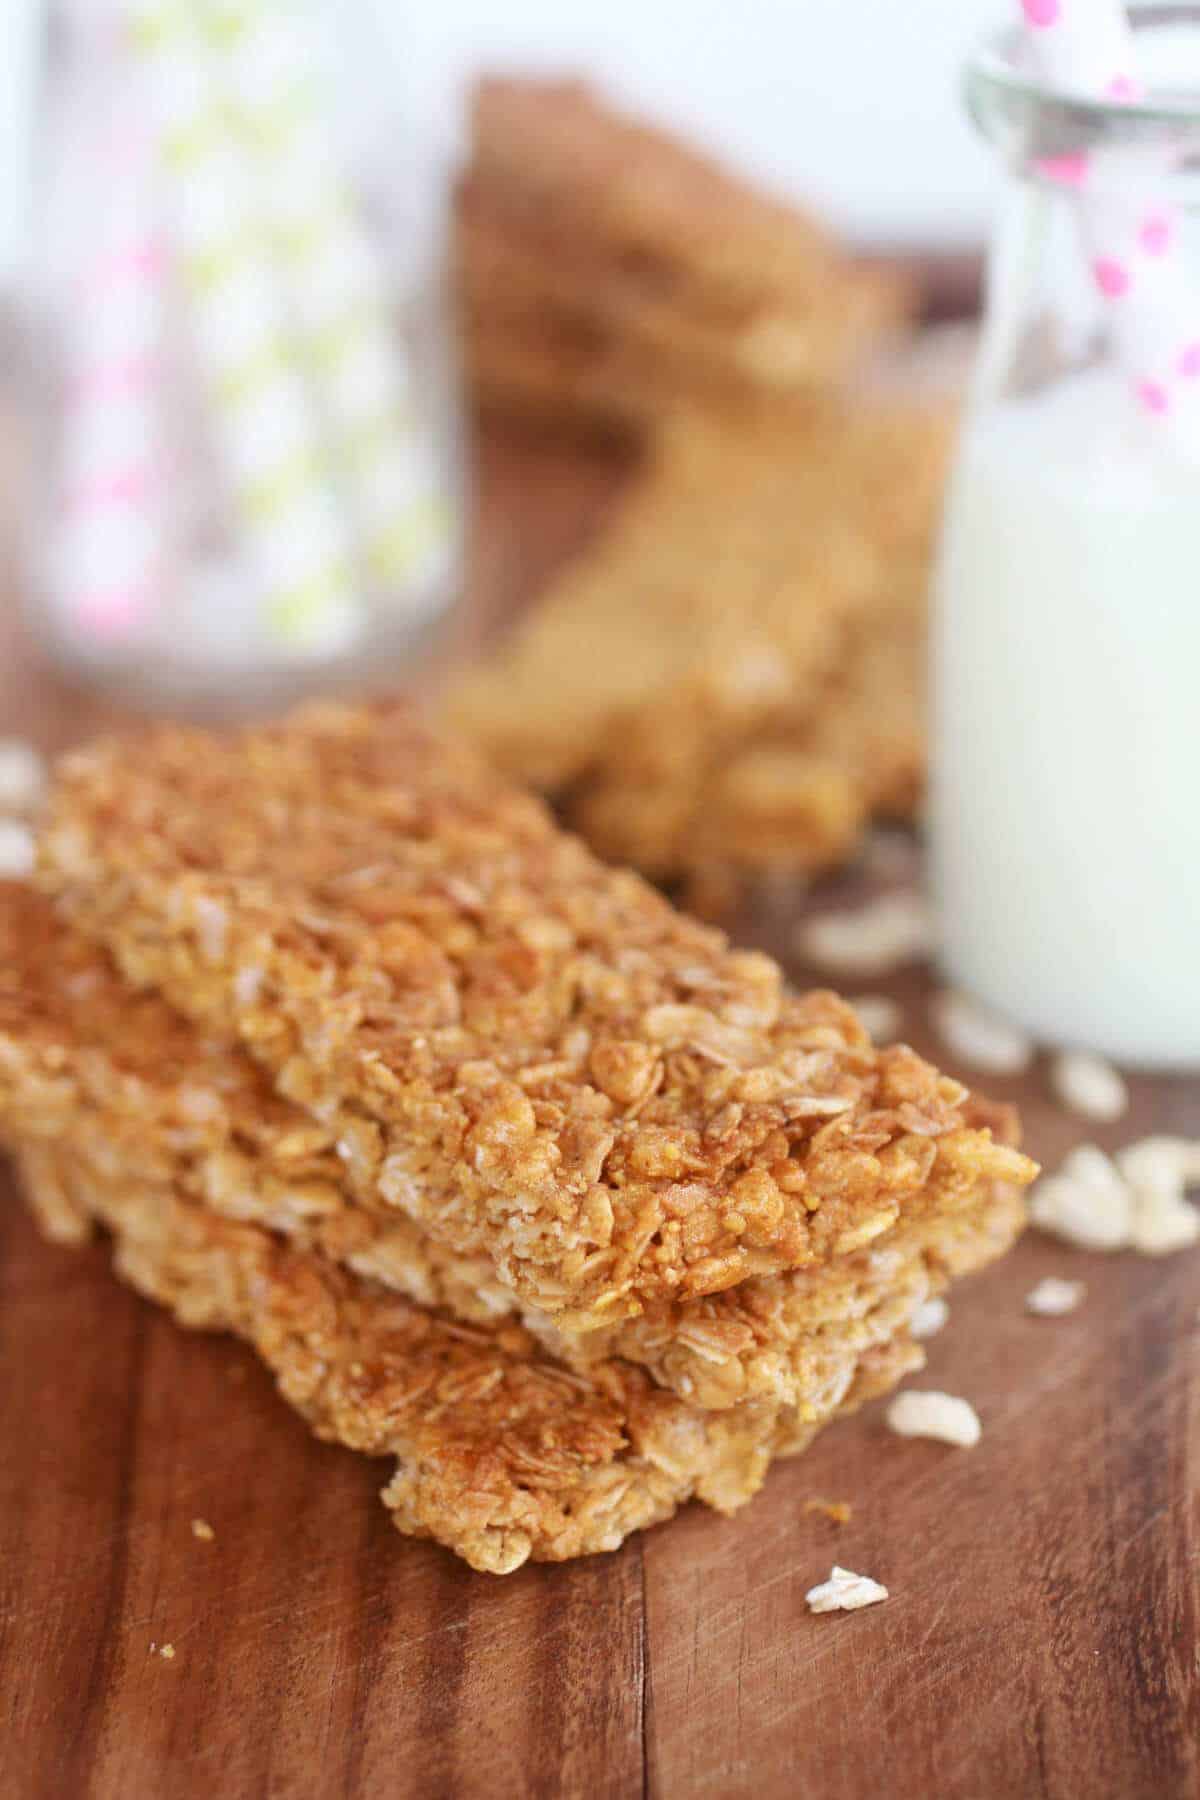
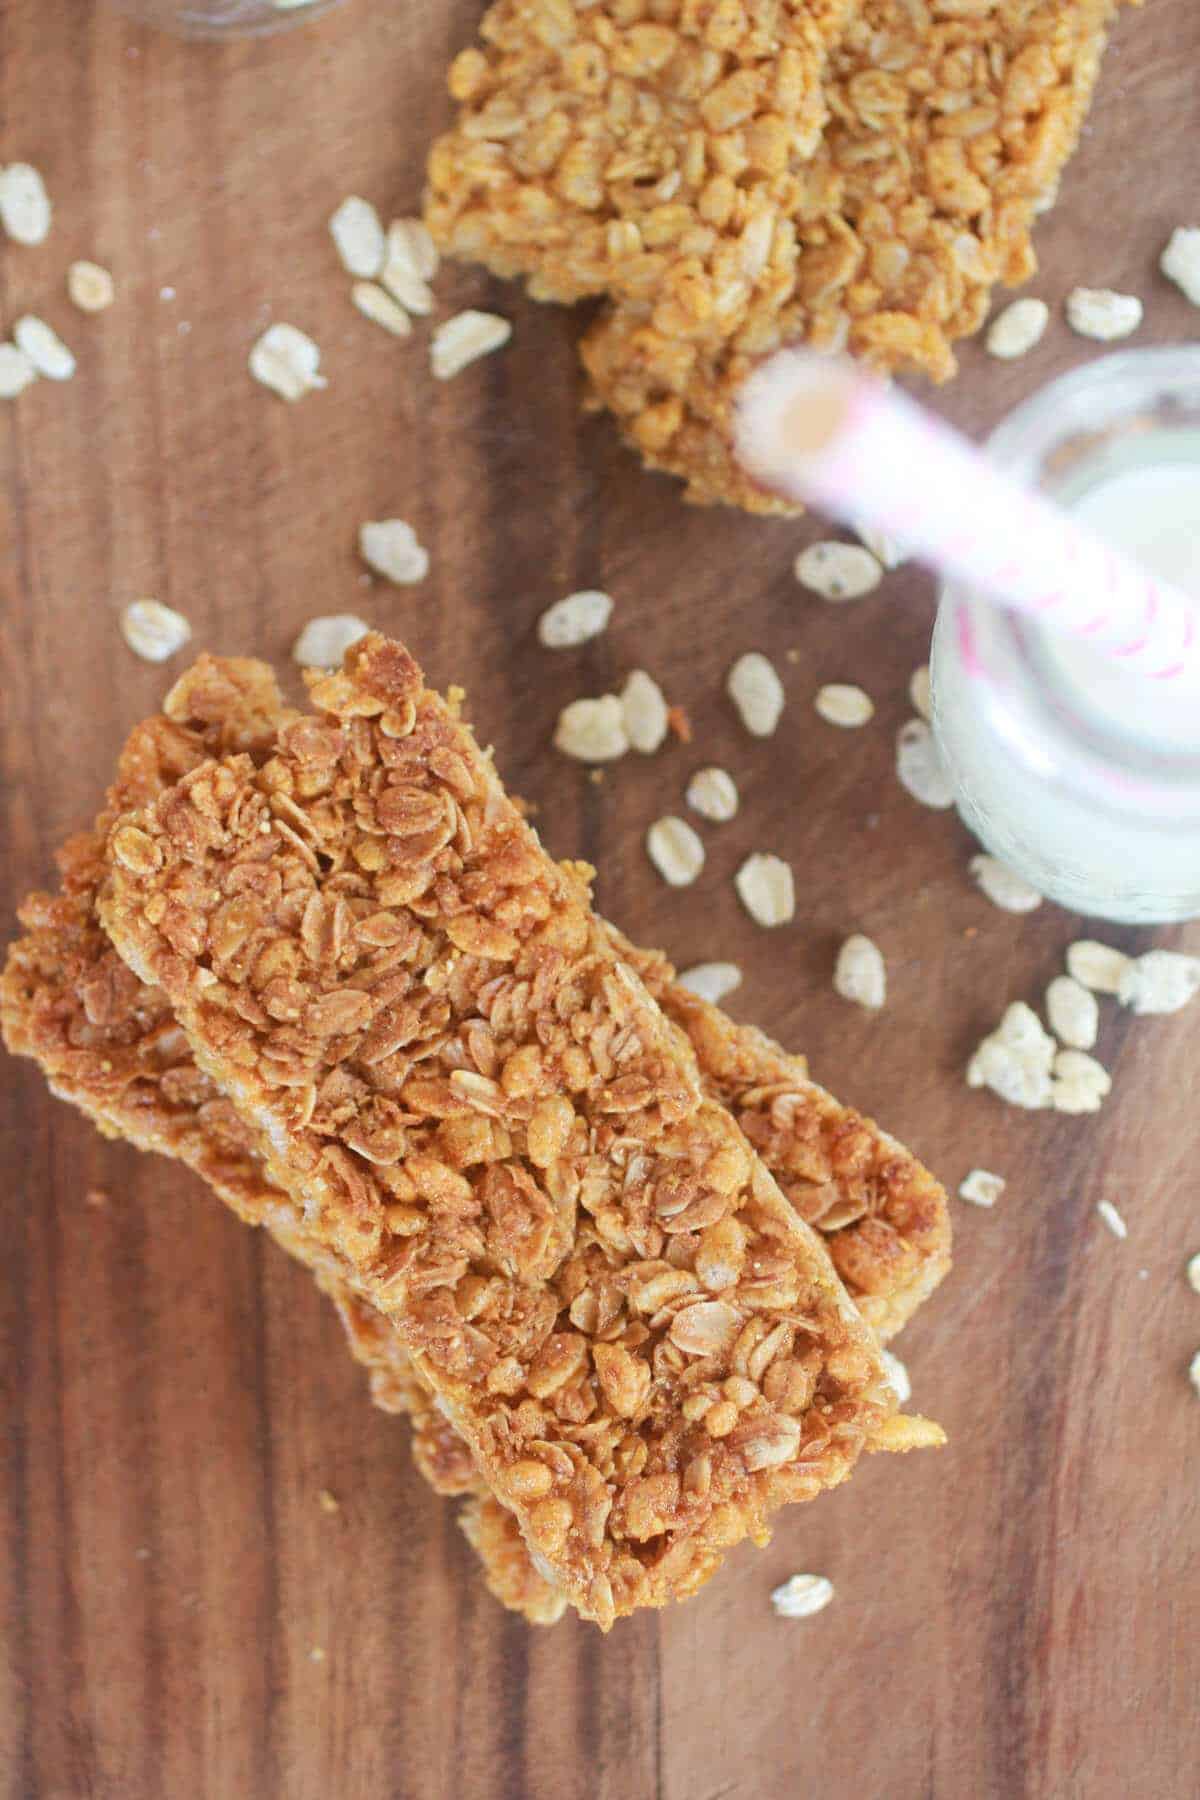
Meet your new favorite snack bar…crisp, golden, and honey-sweet with that satisfying snap. These homemade oats ’n honey bars deliver the Nature Valley vibe, just fresher and a little more cozy from your own oven.
They mix up fast, bake toasty, and keep well for the week. Perfect for lunch boxes, hikes, or an afternoon pick-me-up with tea.
Oats: Rolled oats = chunkier texture and more crunch; quick oats = finer, maybe less crumbly
Honey: Use a mild, light honey for a clean flavor; strong varietals taste more floral/robust (still delish, just different).
Fat (butter or oil): Butter adds flavor; neutral oil can bake a touch crisper.
Salt: Even a small pinch sharpens the honey and controls sweetness.
Add-ins (optional): Sesame seeds, finely chopped nuts, or a sprinkle of cinnamon change texture/flavor.
It’s snowing non-stop here. And to think two days ago I thought maybe spring might come a little earlier up here in the mountains.
Yeah, right. Those days of awesome sunshine and 30 degrees temps were short. Too short.
My die hard snowboarder brothers are pretty happy. Apparently, it was a major pow, pow day (Pow, pow is a lot of snow. I asked, they rolled their eyes.).
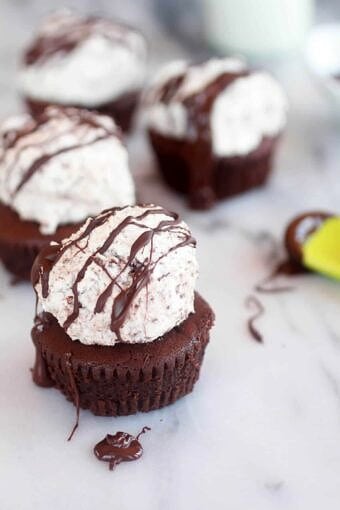
Ah, welcome to my life. Snowboard talk 24/7. Most the time I have no idea what everyone is talking about. I am in my own world thinking about Flourless Chocolate Cakes, Spring Pasta and those cute as can be Easter straws I got at Target thanks to Jessica.
So I tuned out the snowboard talk and day dreamed about Florida and palm trees and 80 degree weather. All while I stood by the heater (that is duct taped together, because the neck broke in half, jimmy rigged I think my dad calls it) that never leaves my side (never) and made granola bars.
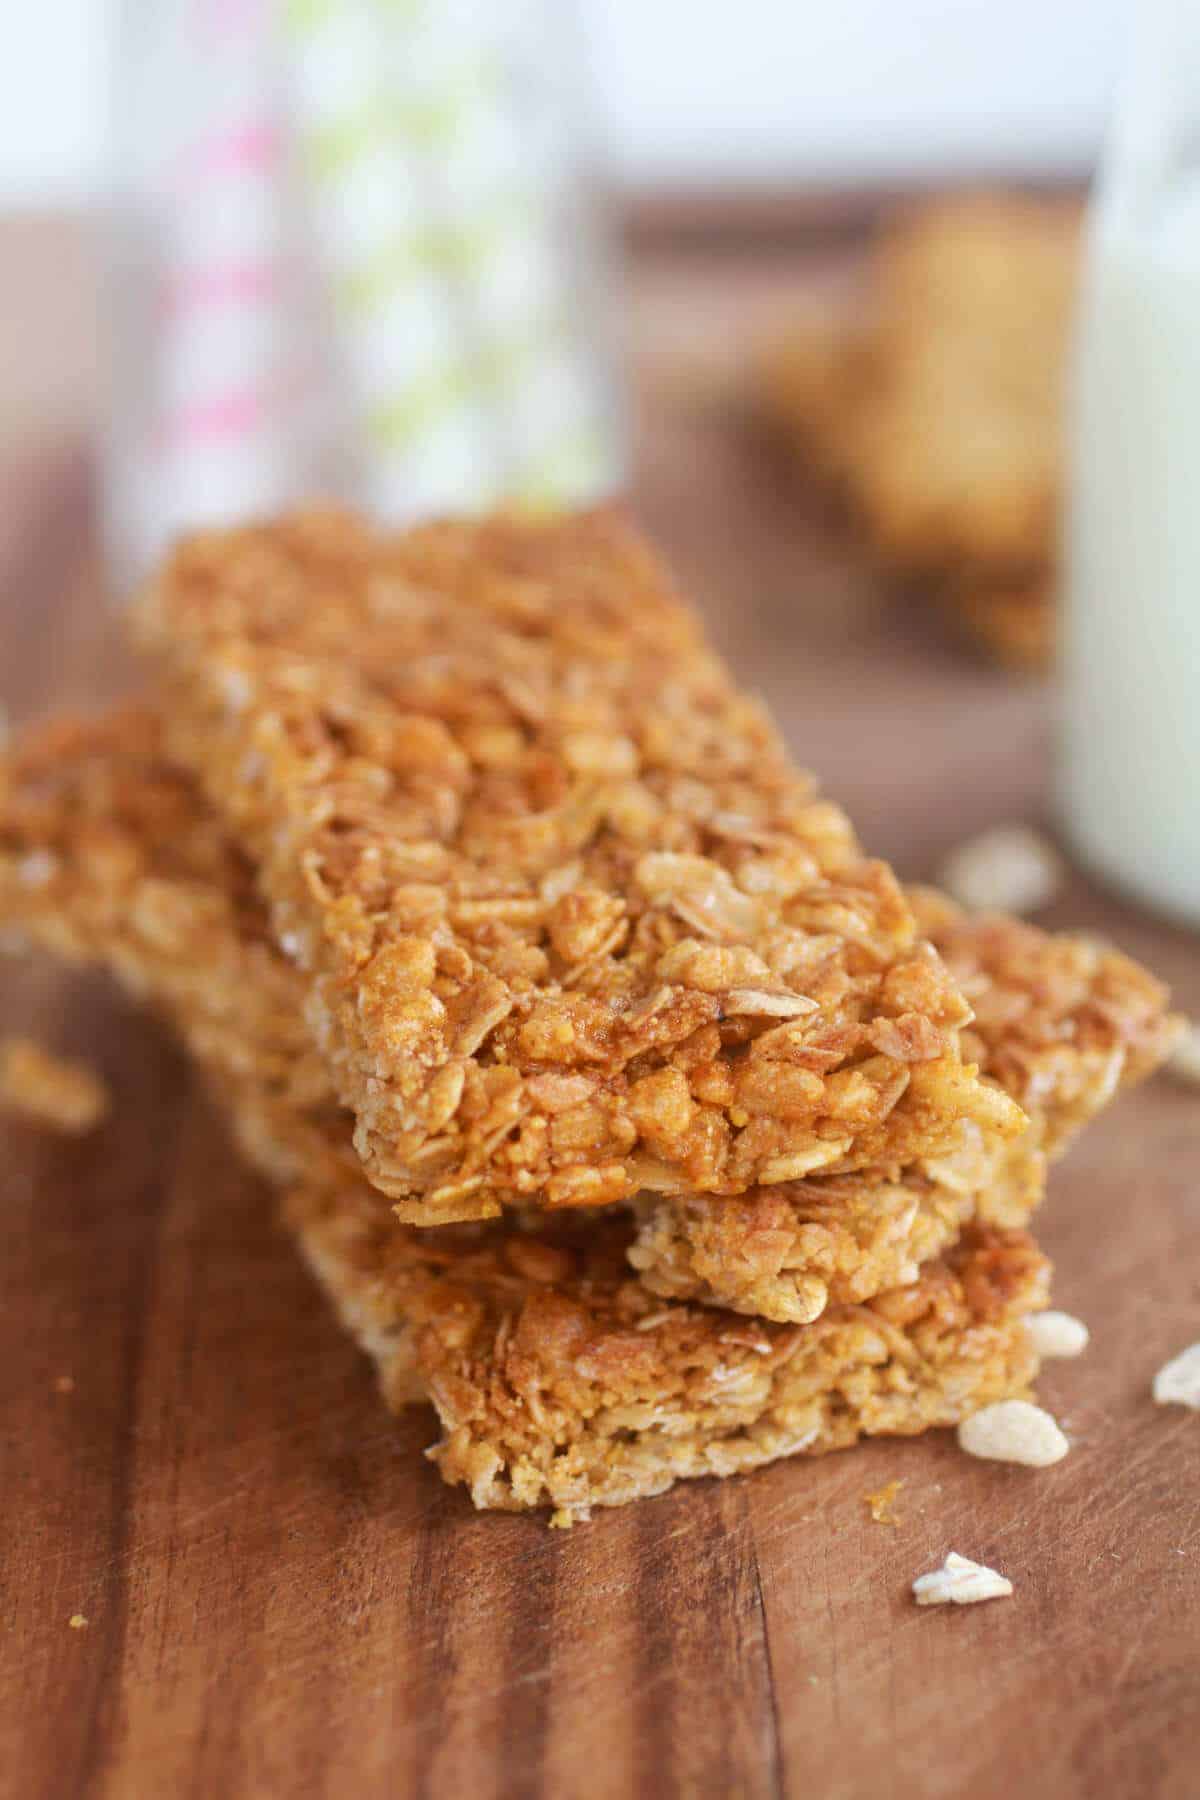
Copy cat Nature Valley Oats ‘n Honey bars. They are the real deal.
My family loves these bars and I wanted to see if I could replicate them.
Mission accomplished! Oh, and they are SO easy. Like you need nine simple ingredients that you probably have on hand right now, five minutes of prep time and a little love from the oven. Then your golden! Literally they come out all golden and your kitchen will smell AMAZING. The smell alone is reason enough to make these.
Seriously, they are healthy, easy and in my opinion way better than the store-bought! Make yum today and eat them as a snack all week long!
Line with parchment: Use parchment with overhang so the slab lifts out cleanly.
Press firmly: Pack the mixture very tightly with the flat bottom of a measuring cup. The tighter the pack, the crisper the slice.
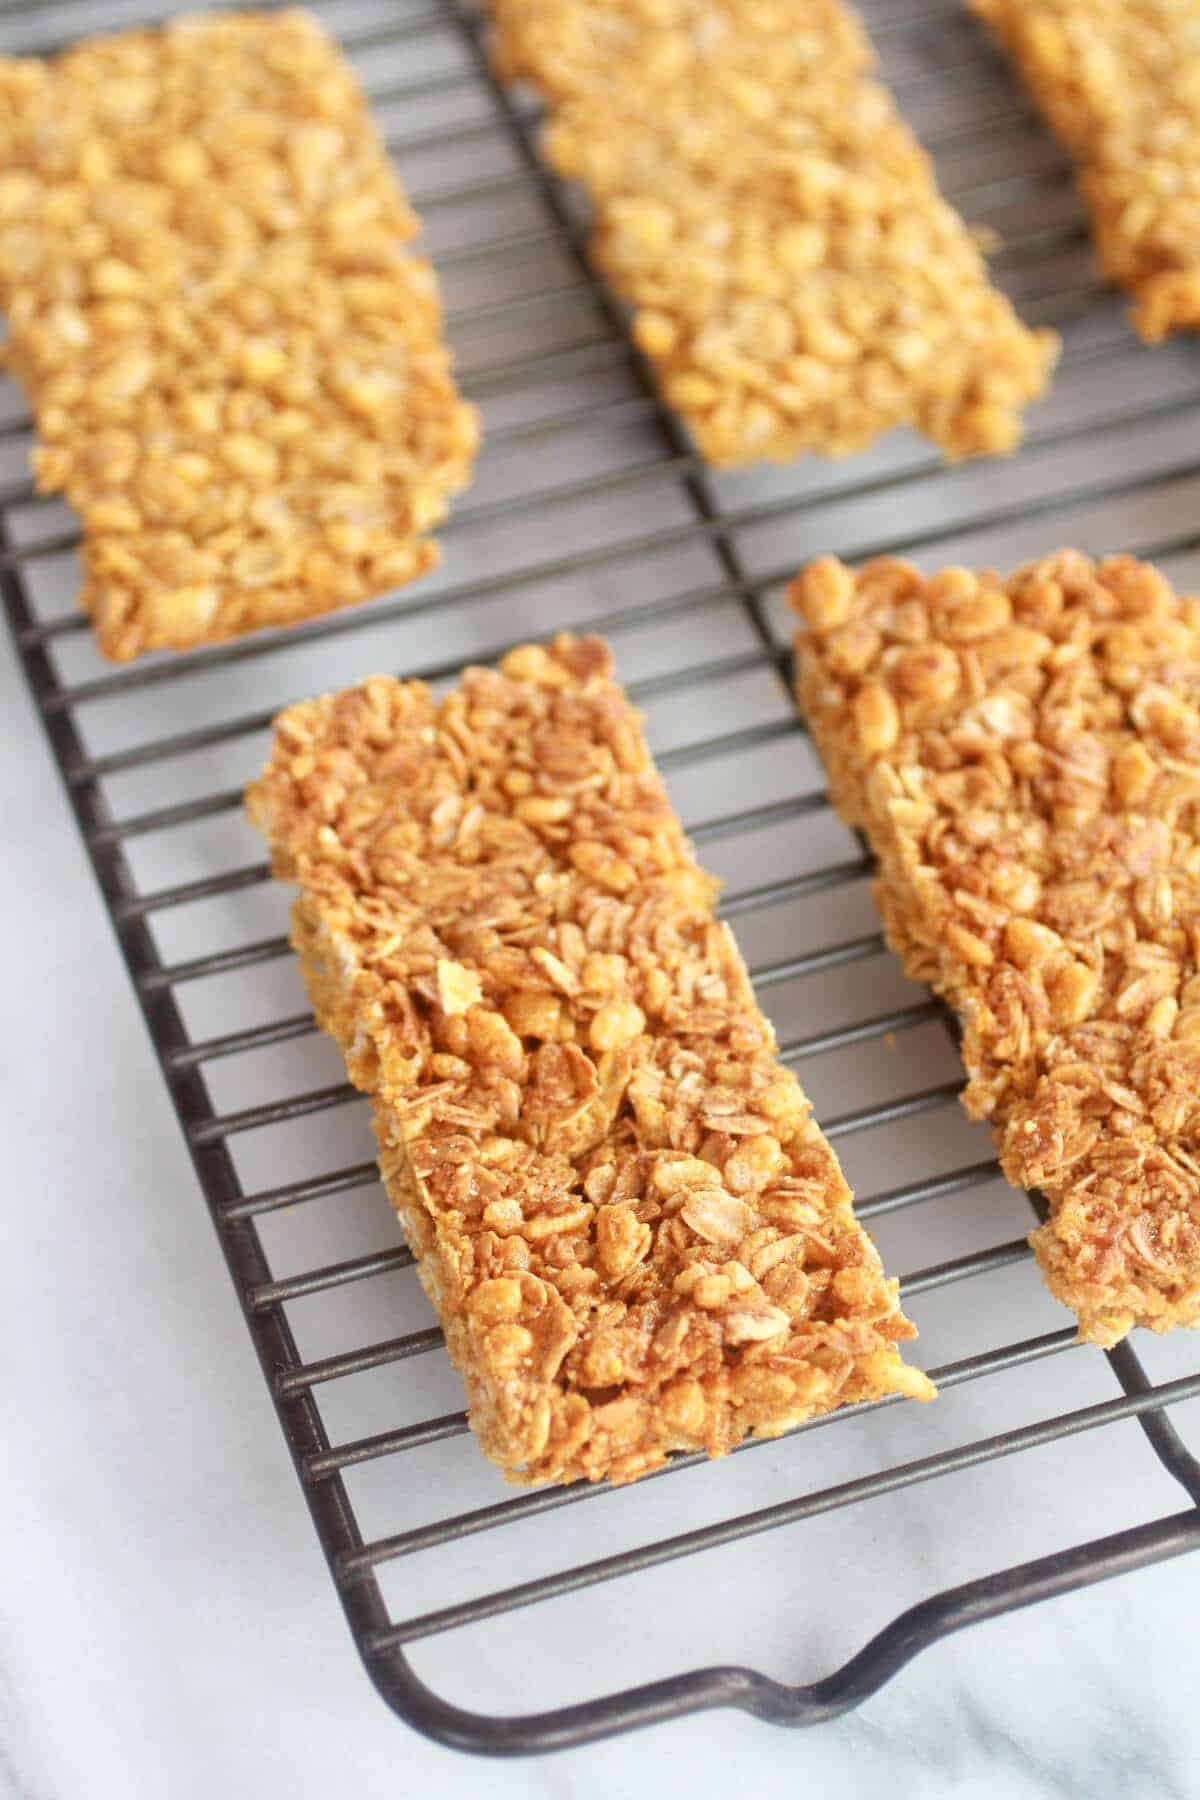
Bake to color, not time: Pull when the edges are deep golden and the surface looks set and toasty; pale bars = softer, crumblier.
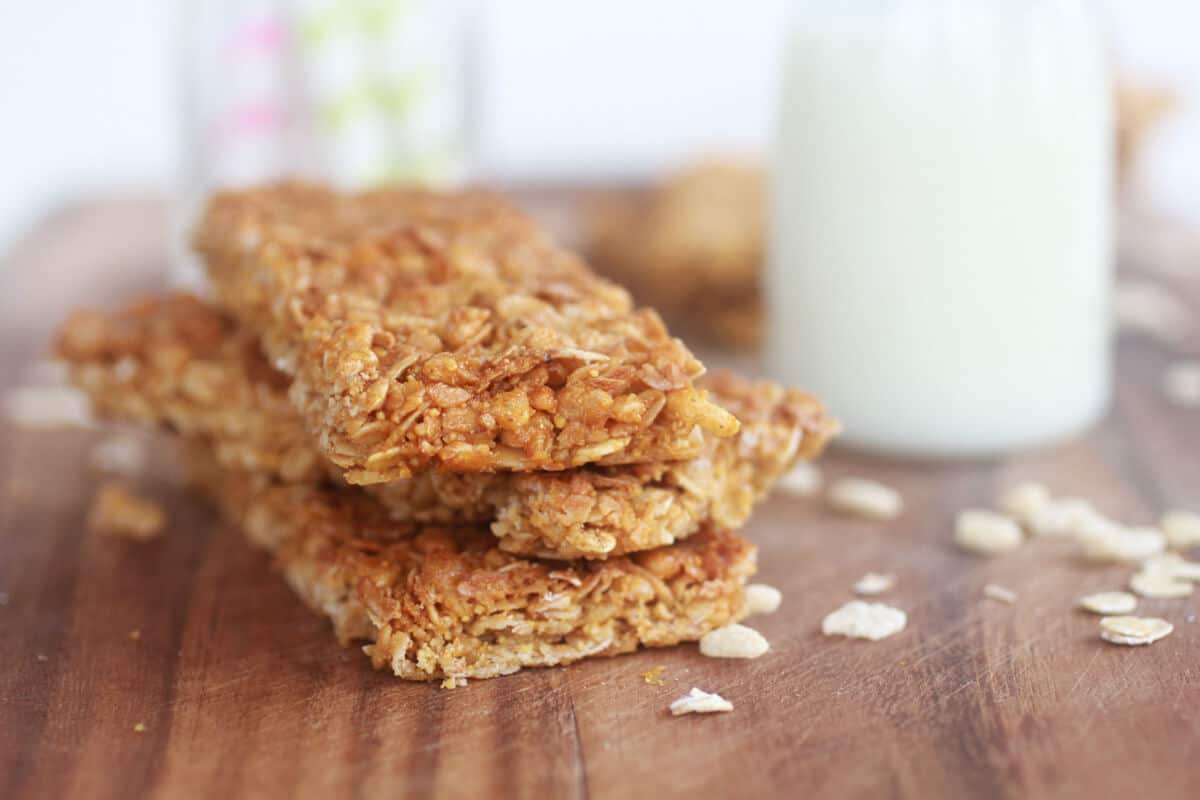
Cool completely in the pan: Let them cool until room temp and firm before lifting. Warm bars can fall apart.
Score before slicing: Lightly score the surface while barely warm for cleaner breaks, then finish slicing when fully cool.
Optional finish: A light drizzle of melted chocolate is a great idea
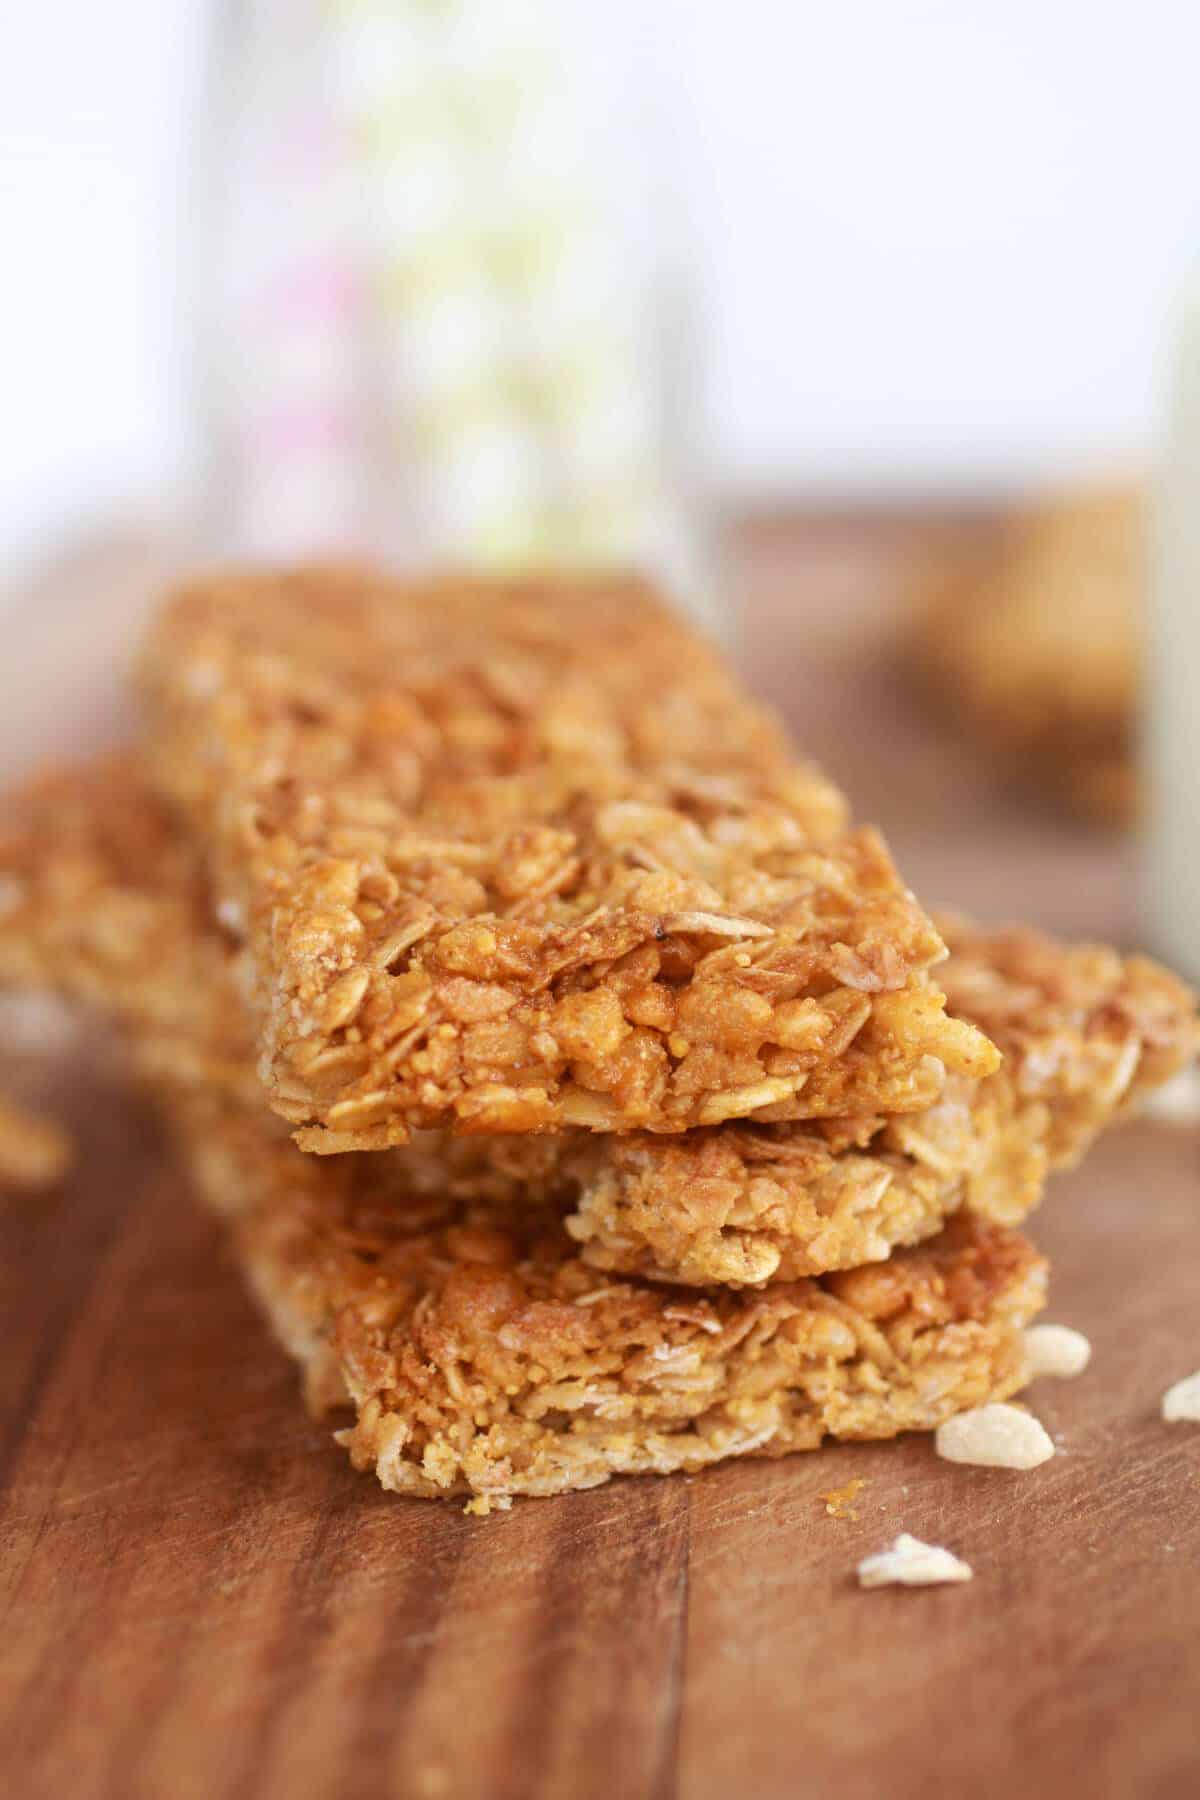
Press the mixture very firmly and bake until the edges are deep golden. Let the slab cool fully in the pan before slicing so it sets.
They were likely sliced while warm or not packed tightly enough. Score gently while just warm, then finish cutting once completely cool.
Yes, but the texture changes…quick oats make a finer, less chunky bar that can hold together a bit better. Rolled oats give that classic toasty bite.
Maple or agave will work for a vegan version, but the flavor is different and bars may be slightly less crisp. Choose a mild honey!
Nutritional information is only an estimate. The accuracy of the nutritional information for any recipe on this site is not guaranteed.
Adapted from Chocolate Covered Katie
Maybe the spring forward will bring some spring weather. Hey, I can hope. Right?
Shared with: Inside BruCru Life, Lil Luna, Chef In Training, Buns In my Oven, Foodie Friday Friends, Tidy Mom, Taste and Tell, Cheerios and Lattes, Somewhat Simple, Mom on Timeout, I Heart Nap Time, Fine Craft Guide, The Country Cook, Whipperberry, Chef In Training
As Seen In


I Just wanted to let you know that you are featured in this weeks Manic Monday http://bobbiskozykitchen.blogspot.com/2013/04/manic-monday-party-30.html
Thank you! So glade you liked these!
I love Nature Valley granola bars, but because of nut processing issues, my kiddos can’t have them. So, thank you so much for this recipe! I can’t wait to get baking. 🙂
I am so glad you found this!! I hope you and your kids love the bars!
Help. I let the bars cool 10 minutes and the minute I tried to remove them to cool the rest of the way, they fell apart. What did I do wrong?
Did you use the correct amount of honey? Or did you bake them long enough? Did you line you dish with parchment? I actually just made these again today and they turned out great!. It is really important to push down hard on the bars before baking (spray or rub your hands with oil first) and you can even do this after you take them out of the oven (while they are still in the pan). Also, i think cutting them before they get to hard is a good idea, maybe about 20 minutes after you take them out of the oven. Sometimes when they get to hard, they can crumble when you try to cut them into bars. Hope this helps! Let me know if you have any more questions!
Yes to the honey, parchment paper, and I baked them for 23 minutes and they were turning brown when I removed them. I will try pressing down harder next time.
Did you cut them while in the pan?
My daughter loves the Nature Valley version. I’m anxious to try these! Thanks for sharing!
I hope you guys loves these! Let me know what you think!
My kids love granola bars and I am going to have to try making some soon! Thanks for sharing at Time To Sparkle!
I. want. one !!
Great recipe for granola bars, we love the nature valley granola bars, so I’d love to try this recipe out.
Thank you! Let me know if you gives these a try!
Oh yum! We love these here at our house as well. I just pinned this! Thanks so much!
Thank you ad thanks for pinning!
<3
I love homemade granola bars. You can add whatever you want and they are convient to take with!
I totally agree!
I love homemade granola bars. These look like you bought them and I know they are better because homemade is always better.
We may have met by chance…but we become friends by choice.
http://simpleesue.com/try-one-new-recipe-a-week-strawberry-cream-omelet/
I agree homemade is always better!
Oh my gosh, I totally pinned these for later this week! I found your link on the Marvelous Monday linky party and I’m SOOOO glad I did! My husband loves these, but they aren’t GF or nut free, so they are off limits at our house. Now I can make them for him!
These granola bars look really good! I usually make them with dried fruit, but these sound like a really crunchy treat!
They are crunch and delicious! Let me know if you give them a try!
These look great! I’ve been trying out new granola bar recipes and these are making their way to my list! Thanks!
Thank you and I hope you like them!
Love the idea of making these homemade! They sound great:@)
Thank you!