Next Post

This post may contain affiliate links, please see our privacy policy for details.
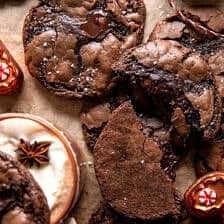
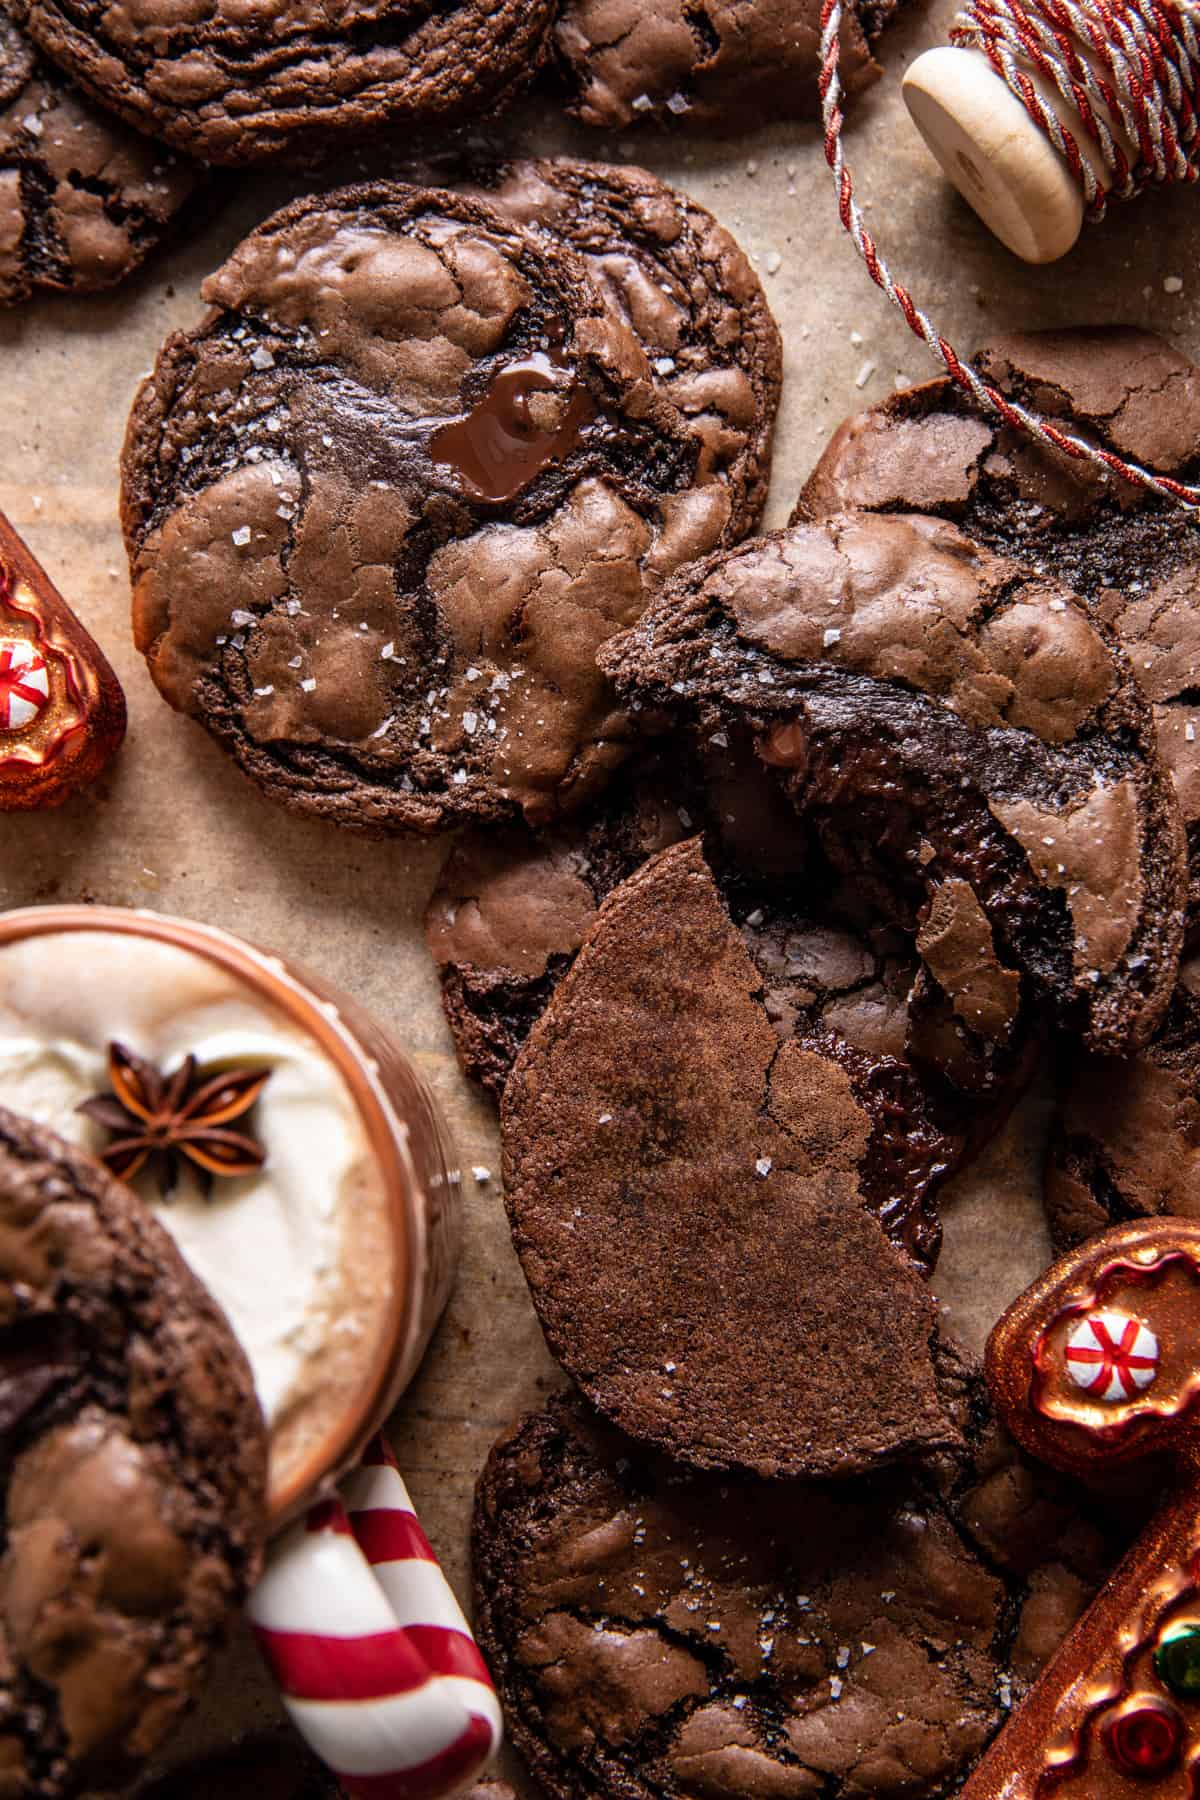
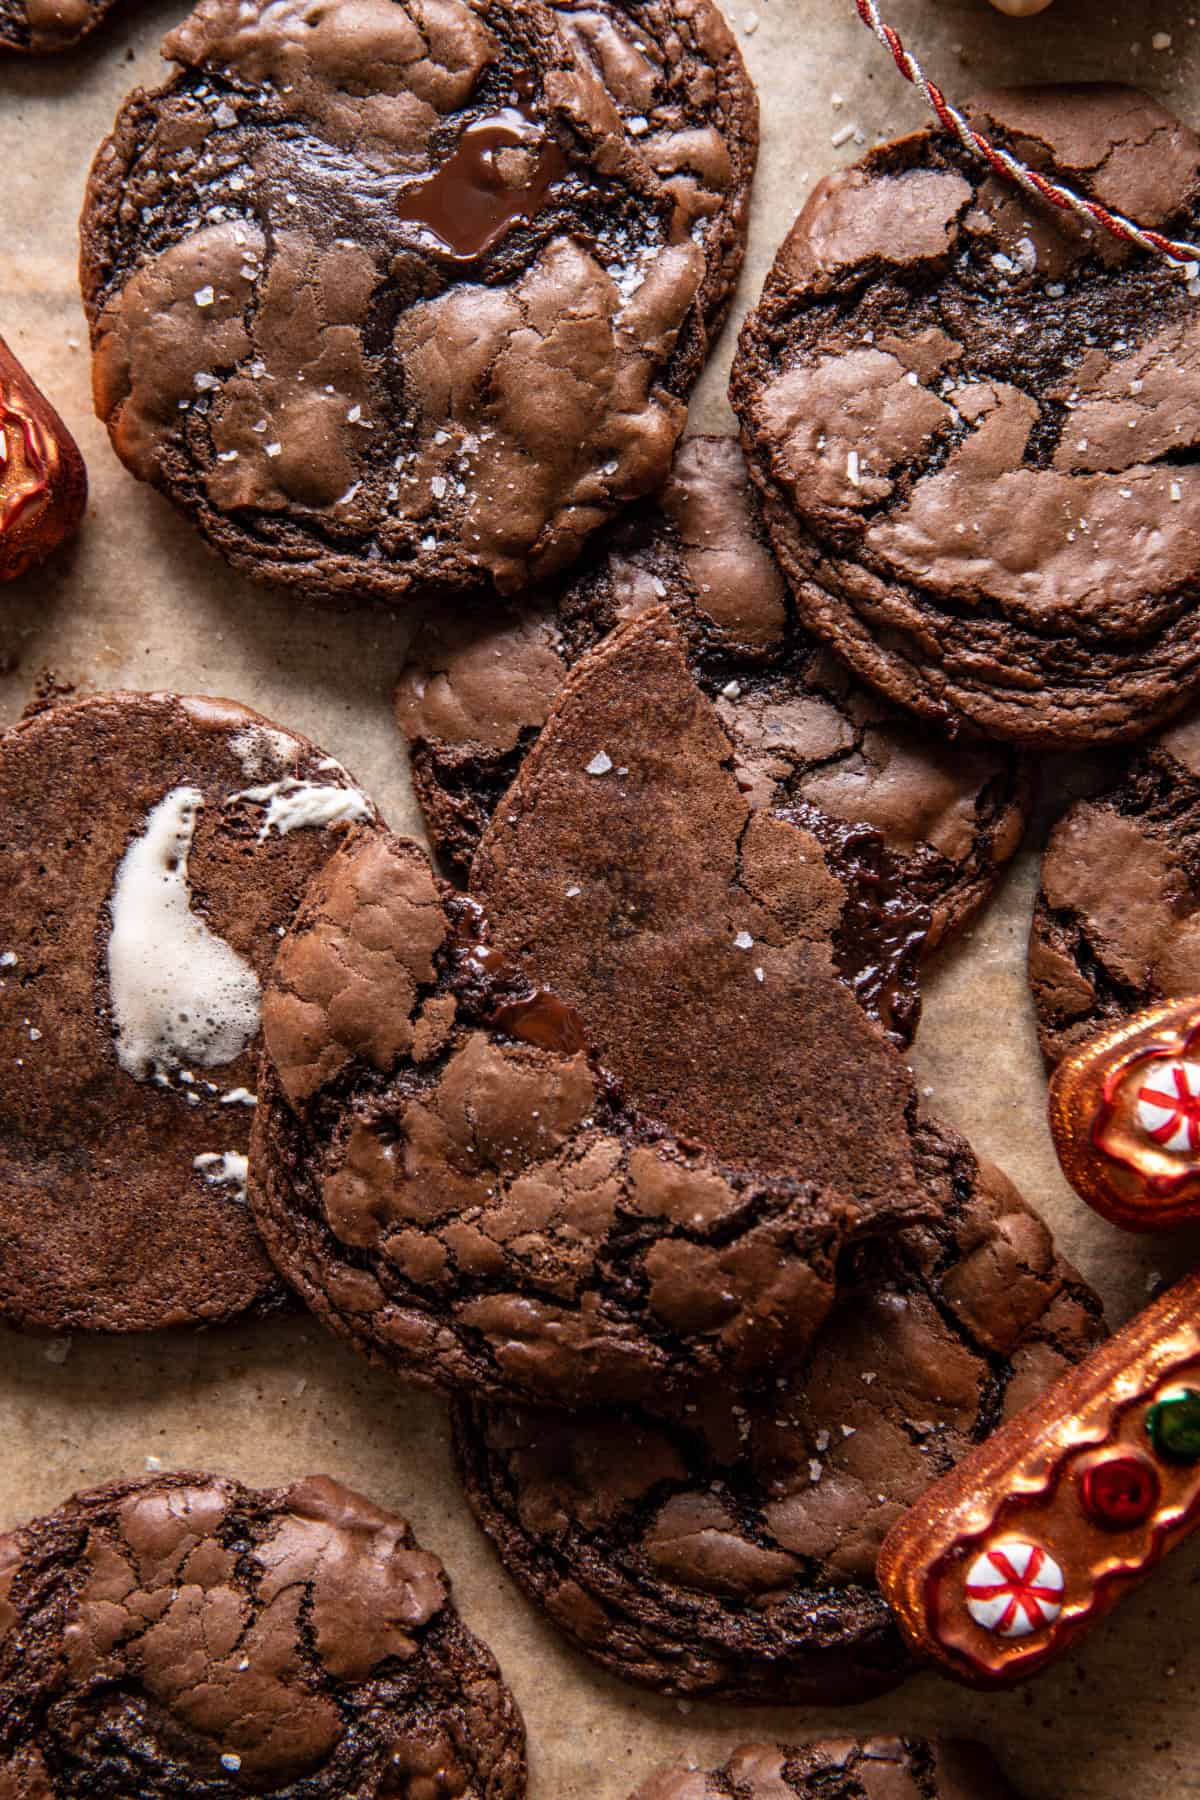
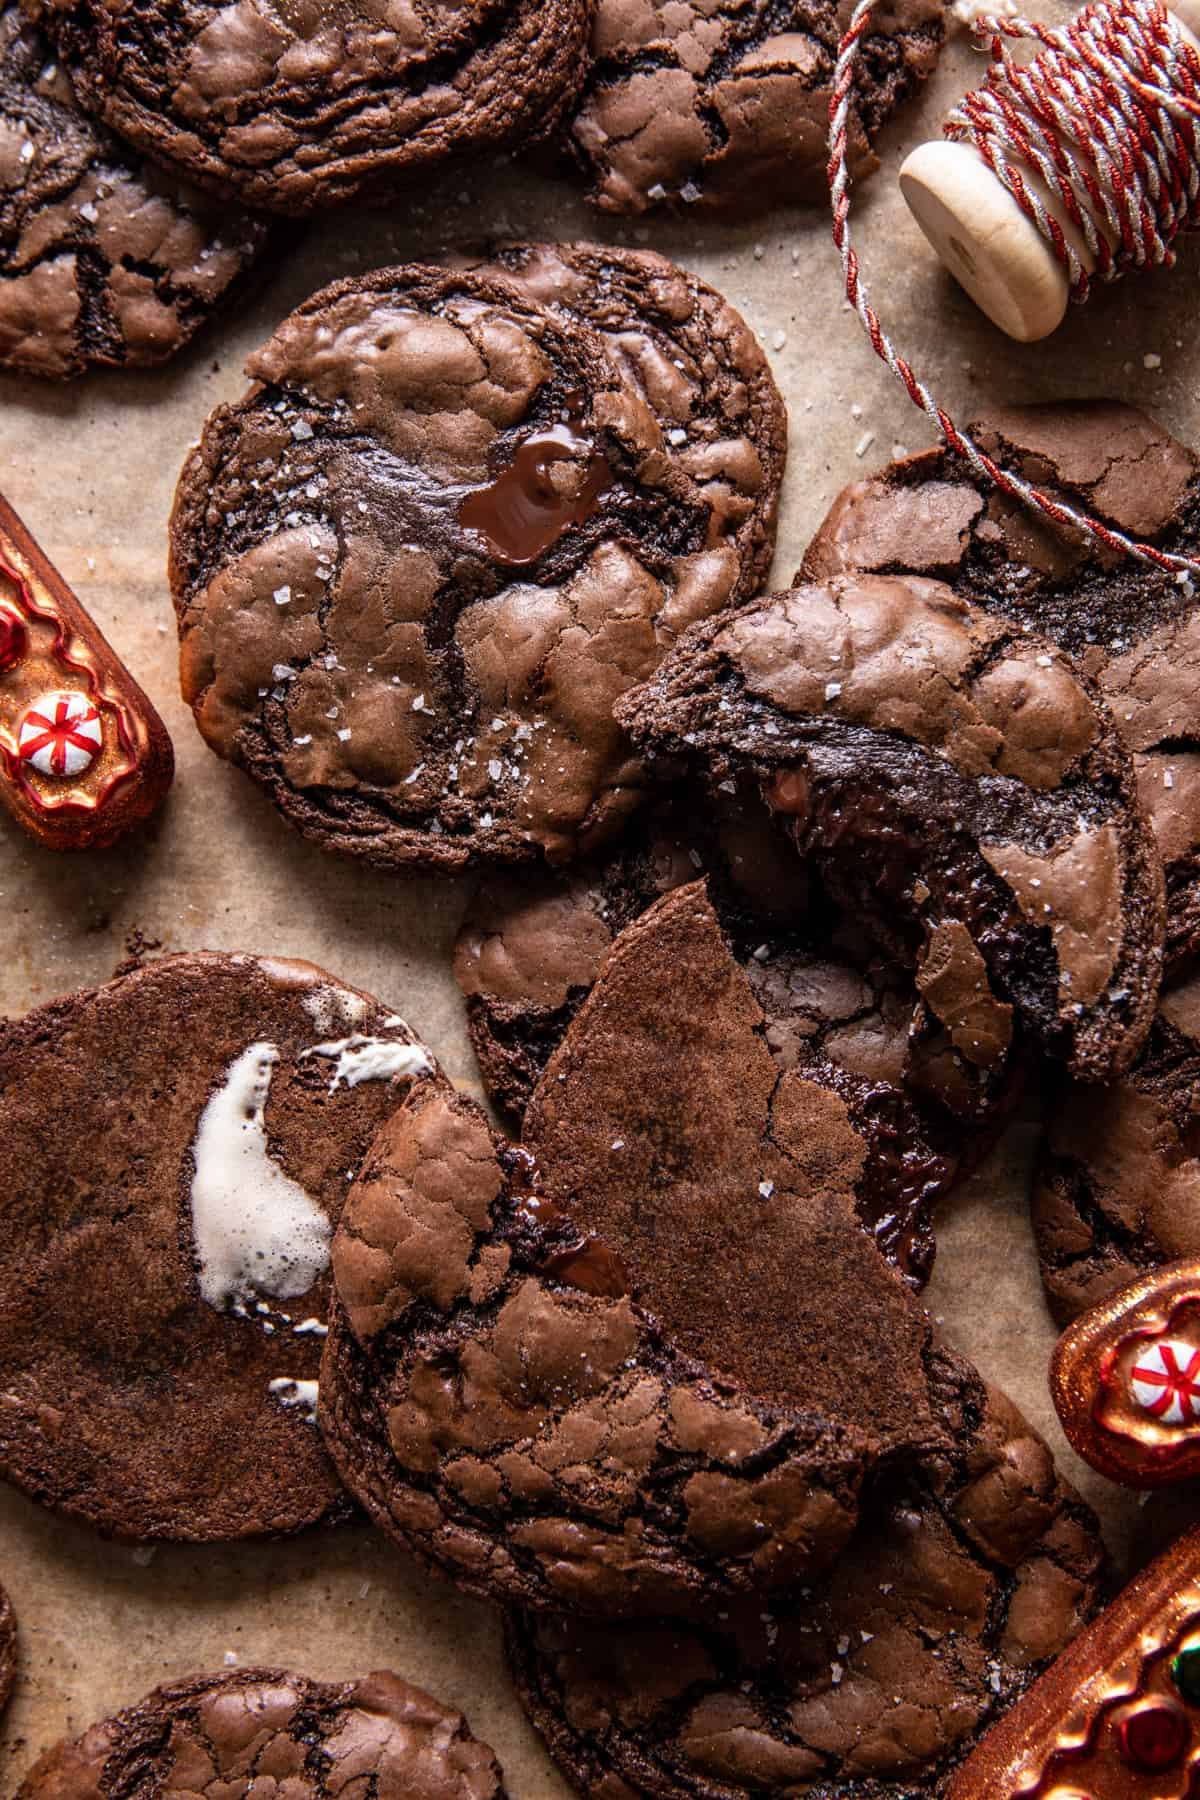
Sweet Vanilla Hot Chocolate Molten Cookies. Homemade chocolate cookies that taste just like your favorite mug of creamy vanilla hot chocolate! These cookies, similar to a lava cookie, are made with real vanilla extract, semi-sweet chocolate chips, cocoa powder, and the real secret – big chunks of dark chocolate. A light sprinkle of sea salt after baking makes them perfect. When eaten warm, the puddles of chocolate melt into every inch of the cookie, making each cookie melt in your mouth. So delicious. And not too sweet, but just sweet enough. They’re the perfect holiday cookie to bake, share, and gift this holiday season!
It’s finally here!! It’s time for all the holiday cookies!! And you all, I’ve been baking cookies for days. Between these cookies, the recipe I hope to share on Friday, and then the cookie box, it’s been one sweet cookie after another.
I’m not complaining; it’s been fun, and I’m excited to share each recipe with you all. Since I’m working on getting the cookie box posted relatively soon, I’ve been testing sweet recipes daily and even at night.
I love holiday baking, but it can be a lot of work! These hot cocoa cookies took a few days to perfect, but they were worth it – so excited to share!
The one thing about these cookies versus other hot chocolate cookies is that I nixed the marshmallows. But I promise you will not miss them. These are delicious hot cocoa cookies!
I took the idea from the nightly mugs of hot chocolate I make for Asher this time of year. She has a routine of showing up once it’s dark while my dad and I clean the studio. Her one request is a mug of steamy cocoa. She picks out her favorite Christmas mug, and then I make her the simplest hot cocoa. It’s perfect.
These cookies have everything in them that I use in Asher’s hot chocolate!
Details
Step 1:
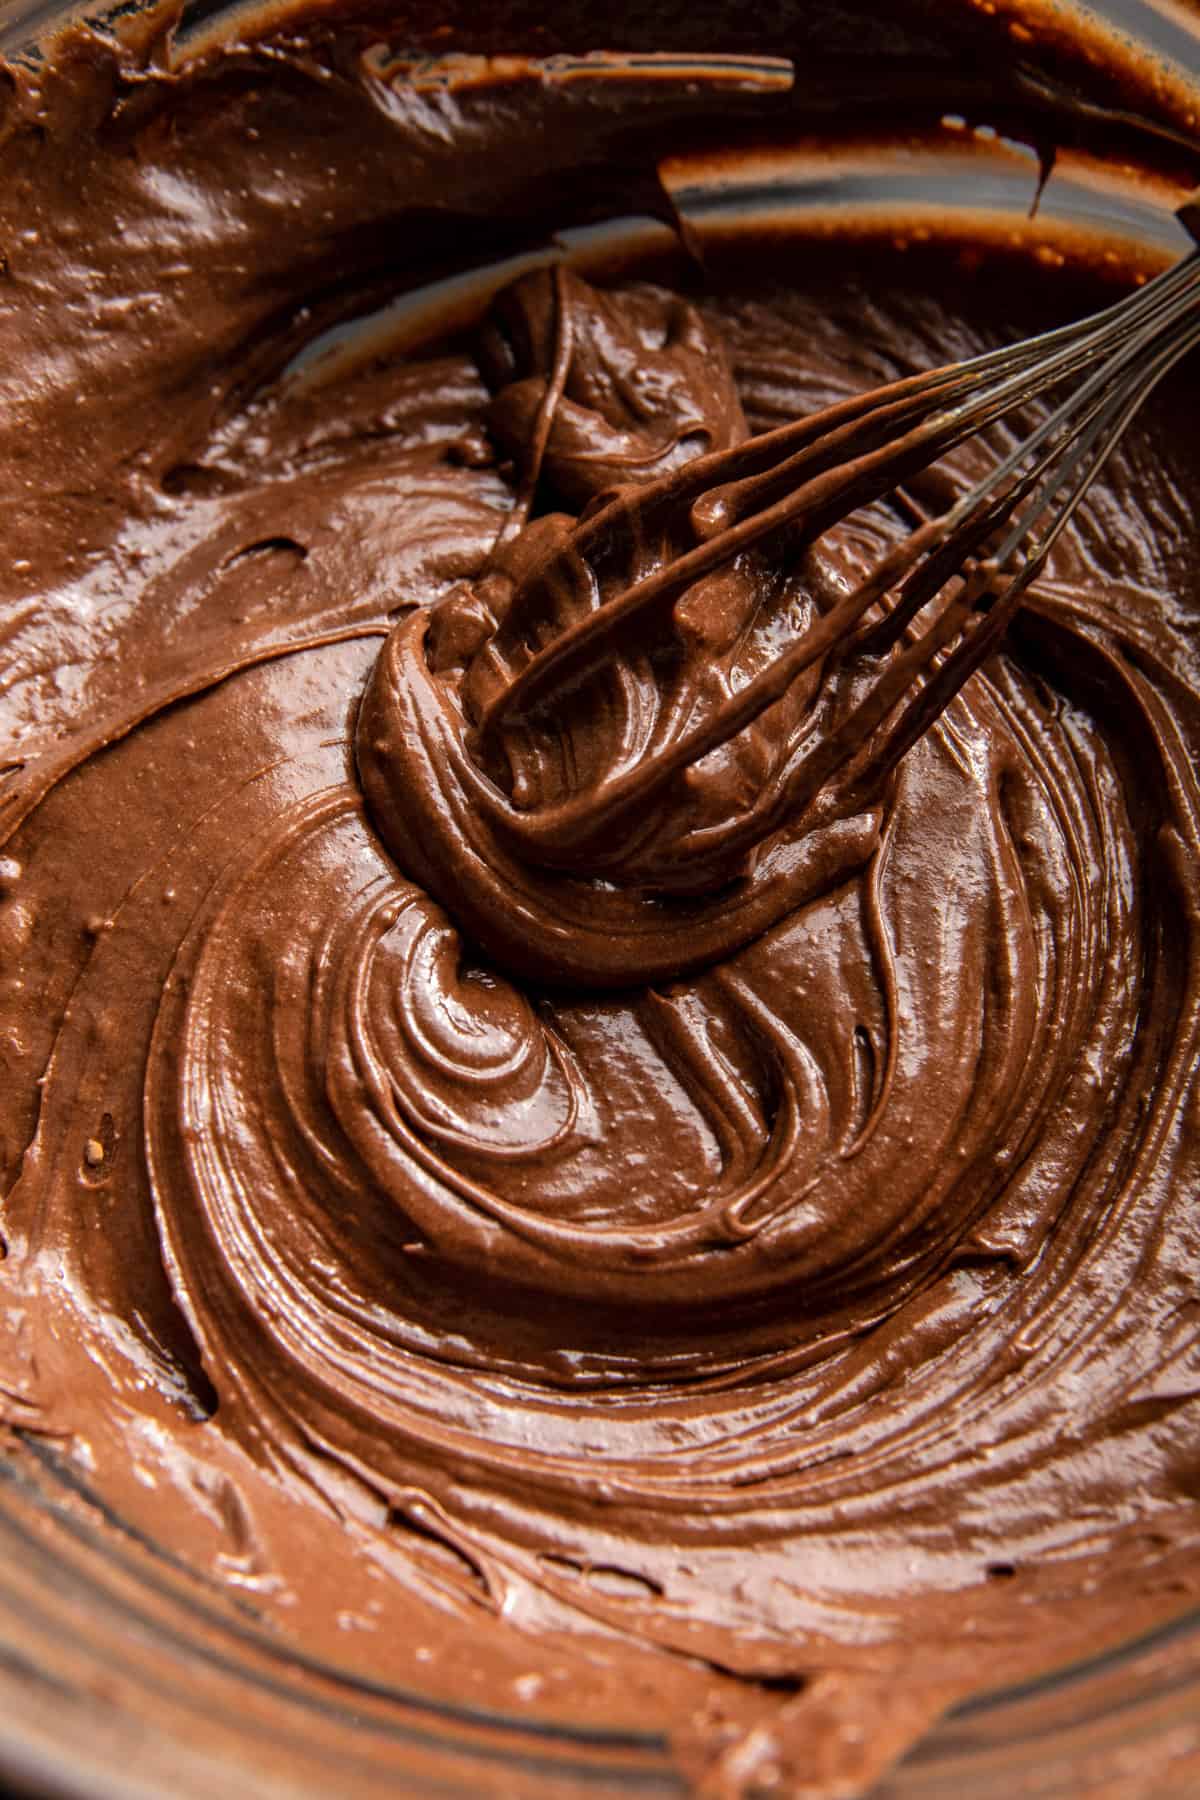
Melt together the butter and chocolate chunks; the mixture will be thick.
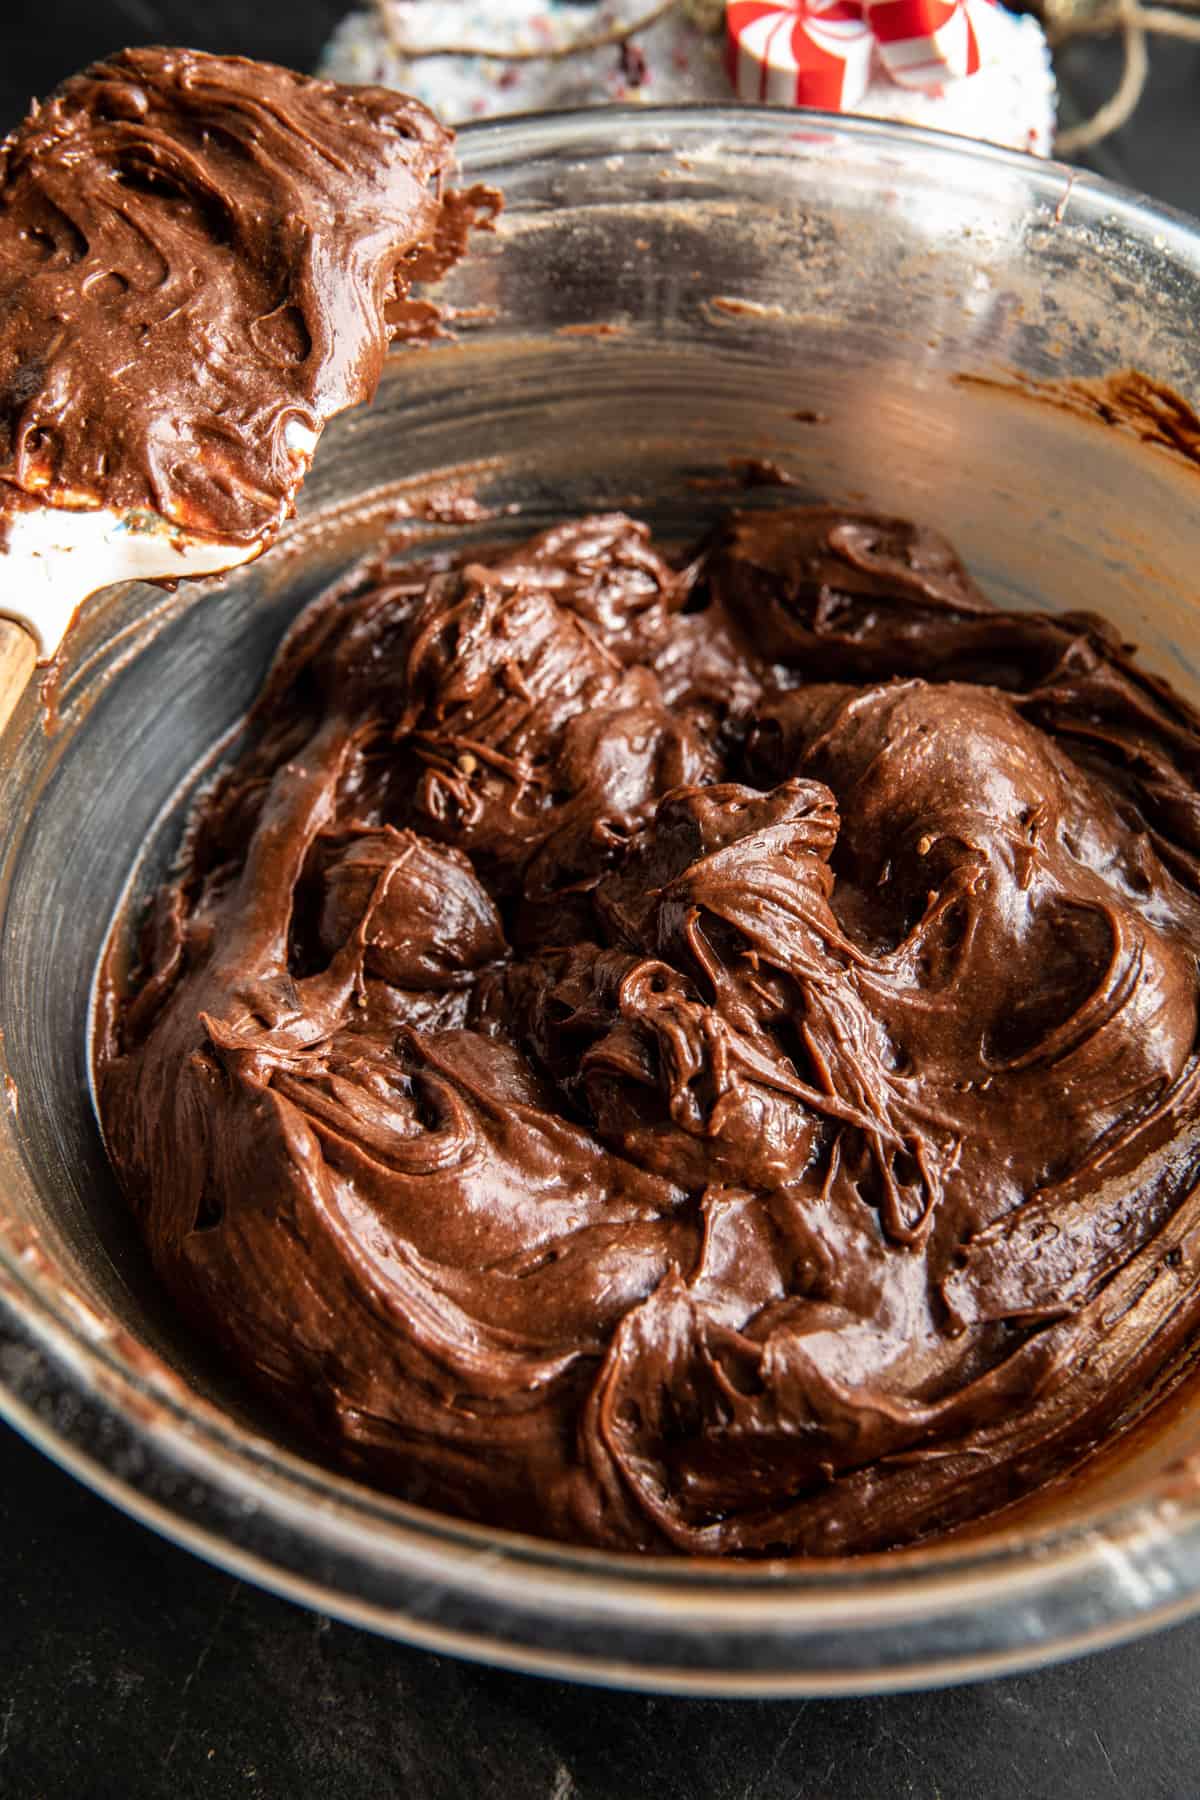
Step 2: finish the cookie dough in the bowl of a stand mixer
Next, using an electric mixer, whisk the eggs up in a separate bowl with the sugar. This is the secret to the melt-in-your-mouth chocolate cookie. You have to use room-temperature eggs and really whisk them until you see plenty of bubbles on top.
You’ll notice I’m using a lot of vanilla, two tablespoons. The vanilla provides the cookies with a really nice flavor that can stand up to all the chocolate.
Now add the dry ingredients: flour, baking soda, and salt.
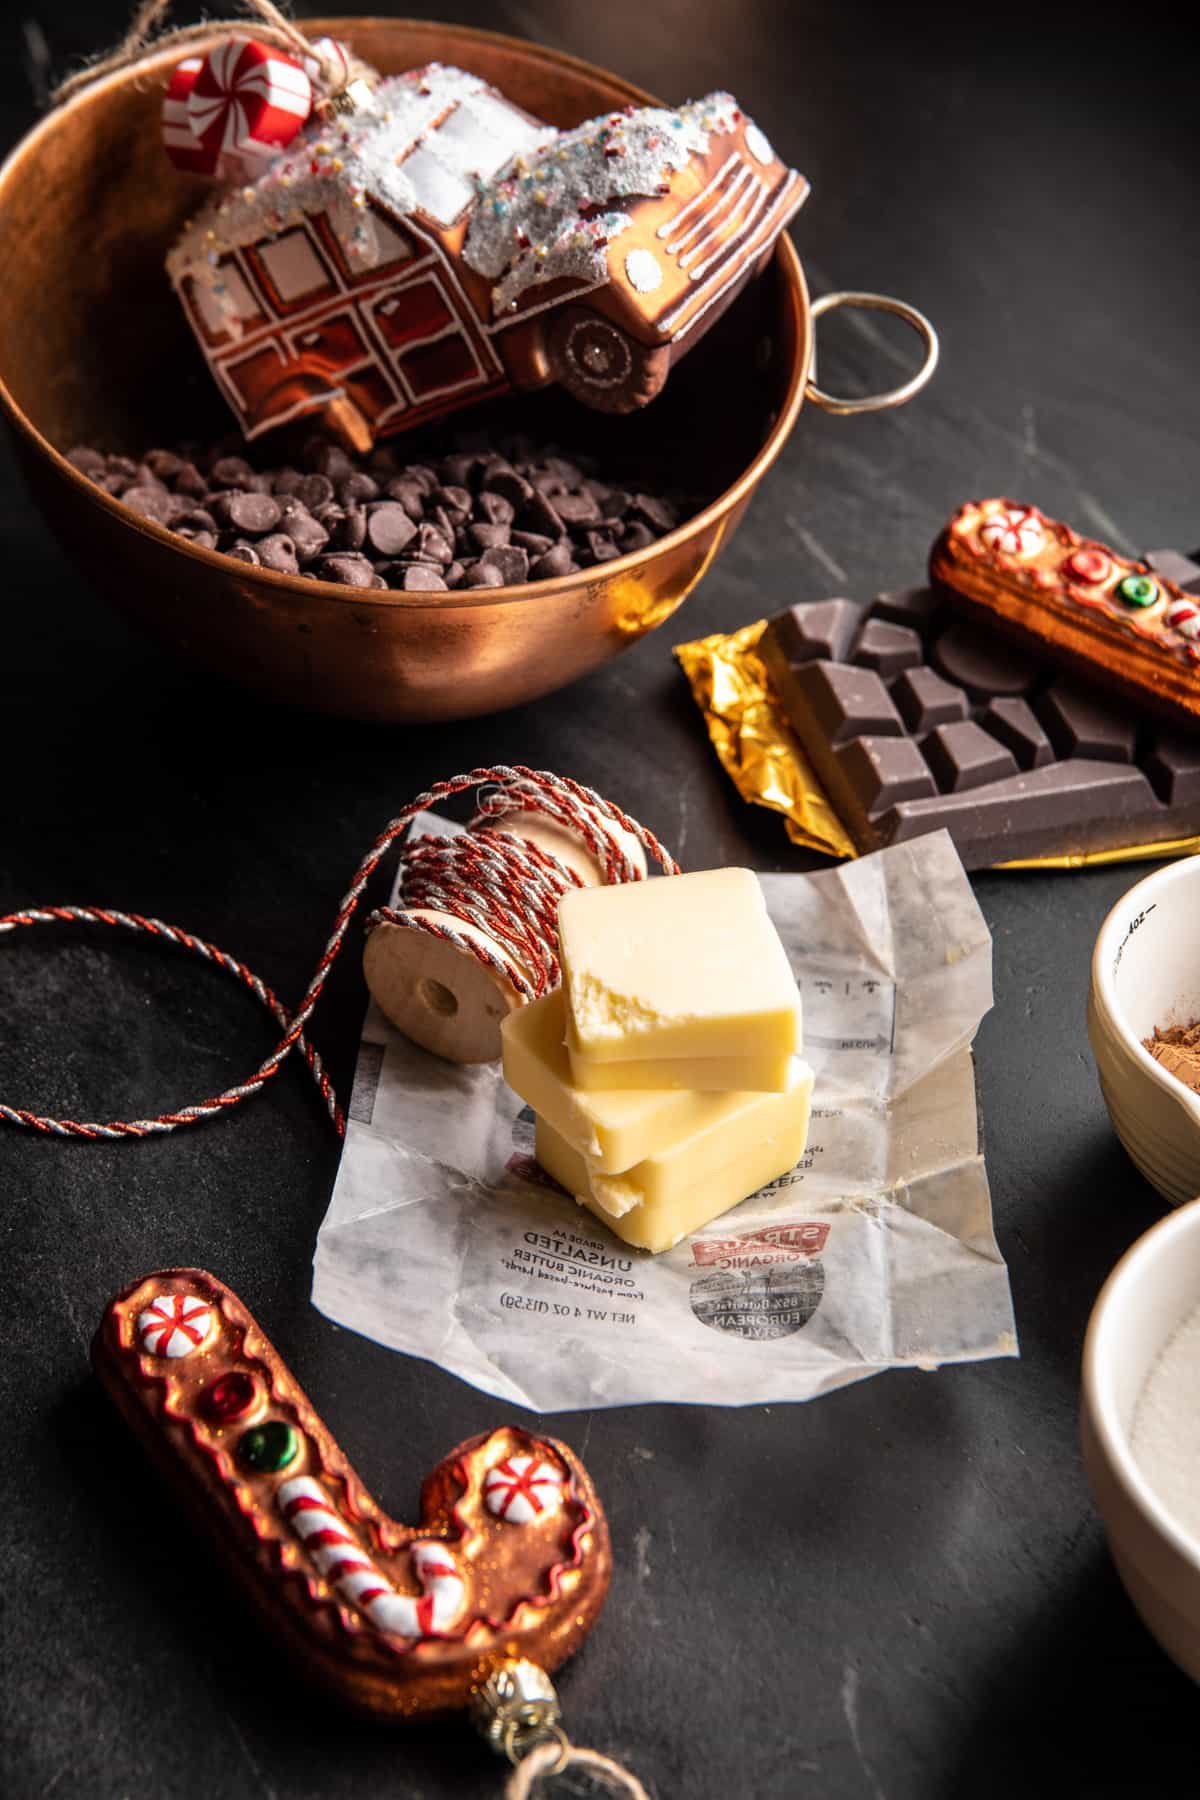
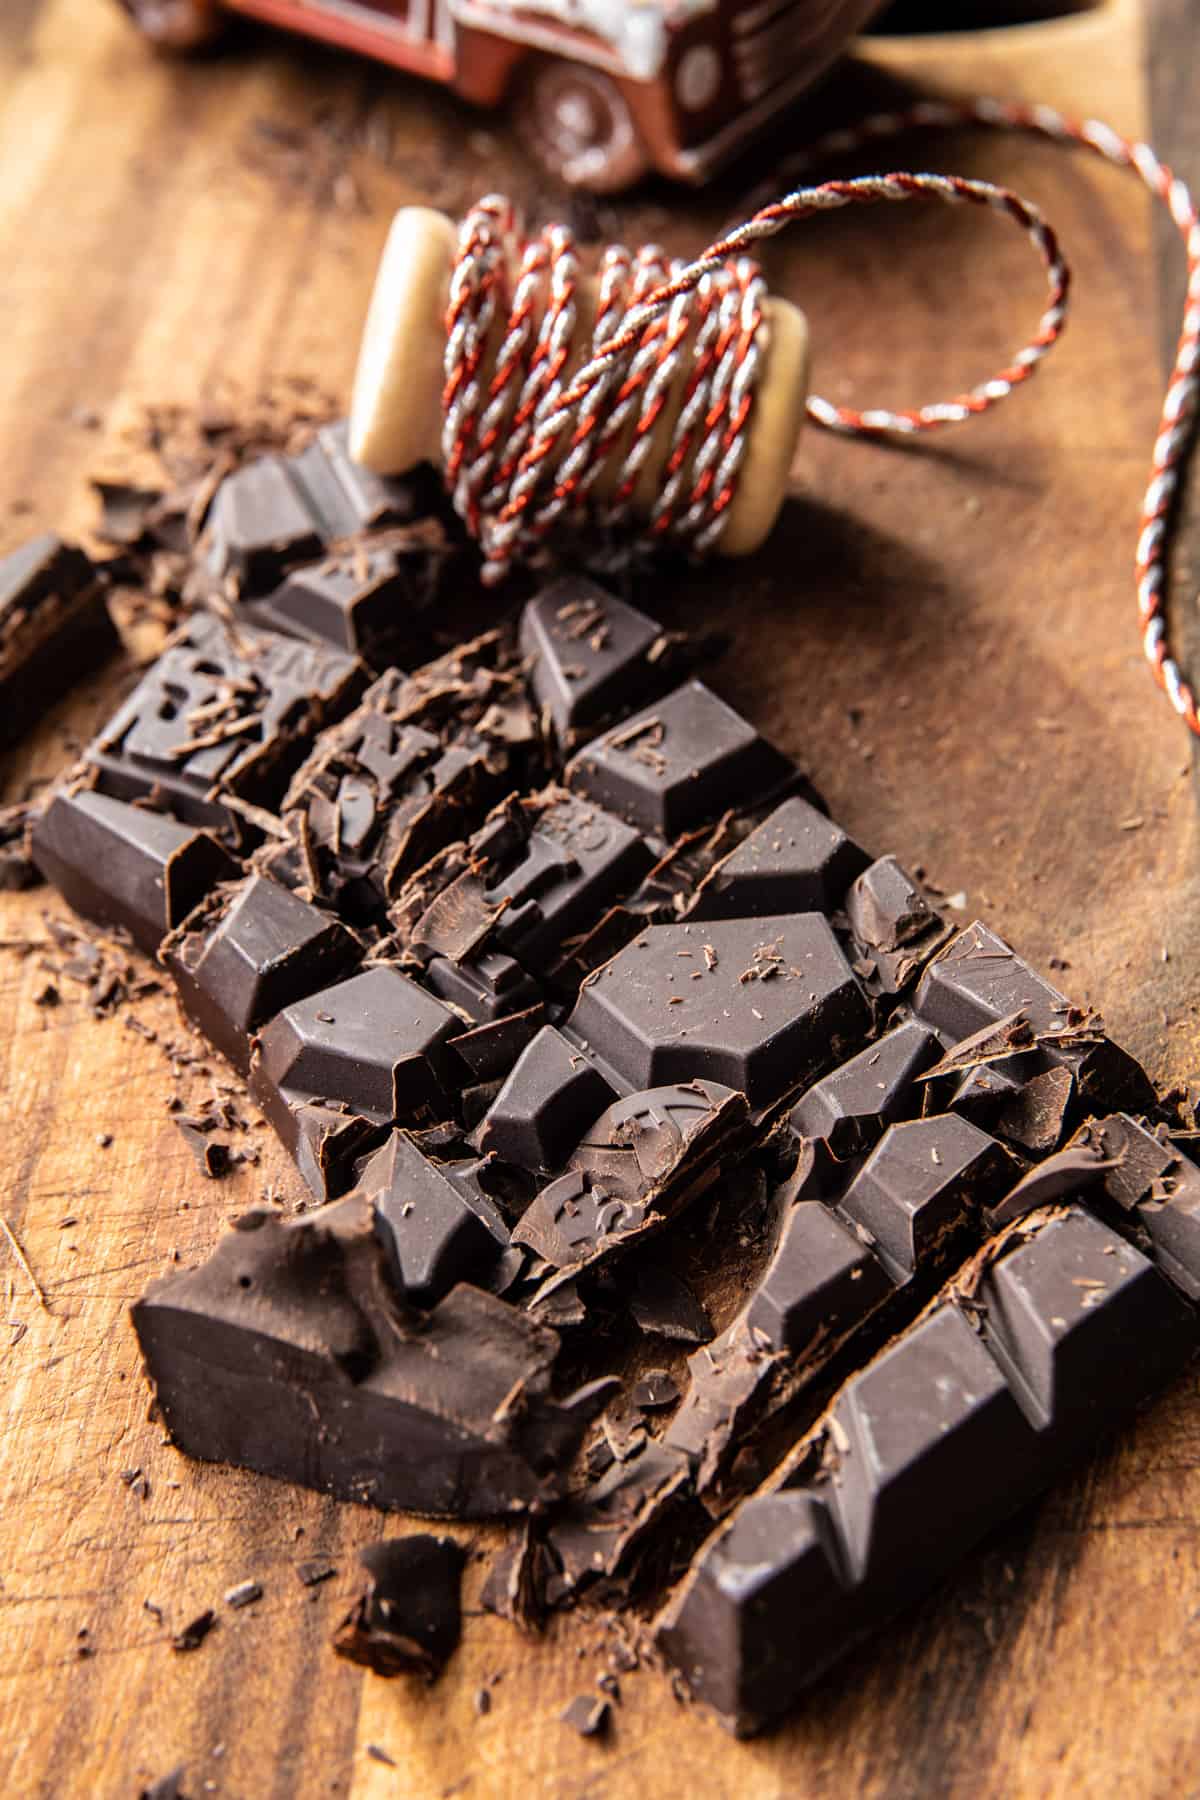
Step 3: the chocolate chunks
I use a large 6.3-ounce bar of dark chocolate.
Chop the bar into rather large chunks. The bigger chunks melt into puddles throughout the cookies. So yummy, trust me.
Step 4: freeze
Roll the dough into decently-sized balls. This is a sticky dough, so using a cookie scoop or a smaller ice cream scoop is easiest for this dessert.
Freeze the dough balls on the cookie sheet until firm. Don’t skip this step. You want the dough to be chilled so the cookies will bake nicely. This only requires 15 to 30 minutes in the freezer.
Step 5: bake
Bake until just set. Then a light sprinkle of sea salt (if desired), and you’re good to eat!
Warm hot chocolate cookies for all! And a dip through a little whipped cream is highly recommended – so yummy!

Looking for Christmas cookie recipes? Here are a few ideas:
Chewy Frosted Cinnamon Swirl Snickerdoodles
Easy Slice ‘n’ Bake Vanilla Bean Sugar Cookies
Easy Vanilla Bean Christmas Lights Cookies
Soft Gingerbread Latte Cookies with Brown Butter Icing
Lastly, if you make these Vanilla Hot Chocolate Molten Cookies be sure to leave a comment and/or give this recipe a rating! Above all, I love to hear from you guys and always do my best to respond to each and every comment. And, of course, if you do make this recipe, don’t forget to tag me on Instagram! Looking through the photos of recipes you all have made is my favorite!
Vanilla Hot Chocolate Molten Cookies
Servings: 18 cookies
Calories Per Serving: 244 kcal
Nutritional information is only an estimate. The accuracy of the nutritional information for any recipe on this site is not guaranteed.
Watch the How-To Reel
Ingredients
- 6 tablespoons salted butter
- 1 1/2 cups semi-sweet chocolate chips
- 3 large eggs, at room temperature
- 1/2 cup granulated sugar
- 2 tablespoons vanilla extract
- 1/2 cup + 2 tablespoons all-purpose flour
- 2 tablespoons unsweetened cocoa powder
- 1/2 teaspoon baking soda
- 1/2 teaspoon kosher salt
- 6 ounces dark or semi-sweet chocolate, chopped
- flaky sea salt
Instructions
- 1. Preheat the oven to 350° F. Line 2 baking sheets with parchment paper. 2. In the microwave, melt the butter and chocolate chips together. 3. In a mixing bowl, whisk together the eggs and sugar until bubbles form on top, about 2 minute. Add in vanilla and melted chocolate, whisking until the mix looks glossy. Mix in the flour, cocoa powder, baking soda, and salt until just combined. Fold in the chocolate chunks. Put the bowl in the freezer, let the dough sit for 30 minutes, until it is scoop-able. The batter should be like a thickened fudge. DO NOT skip this step. It's essential to the recipe.4. Line a small baking sheet or plate with parchment paper (anything that fits in your freezer). Using a 1/4 cup measure cookie scoop, scoop the dough into balls and place on the prepared baking sheet. Freeze for 15-30 minutes, until firm. DO NOT skip this step. It's essential to the recipe.5. Pull the dough balls out of the freezer. Place on the prepared baking sheet. Space the cookies 2 inches apart. Bake for 8-12 minutes or until the cookies start to set around the edges, the centers should be a little doughy. Let cool on the pan. 6. Sprinkle with sea salt. Eat warm or let cool and store in an airtight container for up to 4 days. Hot chocolate with whipped cream is wonderful for dipping (:
Notes
Freezing: the cookie dough balls can be frozen for up to 3 months. When ready, thaw, then bake as directed.
Trouble Rolling the Dough: step 2 of the recipe is important, make sure you are really whisking your eggs and getting a very glossy look. It’s should look like a thick shiny chocolate brownie batter by the time step 2 is complete. If you are still having trouble. Start by adding 1/4 cup additional flour, then add more as needed. Some readers have used up to 1 cup of additional flour, but I have never personally found this needed.
This post was originally published on November 28, 2023


Can you link your 1/4 cup cookie scoop please?
Hi! I usually use the OXO brand Large cookie scoop! 🙂 xT
Made these exactly as written (did add a teaspoon of espresso powder to the chocolate butter mixture) and they turned out incredible! They were rich, molten, chewy and not too sweet. They were a big hit and I will absolutely make these again!
Thank you sooo much Katie! xT
I made this exactly as directed to a t and the cookies came out perfect. They’re so delicious, decadent, and rich. What a great treat. Thanks so much for the awesome recipe!
Hi Nicole! Thanks for giving the recipe a try! xT
Followed the recipe and they came out perfect!
Thank you Lucia! xT
Made these tonight and they came out well. I followed the recipe exactly. I did not know what a cookie scooper is so I just used a 1/4 cup measuring cup. The cookies were really big (too big) and I only got 12 out of them. So I would make them smaller next time. They were puffy out of the oven but they flattened out as the cooled. We liked them! Rich enough trust one cookie will do the trick.
Hey! Thank you so so much! Love to hear that you enjoyed this recipe 🙂 xT
Followed recipe and they turned out perfect! Thank you!
I’m so sad! The bottoms burned what did I do wrong?? 350 8 mins 😭 but the inside still isnt cooked. Im so sad. They taste so good! But burned bottoms I can’t give those to people💔
These cookies are so delicious! I think it would’ve been better to freeze them vs refrigerate before rolling them into balls for 15 minutes or so I think. I put the dough in the fridge, attempted to get them into balls afterwards (very messy) and was able to get them into the right shape after freezing. They turned out absolutely delicious!
Thank you for the feedback Carolyn! 🙂 xT
I’m confused. I have read the recipe twice, and I don’t see a mention of the fridge at all. It mentions the freezer twice.
These cookies were amazing! Not sure why so many people are having trouble, I followed the very simple directions exactly and they came out perfect and if you let them cool on the cookie sheet as instructed they easily come off the parchment. We added to our list to make again next year!
Thank you so much Megen! 🙂 xT
Super easy to make. It is important to follow the recipe and let the dough rest in the refrigerator and then the freezer. These cookies are decadent and so delicious.
Thank you so much Sara! xT
I don’t see in the directions where it mentions the fridge at all. It mentions only the freezer in both steps. Please clarify.
As I’m seeing on other reviews too- these came out horribly despite after following the recipe exactly. Spread out thin, super messy. The taste was also way too sweet and rich, so not even worth trying to mess with the ingredients to get a better shape.
Hey Mara! I would maybe freeze the cookies a little bit longer and add more flour if the cookies are spreading! 🙂 xT
The batter is a disaster, very thin and runny like pancake batter. In an attempt to save this, I added flour but that changed the final texture and flavor in a bad way. I followed the recipe. I would not make this again.
Hi Lindsay! So sorry about that! Thank you for the feedback! xT
Tasty but messy. Process is time consuming. The extra hunks of chocolate make it hard to slide cookie off parchment. Had to put in container upside down because of melted chocolate on bottom of cookie.
Thank you for the input Joanne! I appreciate it! xT
I’ve made this recipe twice. One before and one after she edit the original post. Both didn’t work!
Cookies ended up with a fluffy texture like cake and puffy. Taste good, but looks completely different than hers.
Not making again.
Hey Veronica! I’m so sorry this recipe didn’t turn out for you!
Ok, so I made these a second time after reading some of the comments and they turned out even better than the first time. Here are some of the things I changed.
– I made sure to melt the chocolate/butter until just melted so it wasn’t too hot, and let it sit for a few minutes to cool down but not harden.
– I made sure I whisked the eggs/sugar for two full minutes (as the recipe says) before adding the cooled melted chocolate to the mix, then whisked that really well before moving to the next step.
– I subbed for King Arthur’s GF flour, which I also did the first time, but this time I packed the measuring cup instead of loosely filling and I didn’t have to add more than the recipe called for.
– Once all the ingredients were in, I let it sit for about 20 minutes (I see Tieghan updated the recipe to increase the resting time plus added putting it in the fridge, which def helps).
After that, it scooped well and I was able to freeze it! Since I wasn’t baking them right away, after they firmed in the freezer a bit, I rolled them into better balls. I’ve just been pulling a few out of the freezer as we are ready for them for dessert, and it’s the best!
Today, I was too impatient to let them sit out too long so they thawed for maybe 5 minutes before I popped them in the oven and I honestly think this was the best they’ve come out! A nice slight crisp to the edges but so gooey in the centers still!
Hi Jessica! Thank you so so much for all of this feedback! I really appreciate it! xT
I don’t see any mention of the fridge in the directions. ??
Hi Kristine! So sorry for the confusion, the recipe just calls for chilling in the freezer not the fridge! xT
Made the recipe exactly as directed! I think people are maybe forgetting to place the dough in the fridge before trying to scoop it? Mine worked out great and I didn’t need any extra flour at all!
Thank you for trying out the recipe Jess! xT
If you follow the recipe exactly….beating eggs and sugar until they’ve increased in volume and lighter in colour, let rest in fridge, scoop with cookie scoop or ic cream scoop; freeze, then reshape if necessary…they turn out perfectly. Then eat as soon after baking as possible! However, I was trying to make them for Christmas cookie trays and I do not recommend them for that…they are too soft.