Next Post

This post may contain affiliate links, please see our privacy policy for details.
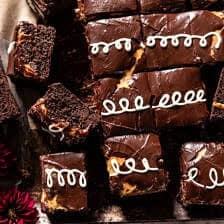
Homemade Caramel Hostess Cupcake Cake. Sweet, nostalgic, a little messy, and so much fun! This is my homemade take on the classic Hostess cupcake — but with a twist. Rich chocolate cake layers made with cocoa powder and dark chocolate, sandwiched together with a gooey caramel-marshmallow creme, then finished with a creamy chocolate glaze. It’s indulgent, over-the-top, and the perfect cake to share. Just know, it’s a little messy…but that’s exactly what makes it so delicious!
I baked this cake for the long weekend, and I couldn’t be more excited to share it with you!
When I first started testing, the plan was to make a simple hostess sheet cake with the classic marshmallow fluff filling — just like my Homemade Hostess Cupcakes, only bigger. That would have been good, but mid-bake I got bored and decided to change things up.
So I called my mom (very urgent, of course) and went on for five minutes about fillings. Together we landed on the idea of a caramel-marshmallow creme made with butter, brown sugar, and a bag of mini marshmallows. We both knew immediately it would be SO much better — and it was.
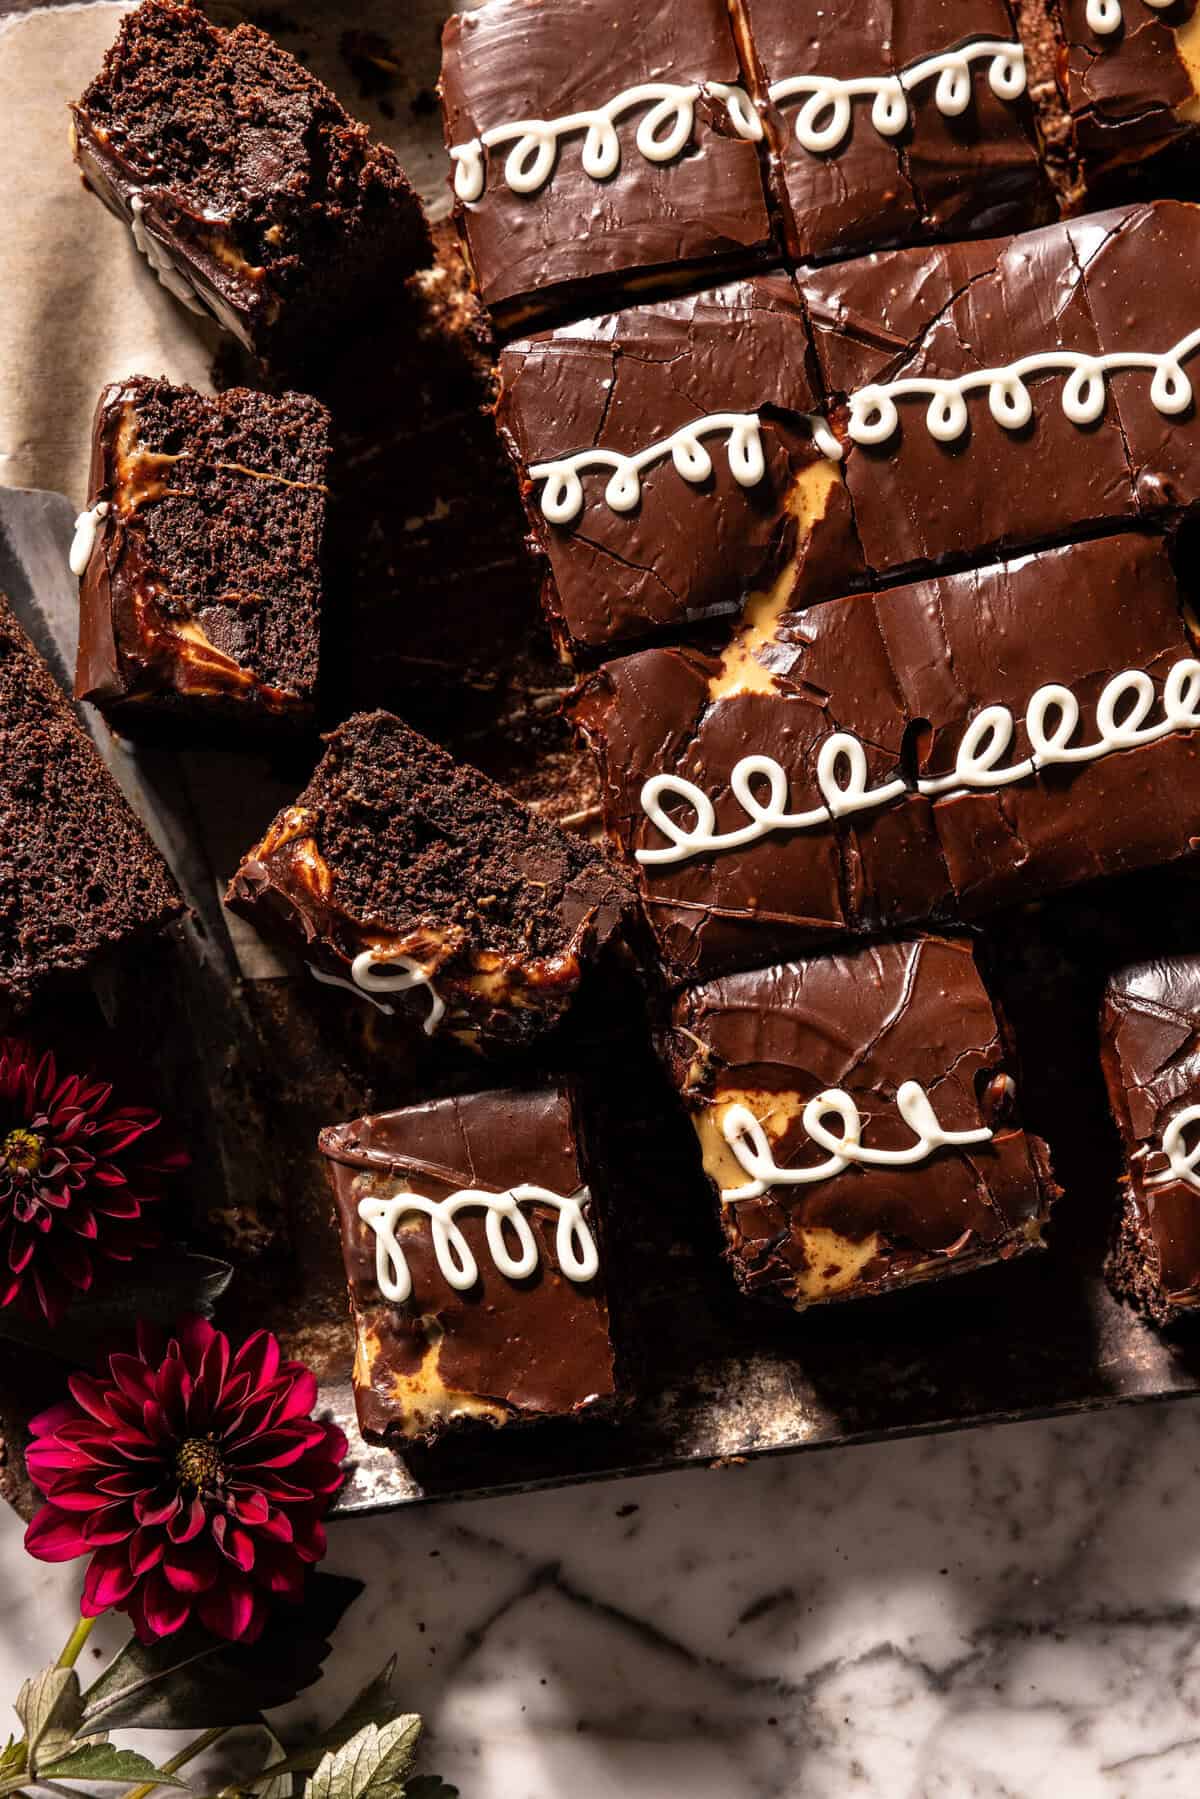
Because of the marshmallows, the cake is stickier and a little more rustic-looking than most layer cakes. But don’t worry about perfection — the gooeyness is what makes every bite extra yummy.
Here are the details
Cake Ingredients:
- salted butter
- eggs
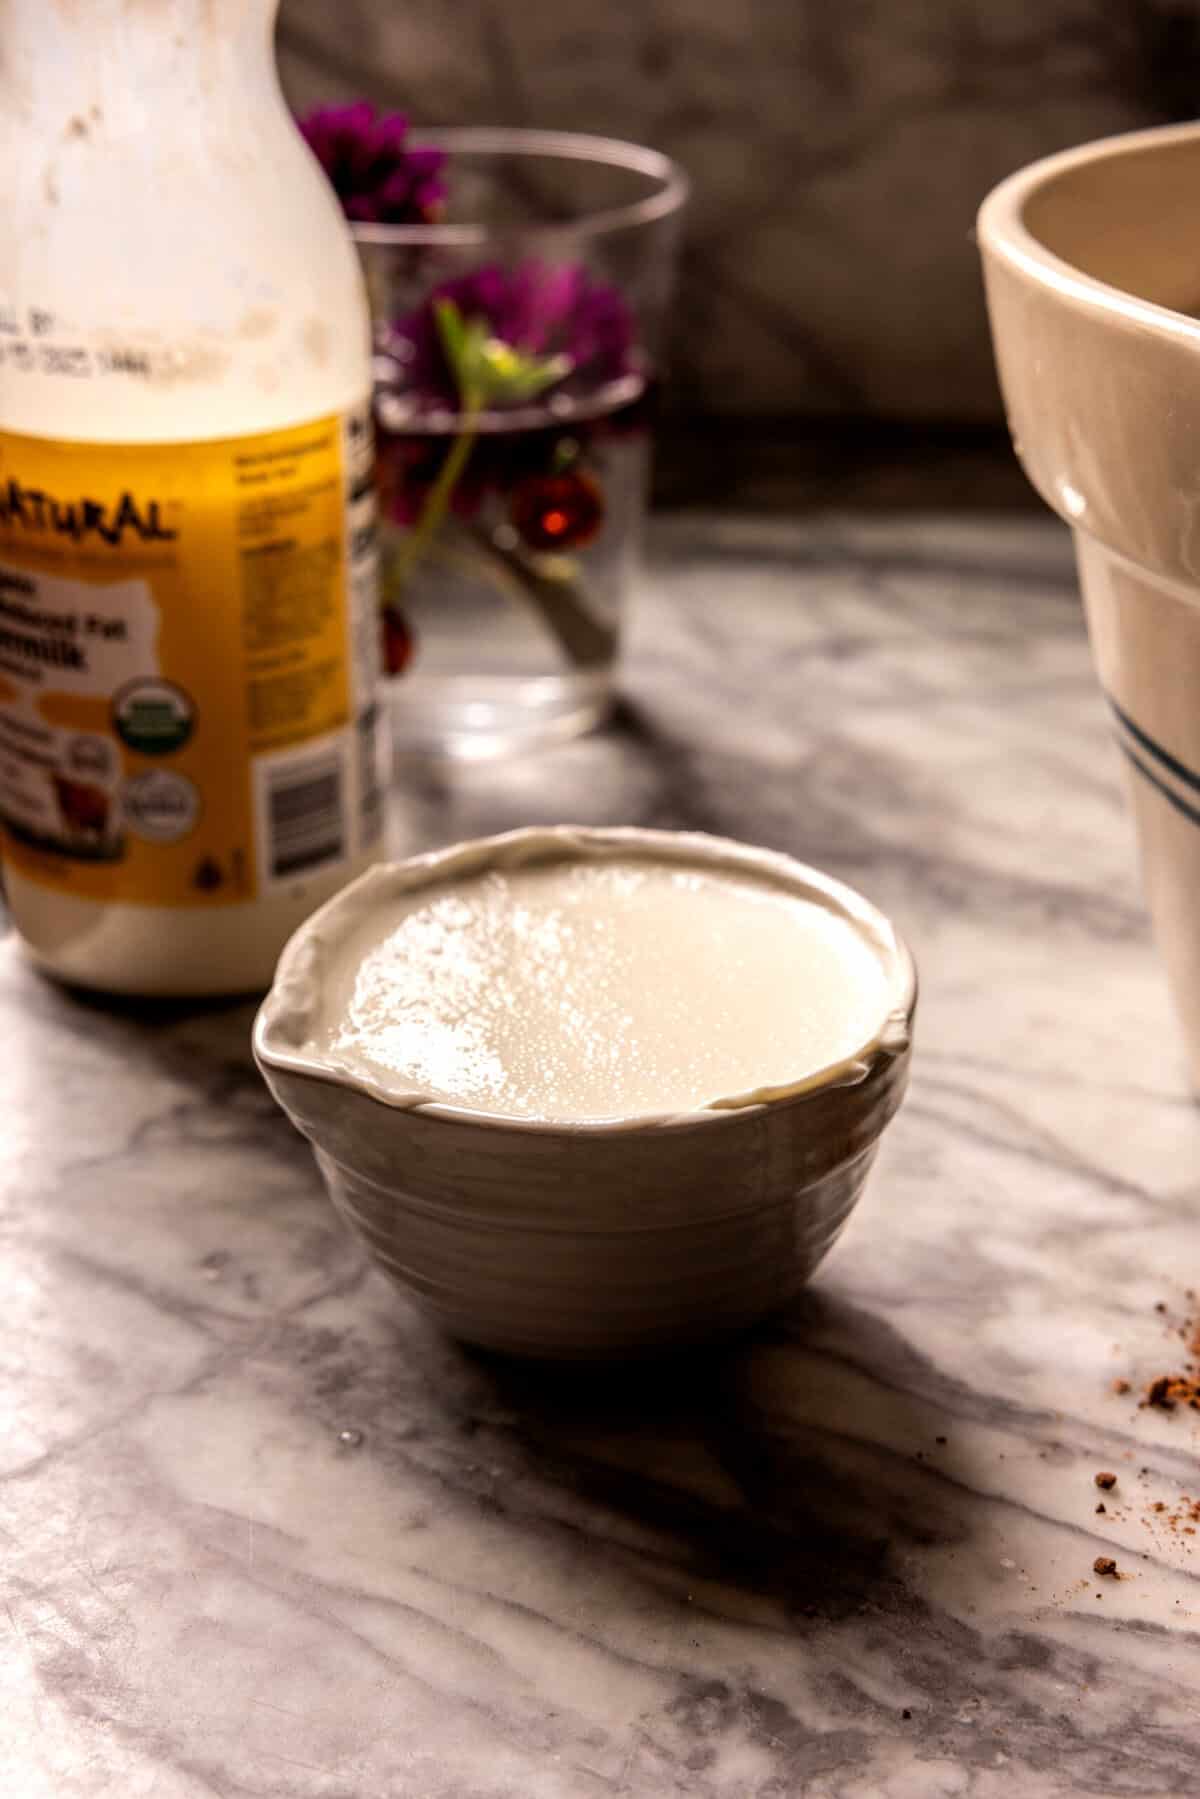
- buttermilk
- plain Greek yogurt – or use sour cream
- granulated sugar
- vanilla extract
- all-purpose flour
- cocoa powder
- baking powder
- baking soda
- salt
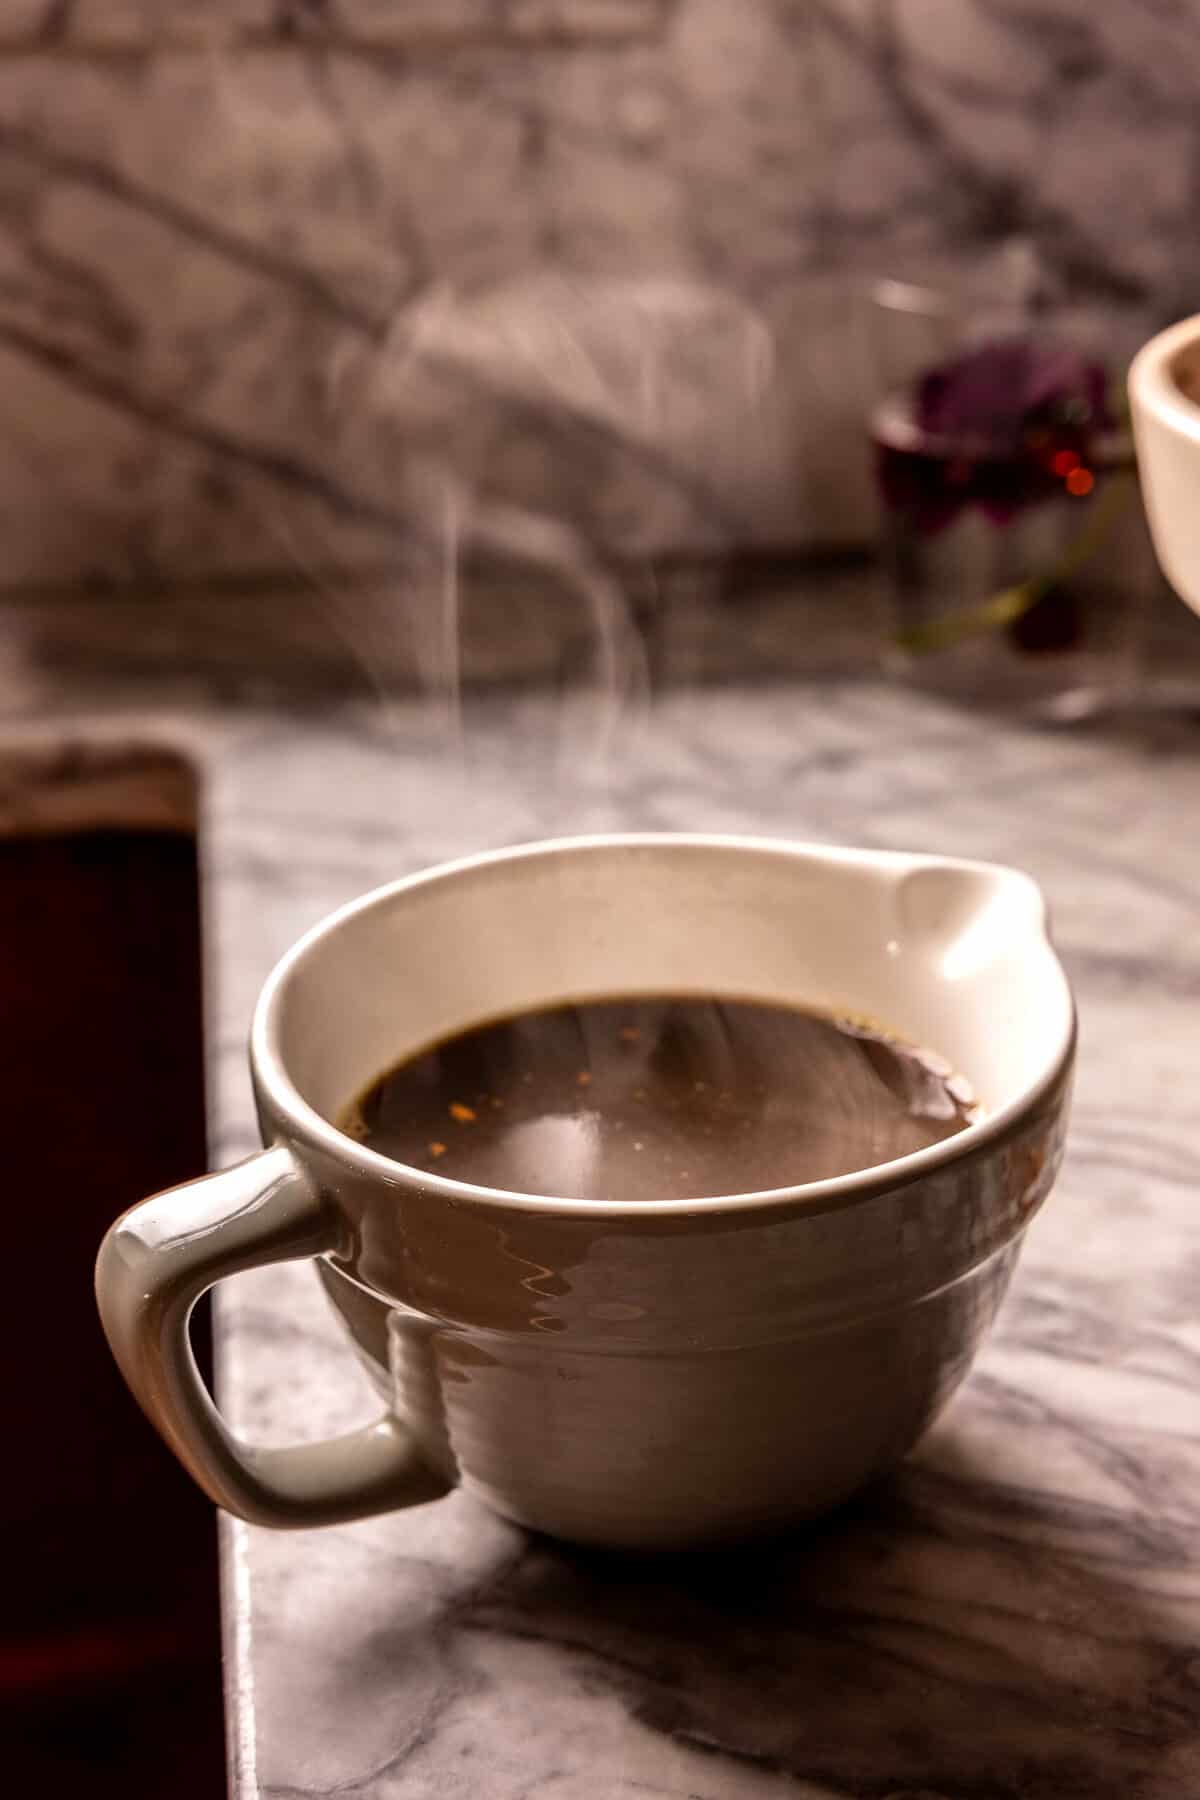
- hot brewed coffee
- semi-sweet or dark chocolate chips (optional)
Caramel Marshmallow Fluff Ingredients:
- salted butter
- dark brown sugar
- flaked sea salt
- mini marshmallows
Glaze Ingredients:
- chocolate chips
- whole milk
- white chocolate
Special Tools
For this sheet cake, you’ll need a rectangular cake pan, a mixing bowl, an electric mixer, and a medium pot for making the filling and melting the chocolate.
Steps
Step 1: Make the cake batter
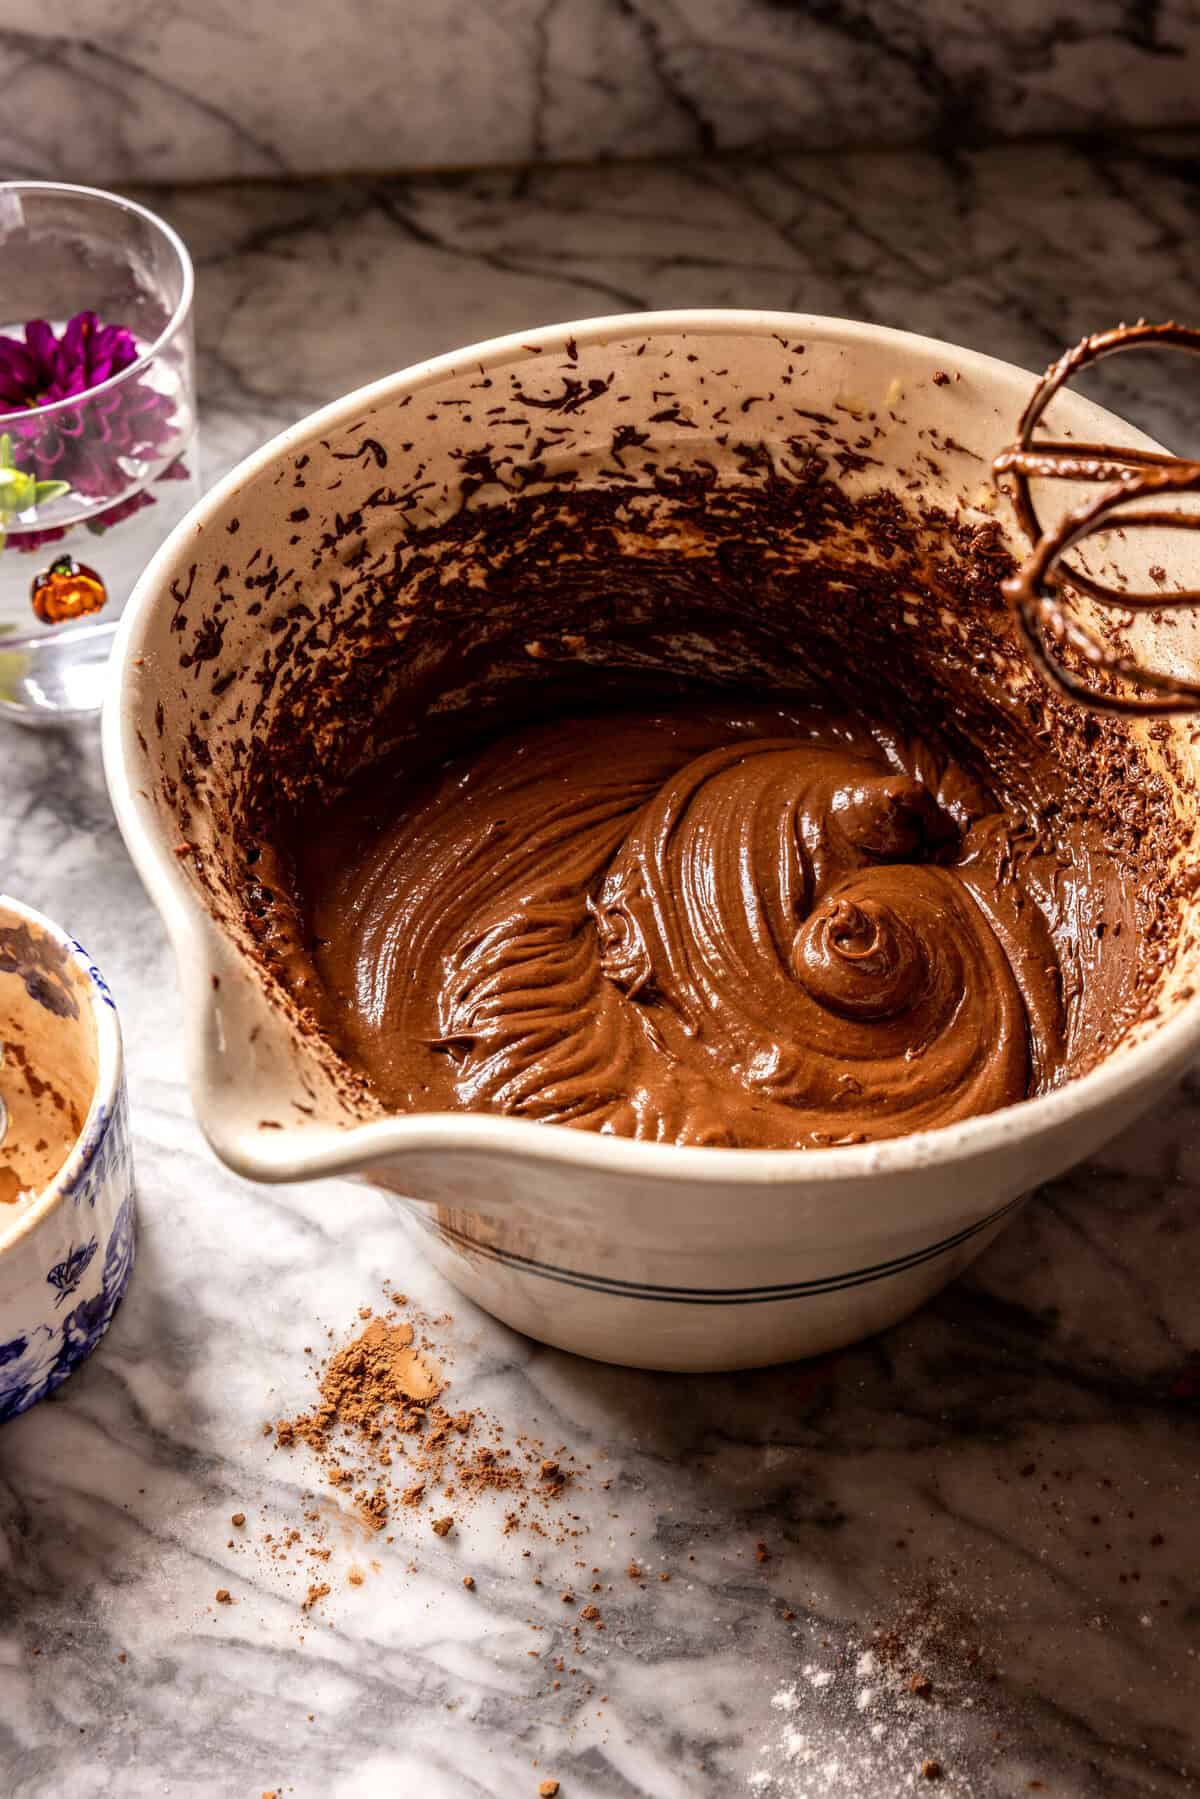
In a mixing bowl, whisk together the granulated sugar and the wet ingredients: melted butter, eggs, buttermilk, Greek yogurt (or sour cream), and vanilla.
Stir in the dry ingredients: flour, cocoa powder, baking powder, baking soda, and salt. Lastly, mix in the hot coffee (if you don’t love baking with coffee, you can use hot water or milk, but the coffee really brings out the chocolate flavor without overpowering it).
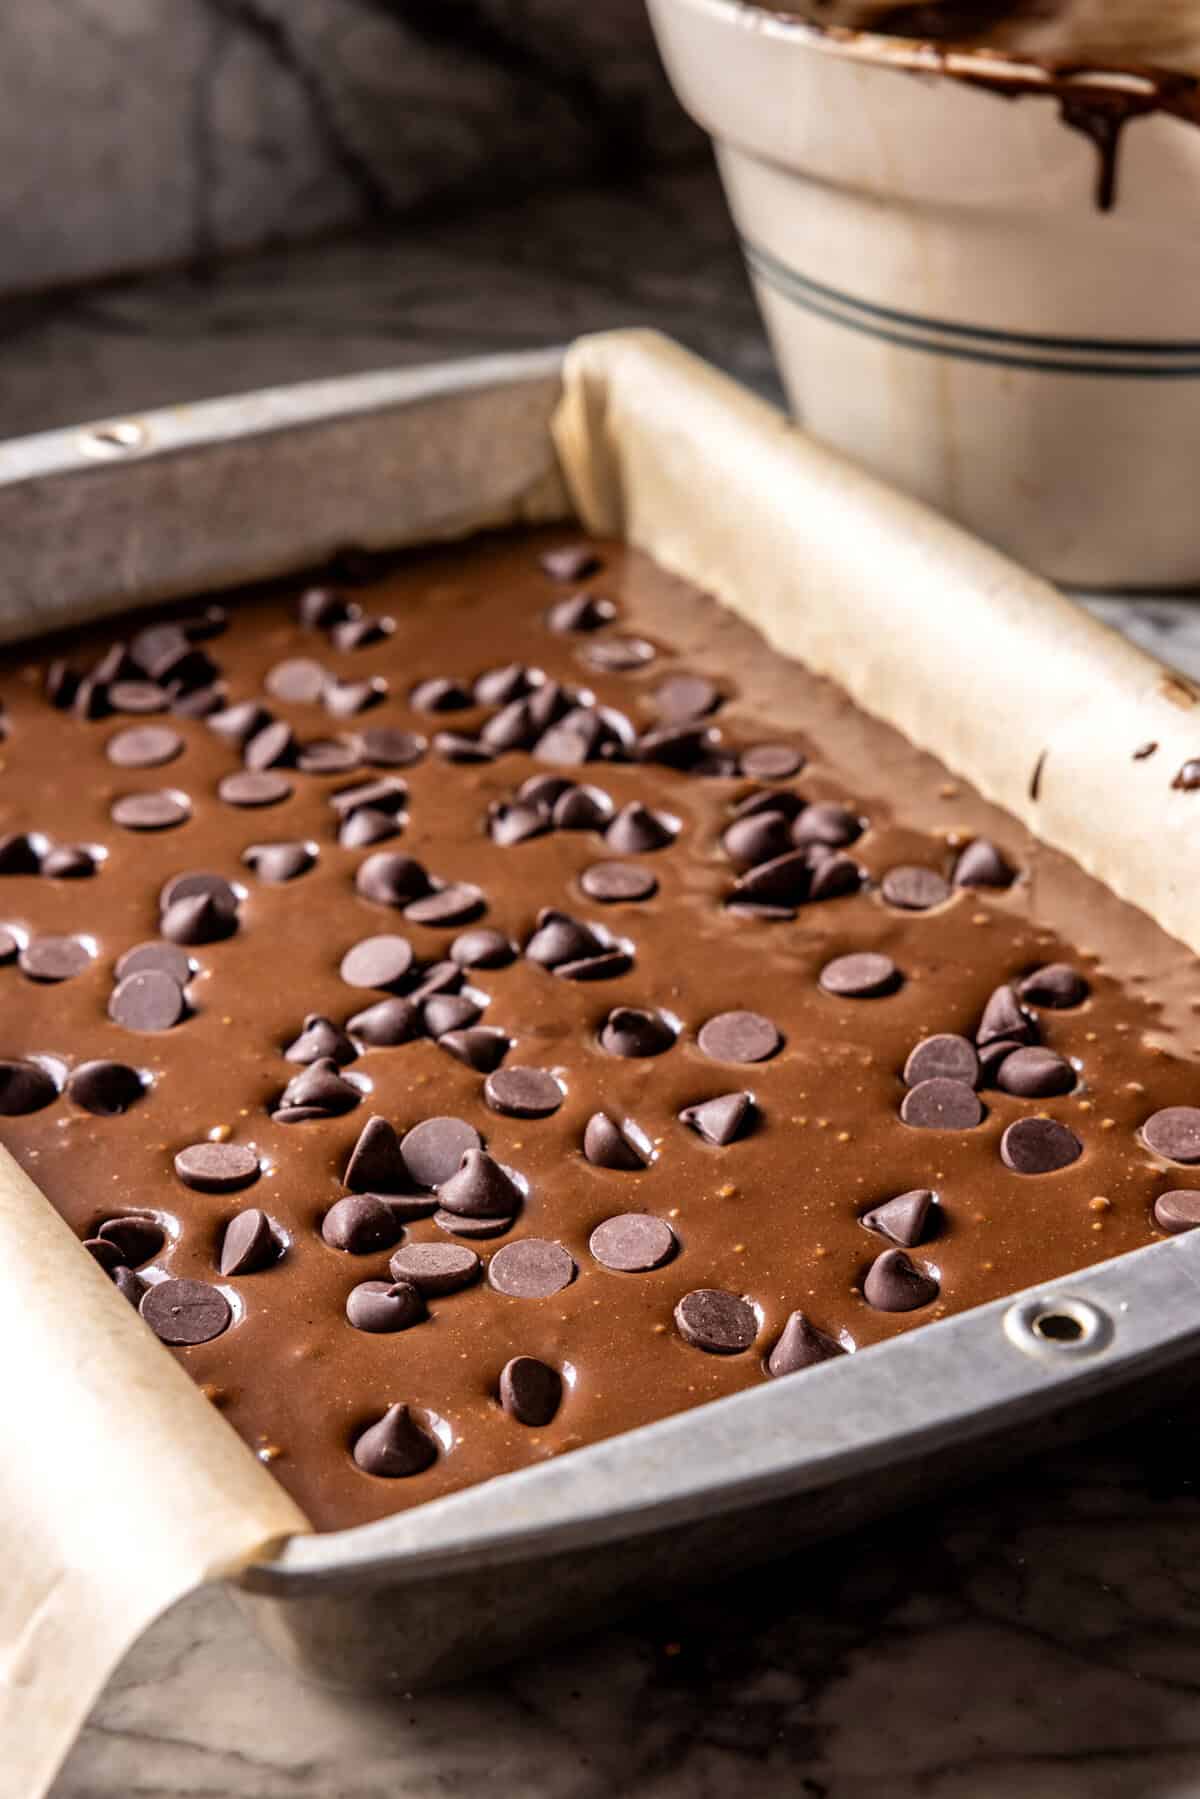
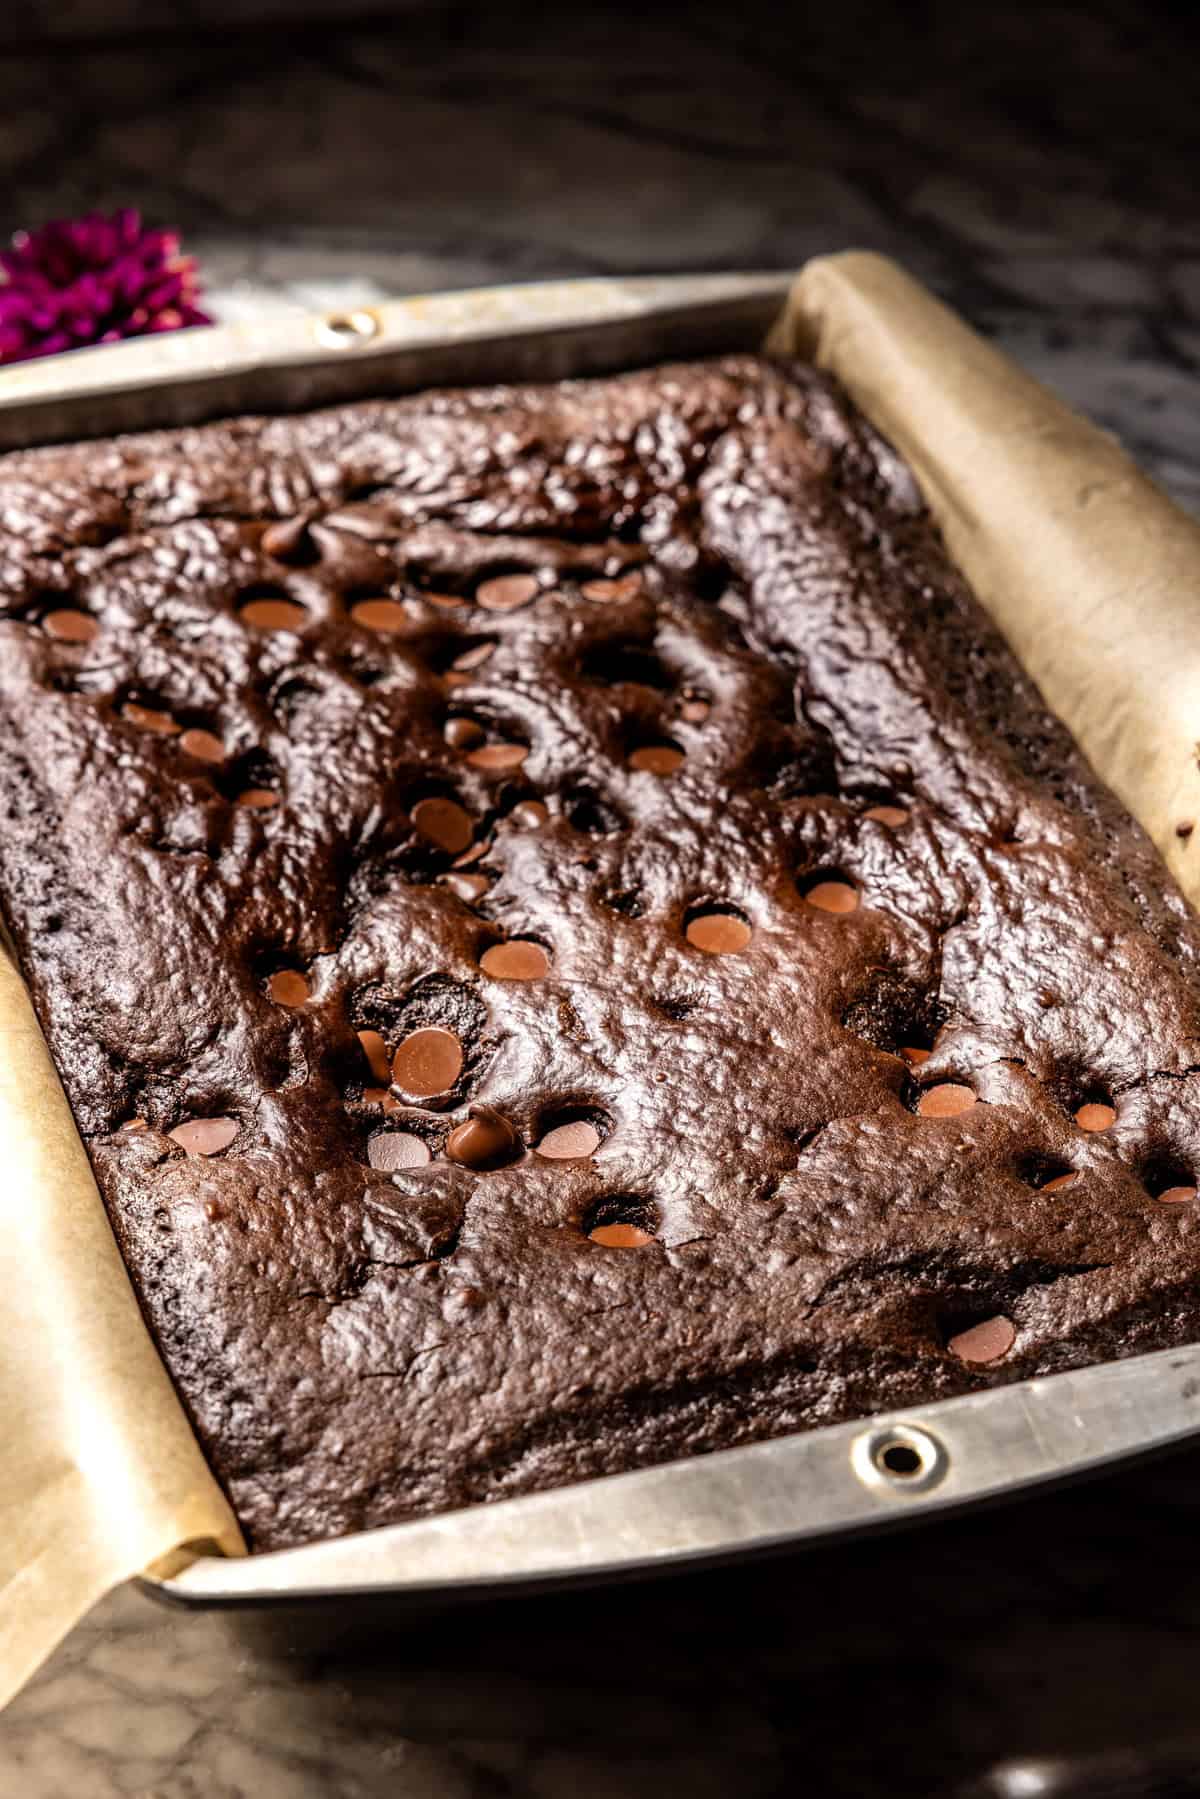
Step 2: Bake the cake
Pour the batter into a greased 9×13-inch pan and bake until set. Let the cake cool completely in the pan before adding the filling.
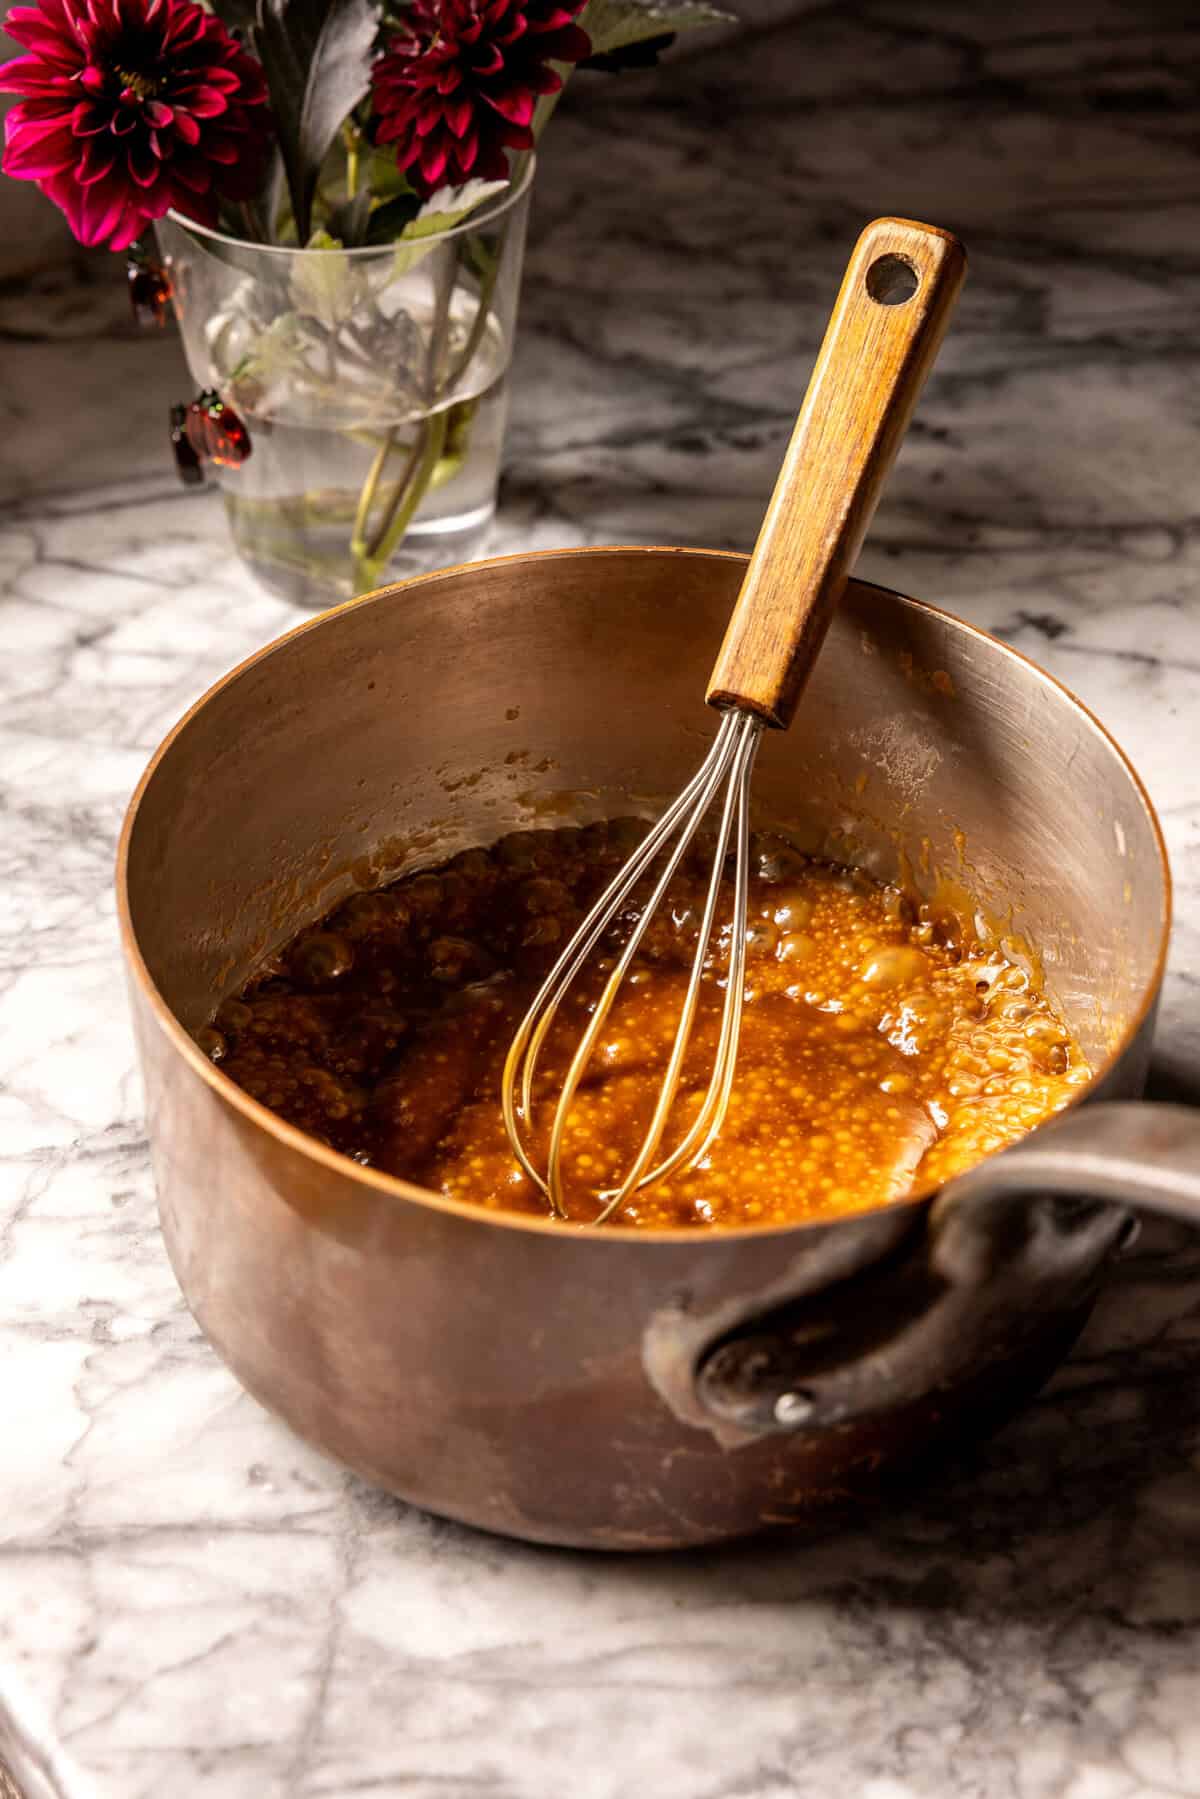
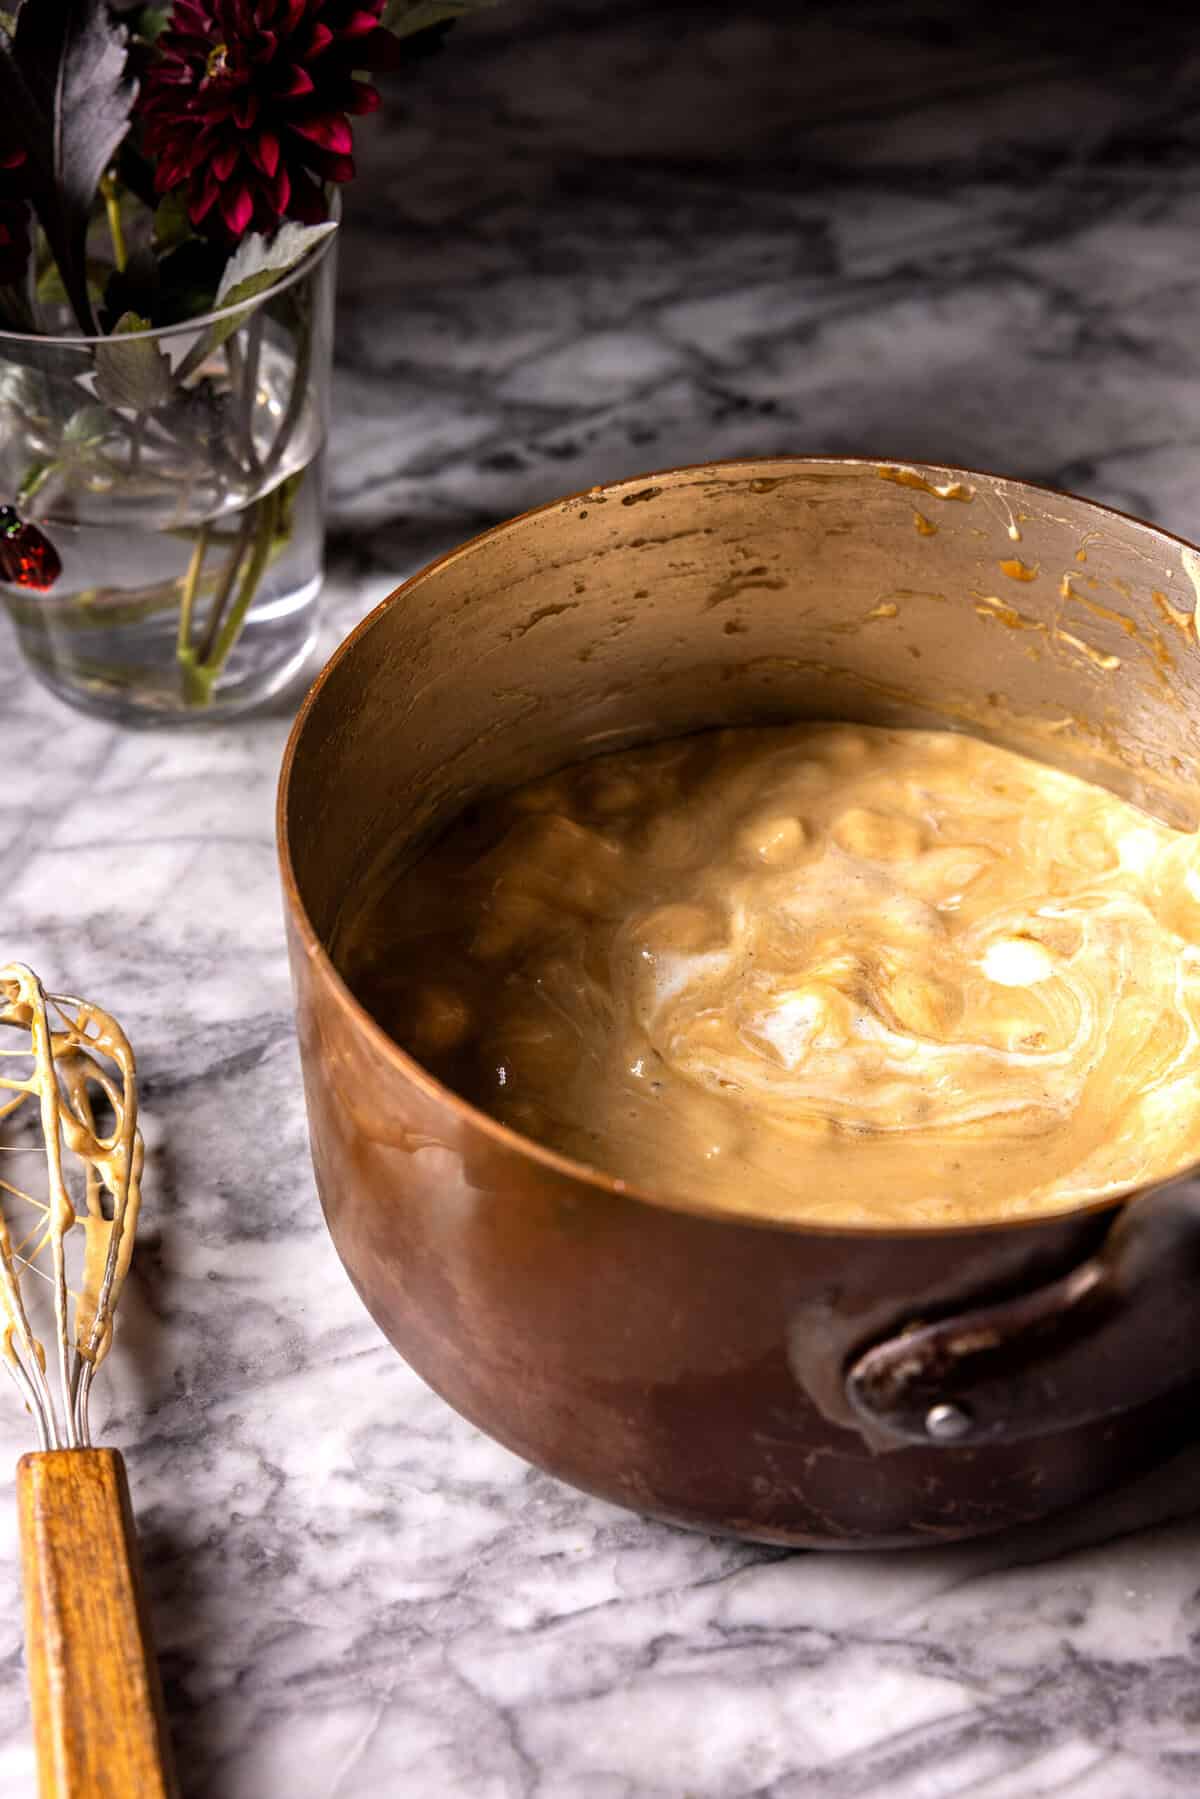
Step 3: Make the caramel marshmallow fluff
In a saucepan, melt a stick of salted butter with dark brown sugar and a splash of water. Bring the mixture to a boil and cook until thickened, about 5 minutes. Add a pinch of flaky sea salt, if you’d like.
Stir in the mini marshmallows and keep stirring until they’re completely melted into a smooth caramel fluff.
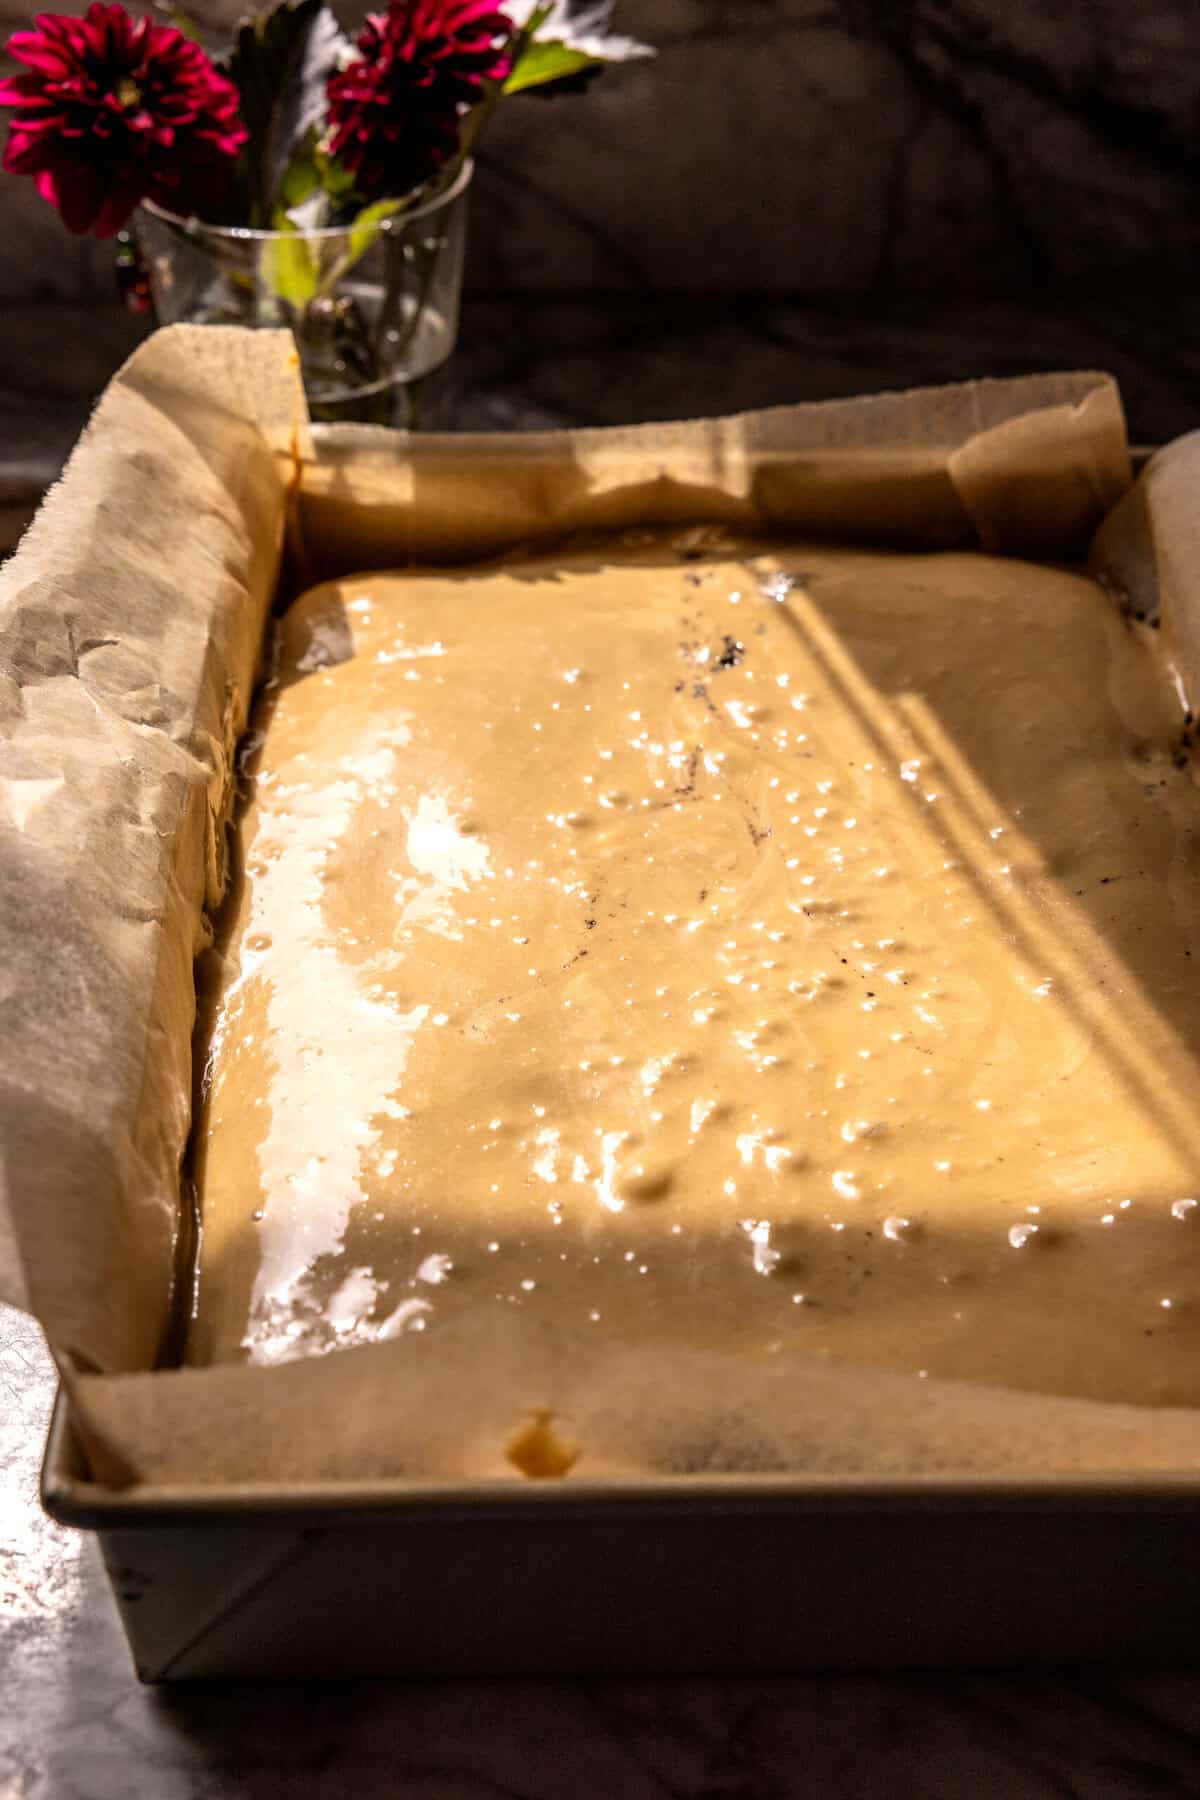
Step 4: Add the filling
Once the cake is cool, quickly pour the caramel marshmallow fluff over top. Spread it out evenly with a spatula, leaving a small border around the edges so it doesn’t spill down the sides. The fluff will begin to set as it cools, so work fast. Let it set for at least 30 minutes (longer is even better).
Step 5: Make the glaze
In a small saucepan over low heat, melt semi-sweet chocolate chips with milk or heavy cream until smooth and glossy. Add a pinch of salt for extra flavor.
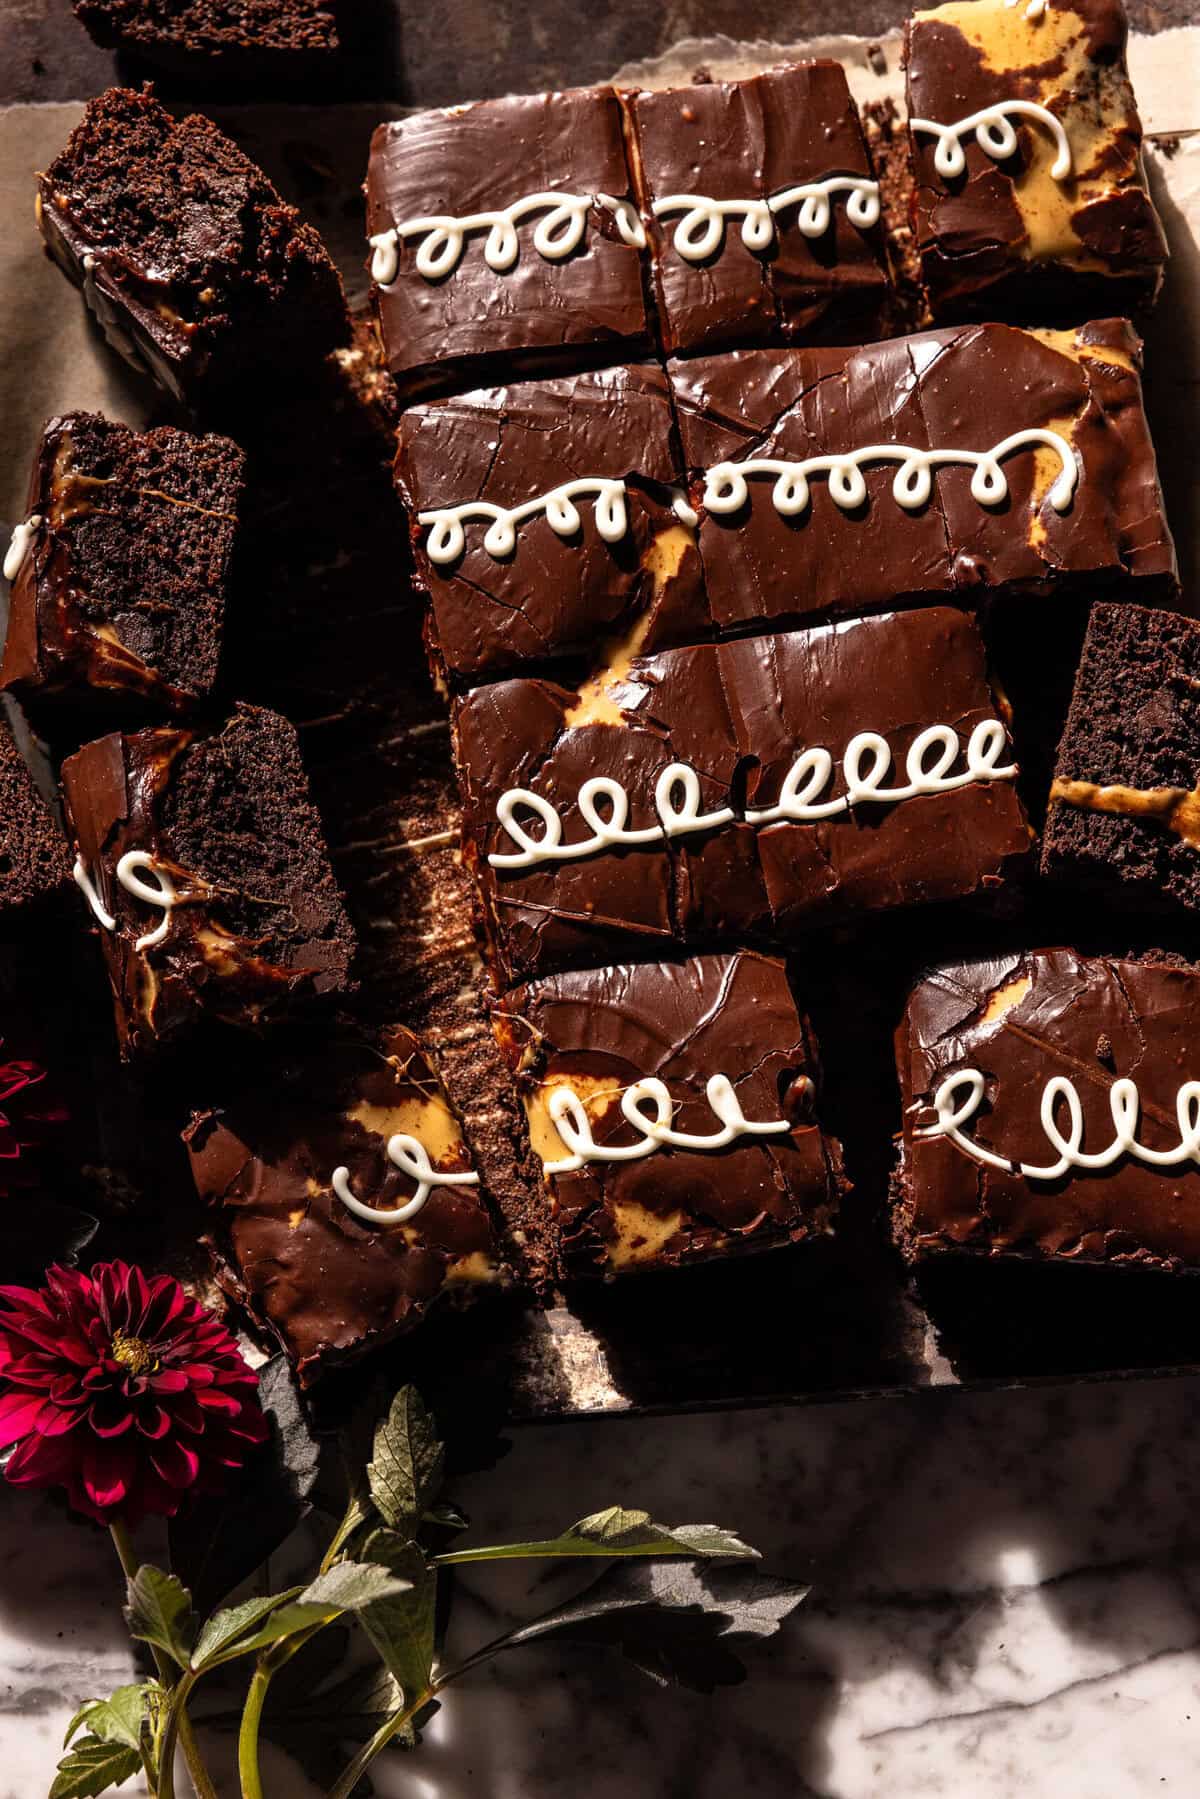
Step 6: Glaze and decorate
Slowly pour the glaze over the caramel fluff, spreading it gently to the edges without pressing too hard. Let the glaze set for at least 1 hour.
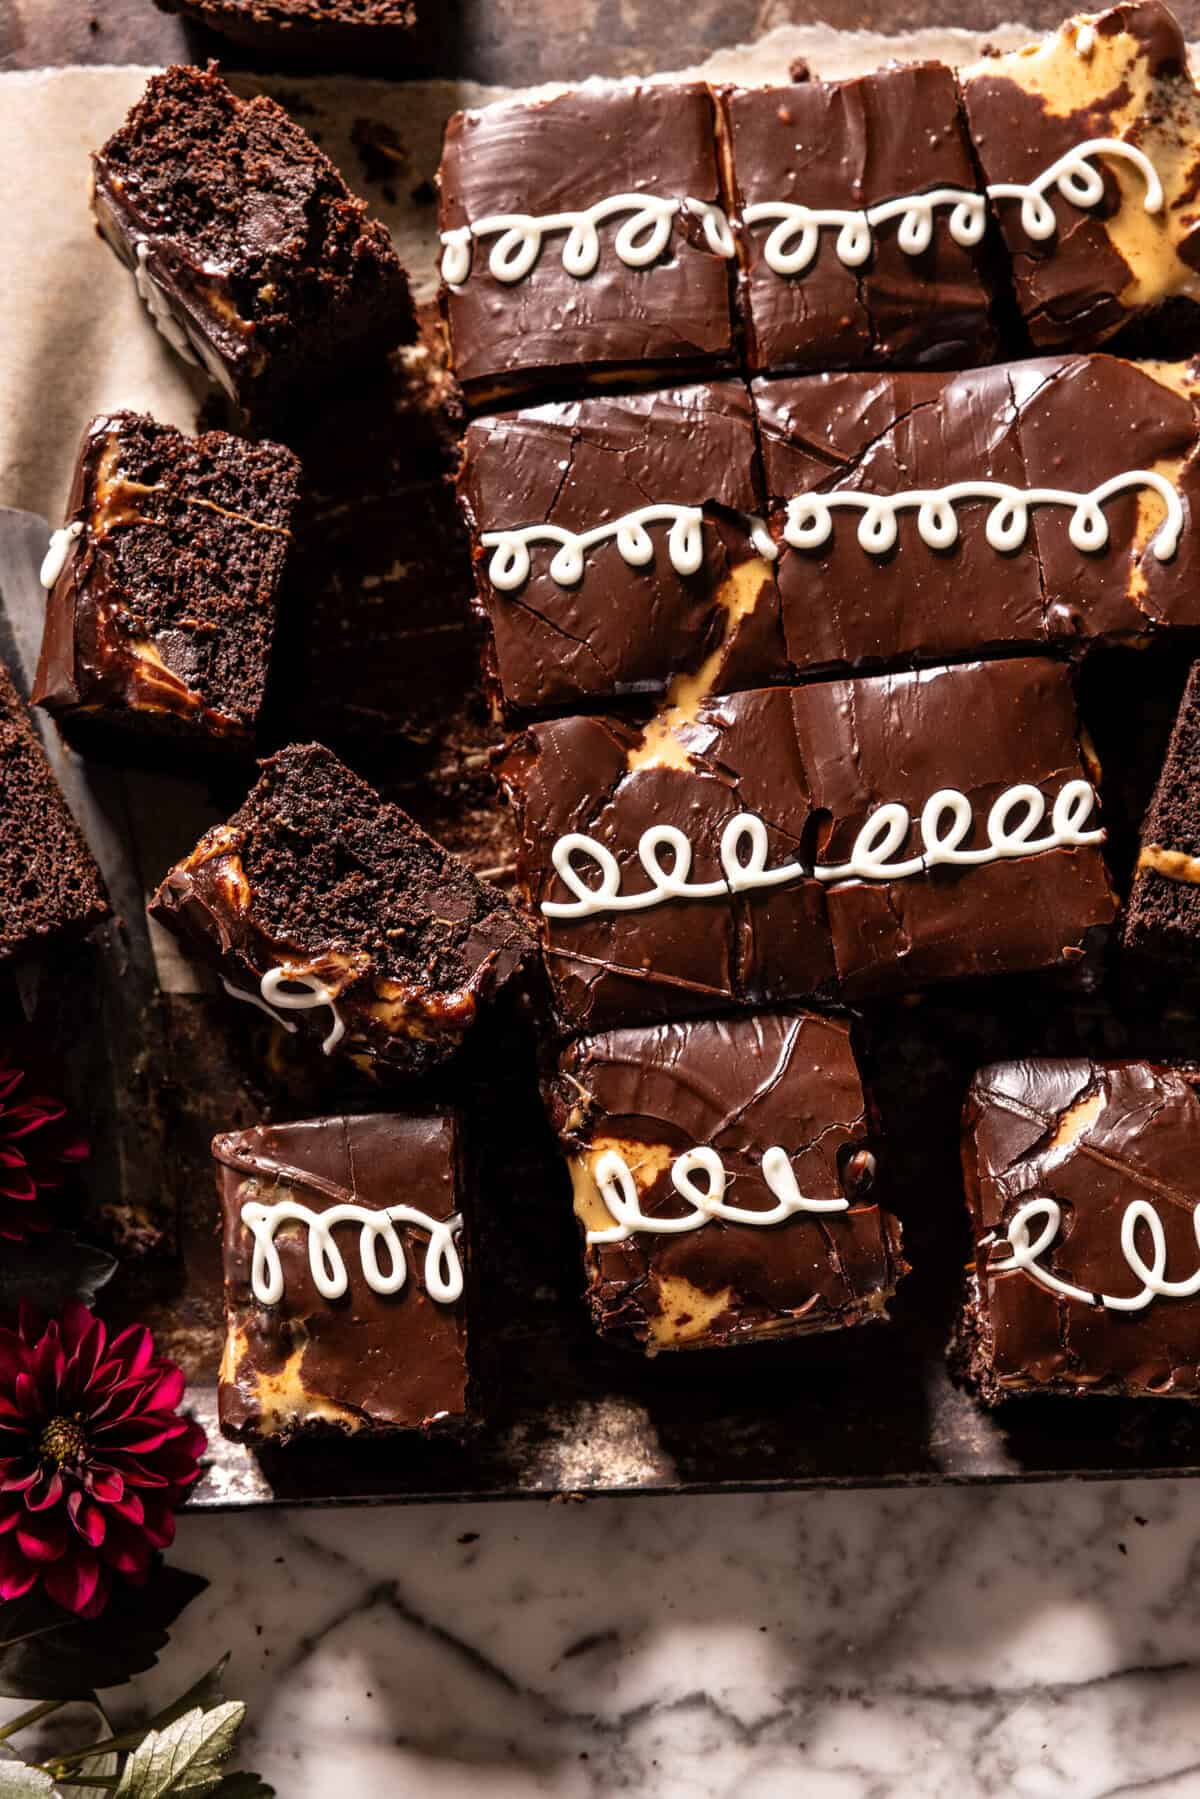
Melt a little white chocolate and transfer it to a piping bag (or zip-top bag with the corner snipped). Pipe loops across the top of the cake. Don’t stress about perfection — the more imperfect they are, the cuter they look!
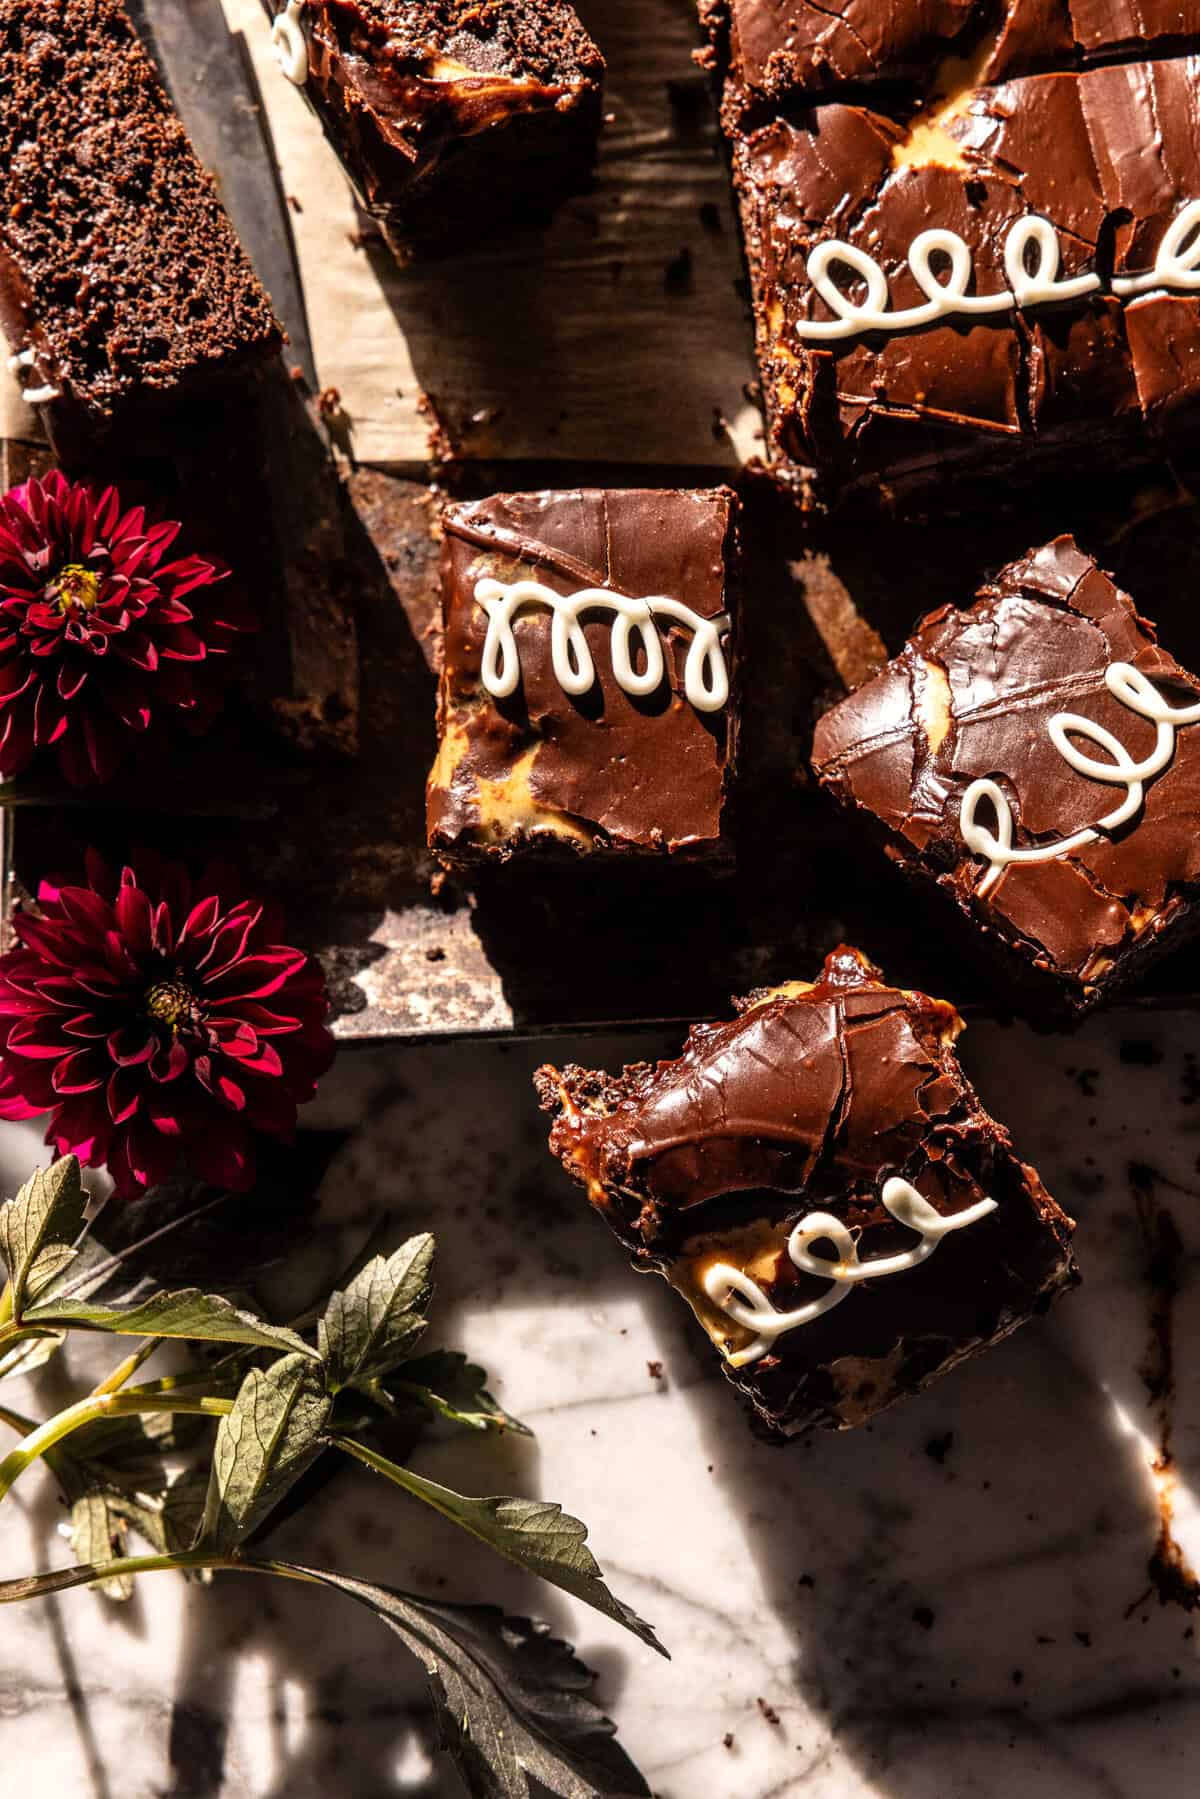
Step 7: Slice and enjoy
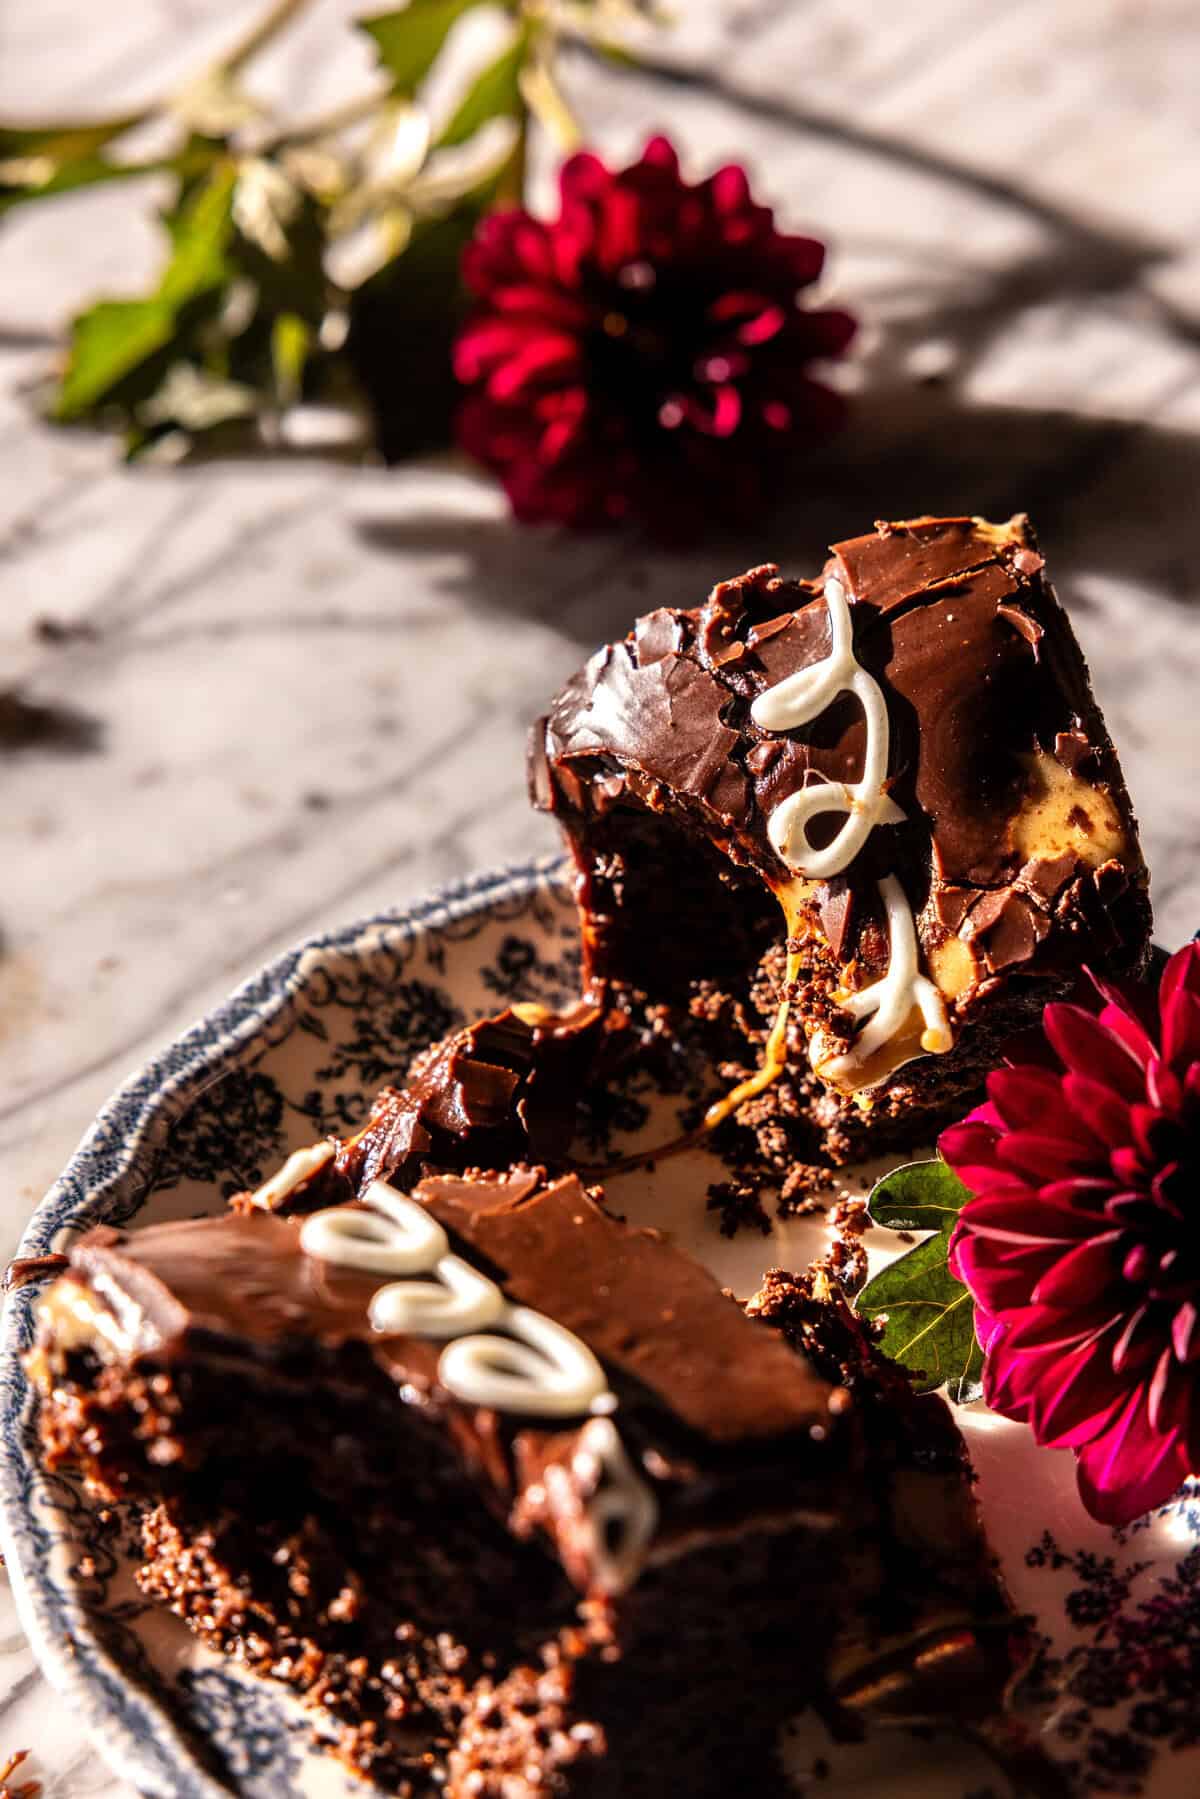
Once fully set, slice the cake into squares using a sharp knife. It is helpful to run the knife under hot water, dry it, then slice. This will give you cleaner slices. Just prepare yourself, the slices won’t be perfectly clean (marshmallow is sticky!), but embrace the mess — it’s all part of the fun.
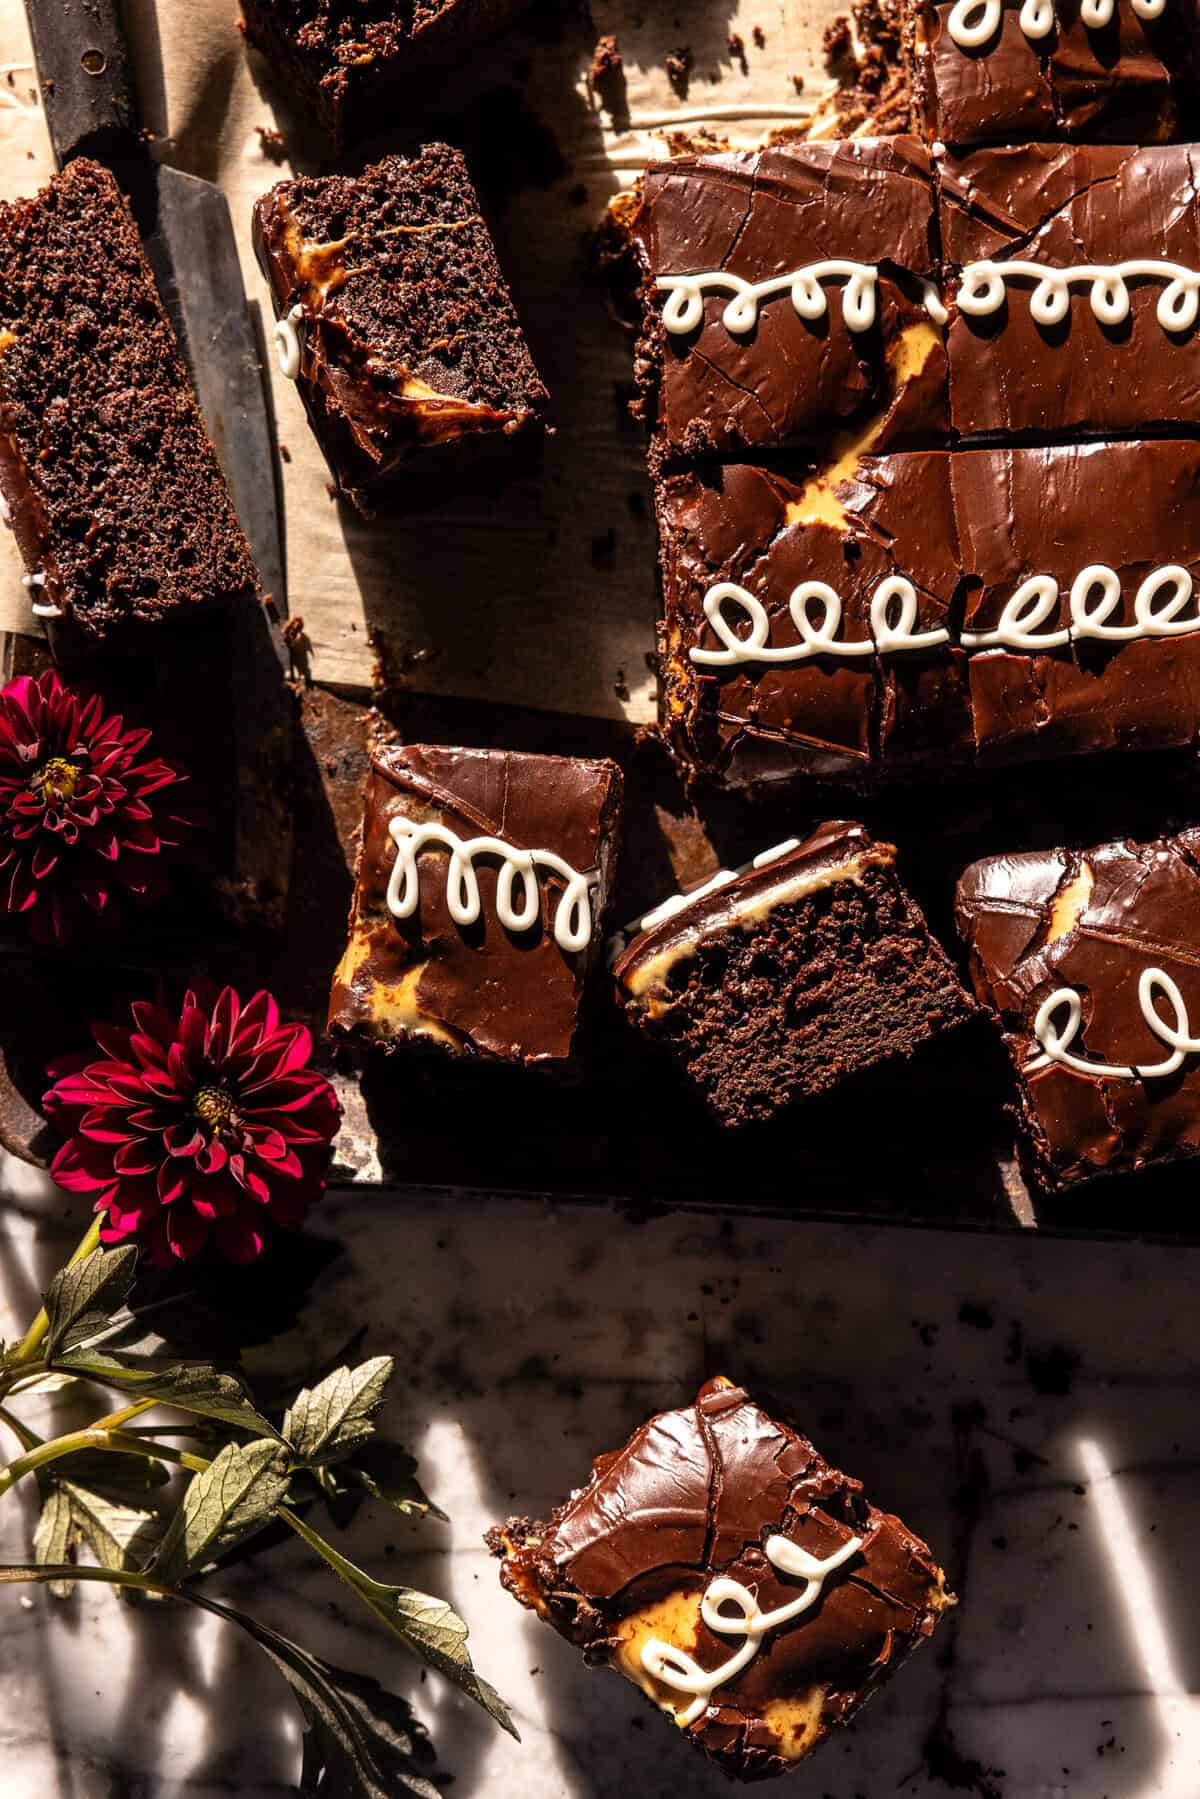
Every bite is rich chocolate cake, gooey caramel marshmallow, and fudgy glaze. Honestly, so much better than any store-bought Hostess Cupcake!
Looking for easy party desserts? Here are a few ideas:
Chewy Chocolate Peanut Butter Bars
Chocolate Peanut Butter Pretzel Blondies
Homemade Vegan Peanut Butter Twix Bars
Caramel Butter Cake with Fudgy Chocolate Frosting
Retro-Style Chocolate Sheet Cake
Lastly, if you make this Homemade Caramel Hostess Cupcake Cake, be sure to leave a comment and/or give this recipe a rating! Above all, I love to hear from you guys and always do my best to respond to each and every comment. And, of course, if you make this recipe, don’t forget to tag me on Instagram! Looking through the photos of recipes you all have made is my favorite!
Homemade Hostess Cupcake Cake
Servings: 18
Calories Per Serving: 285 kcal
Nutritional information is only an estimate. The accuracy of the nutritional information for any recipe on this site is not guaranteed.
Ingredients
- 1 stick (1/2 cup) salted butter, melted
- 2 large eggs, at room temperature
- 1/2 cup buttermilk, at room temperature
- 1/2 cup plain Greek yogurt or sour cream
- 1 cup granulated sugar
- 1 tablespoon vanilla extract
- 1 1/2 cups all-purpose flour
- 1 cup unsweetened cocoa powder
- 1 1/2 teaspoons baking powder
- 1 1/2 teaspoons baking soda
- 1 teaspoon salt
- 3/4 cup hot black coffee
- 1/2 cup dark or semi sweet chocolate chips (optional)
Filling
- 1 stick (1/2 cup) salted butter at room temperature
- 1/2 cup packed dark brown sugar
- 1 teaspoon salt
- 1 bag (10-ounce) mini marshmallows
Glaze
- 1 cup semi-sweet chocolate chips
- 1/3 cup milk
- 1 cup white chocolate chips, melted
Instructions
- 1. Preheat oven to 350° F. Line a 9x13 inch cake pan with parchment paper.2. In a large bowl, beat together the melted butter, eggs, milk, yogurt, sugar, and vanilla. Add the flour, cocoa powder, baking powder, baking soda, and salt. Mix until combined, then slowly beat in the hot coffee until combined.3. Pour the batter into the prepared cake pan. If desired, top with chocolate chips. Bake for 25-30 minutes until the top is just set. Remove and let cool.4. To make the filling. Add the butter, brown sugar, and 1/4 cup water to a pot set over medium heat. Bring to a boil and cook, stirring constantly, until the sugar has melted and the mixture is dark and bubbling, about 5 minutes. Stir in the salt. Turn the heat to low. Add the mini marshmallows and stir until melted, about 5 minutes. Remove from the heat and immediately pour the filling over the cake, spreading quickly with a rubber spatula, leaving a 1/4 inch border around the edge. Chill in the freezer, 30 minutes. 5. To make the glaze. Melt the chocolate and milk together over low heat, stirring often until smooth. Gently pour the glaze evenly over the cake, spreading it just to the border. The more you spread the glaze, the more it will blend into the filling, so work quickly and resist spreading too much. It will not be perfect. Let the glaze set for at least 2 hours or overnight.6. Spoon the melted white chocolate into a piping bag fit with a small round tip. You can also use a sandwich bag and cut the tip of one of the corners off. Draw loops on the top of the cake. Slice and enjoy! It is helpful to clean the knife after each slice. The cake will be a little messy due to the stickiness from the marshmallows! Let go of perfection here!
This post was originally published on August 29, 2025


Made this for today’s Labor Day BBQ. It was a hit and came out perfect! It was quite fun and nostalgic feeling to make the adorable loops! Thank you!
Thank you so much for trying out the recipe! I am so glad you enjoyed it, so perfect for a crowd at a BBQ! 🙂 xT
This is not even close to a hostess cupcake and it was a total flop, I have a hard time believing this was thoroughly tested.
Hey Barbara! Sorry to hear you didn’t enjoy this recipe! This recipe is inspired by hostess cupcakes, not an exact recipe 🙂 xT
Hi! Excited to try this. In your notes you say melted coconut oil but in recipe you say butter – I know it really doesn’t matter bake wise – but which is it?
Hi Kim! I use melted butter as listed in the ingredients! Sorry for the confusion! xT
Why do you tell us to keep the marshmallow inside the edge of the cake but you don’t do that in your video or pictures? You also didn’t show that step on videos. Feels like you are making this up after your own version doesn’t work. I also don’t understand how the marshmallow is filling. It’s not inside the cake.
Hi Lacy! Thanks for the input, this cake is just inspired by Hostess cupcakes, not meant to be an exact copy. The marshmallow layer goes on top instead of inside, but it goes underneath a chocolate glaze so it’s meant to feel more like a “filling”! Hope this helps! xT
Just about to start making this and realized I have no buttermilk. Is the buttermilk essential? Is there a substitute I can use?
Hi Donna! You can definitely use regular milk for this recipe, or add a squeeze of lemon to your milk to give it that “buttermilk” taste! xT
Does this cake taste like coffee at all??
Hi Anita! There will be a slight coffee taste but it won’t be too strong! You could also sub water for the coffee if you don’t want that flavor! 🙂 xT
I’m a little confused at how this is anything like hostess besides the squiggle on top. Directions say make the filling but the cake never gets filled with anything? Is there a step missing from the recipe? The photos don’t show anything inside the cake the way a hostess cupcake does.
Hi there! You’re right, the cake isn’t filled like a traditional Hostess cupcake. In this recipe, the caramel marshmallow “filling” is spread on top of the cake instead of inside, then covered with chocolate and a squiggle. It still gives that gooey, sweet flavor, but if you want a true filled version, you could cut a small hole in each piece and pipe the caramel inside before glazing! 🙂 xT
Hi Tieghan! Can this cake batter be baked as individual cupcakes?
Hi there! I haven’t ever tried this recipe in cupcake form but that should work just fine! Enjoy! 🙂 xT
Hey Tieghan,
How long will the cake keep for?
Thank you
Hi Danni! It should keep for about 4-5 days in the refrigerator! 🙂 xT
You neglected to mention the marshmallows in your intro paragraph where you list the needed ingredients. This type of omission is why people get frustrated. It helps to review the ingredients quickly to see if you have what you need before beginning. You need to be consistent in your notes and recipes.
Hey Kate! Thanks so much for pointing that out! I really appreciate the feedback and will update the post so the ingredients are consistent and easy to follow. I know how helpful it is to have everything clearly listed when you’re getting ready to bake! 🙂 Thanks again!
I cannot wait to try this recipe. These have been my favorite cupcakes since I was little. Before I make this can you substitute espresso for the coffee and if so what would be the equivalent? Thanks!
Hi Marcia! Yes! You can use espresso instead of coffee—just use about half the amount since espresso is stronger. That way you’ll get the same rich flavor without it being overpowering! xT
Unfortunately nothing about this recipe worked well for me. 🙁
Hey Emma! So sorry to hear that! Is there anything specifically I can do to help? xT
I actually squealed when I saw this recipe! I’m a chocoholic and this is right up my alley! Genius idea and I can’t wait to make this! Thanks Tieghan! You’re the best! :). Have a great weekend!
Hi Sara! Aw thank you so so much! I hope you LOVE this recipe! Have a great weekend as well! 🙂 xT
Do you think a 1:1 gluten free flour substitute would work for the cake??
This recipe looks super yum but my family is gf 🤷🏼♀️
Hi there! I haven’t tried this recipe with GF flour before, but I think a 1:1 ratio should work just fine! Let me know if you give it a try! 🙂 xT
Can you make this with gluten free flour? Would you need to alter any other ingredients?
Hi Beth! I haven’t personally tried this with GF flour but I think a 1:1 ratio should work just fine! 🙂 xT